Project Shipyard

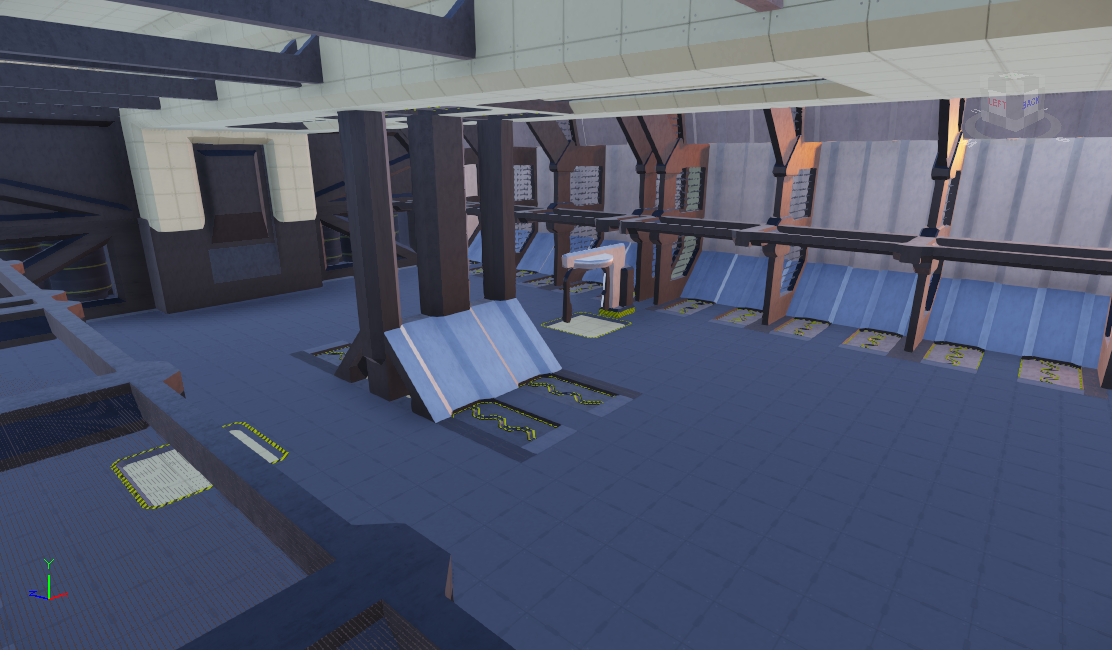
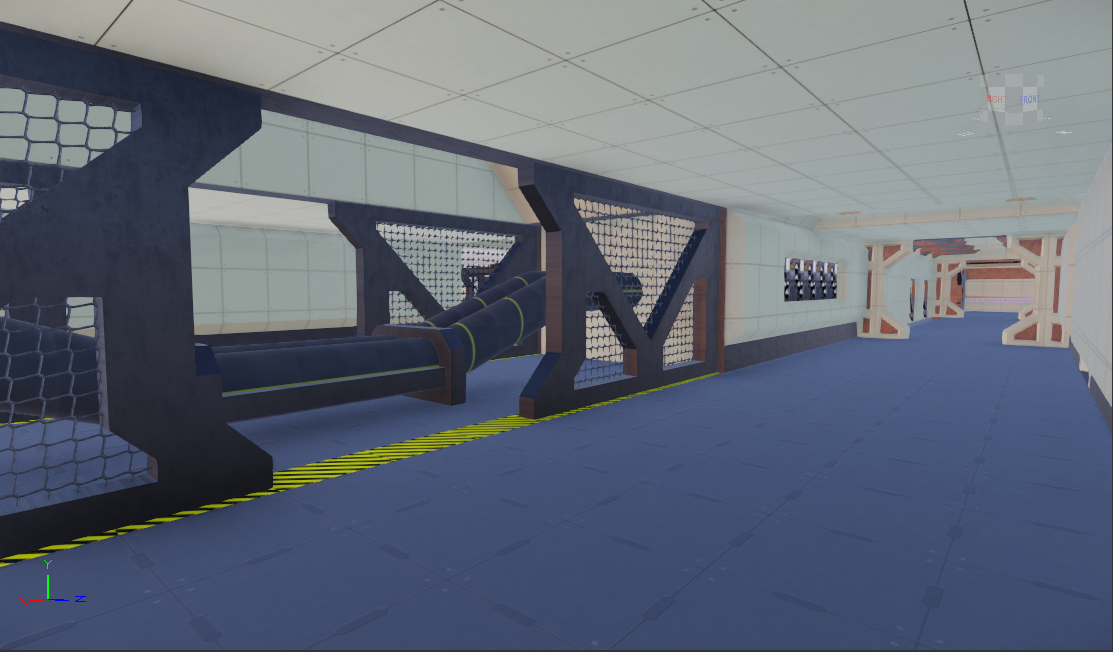
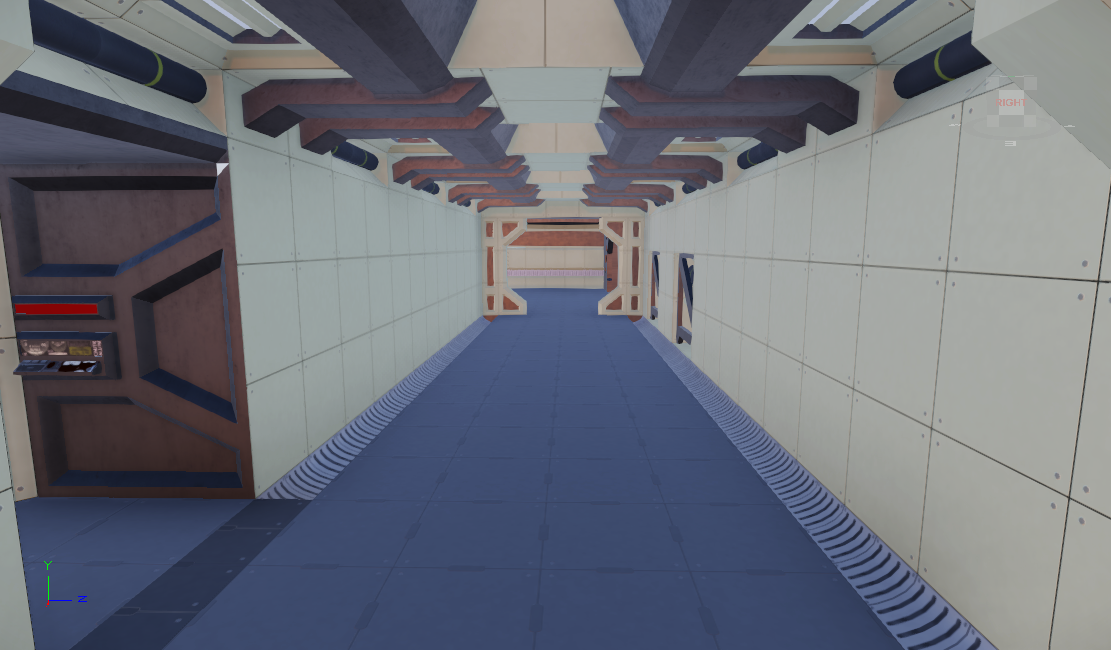
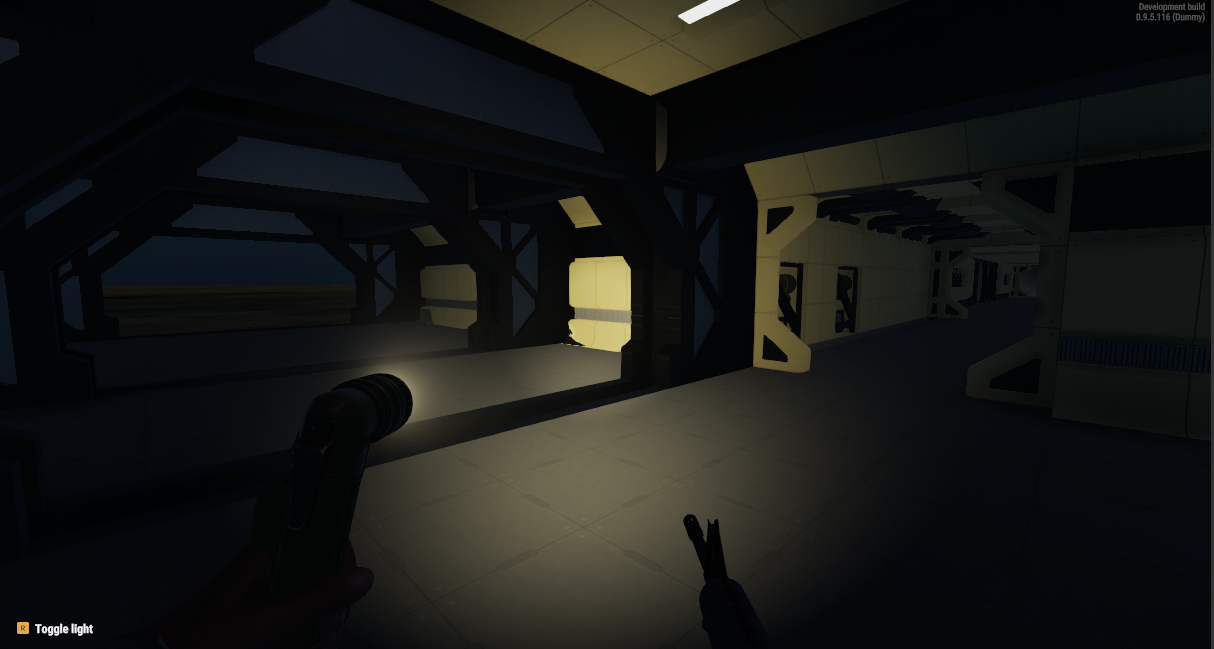
Elevator pitch: Project Shipyard (PS) is a re-imagining of Halo’s Pillar of Autumn (PoA) level for the Arma franchise. The pack and level are being implemented within Arma Reforger as a public mod.
Methodology: Due to the structured format and repetitive visual language of the original level, PS is comprised of a fully modular set of prefabs. The primary focus is on level flow, and preparing the mod for a later visual overhaul.
Original level
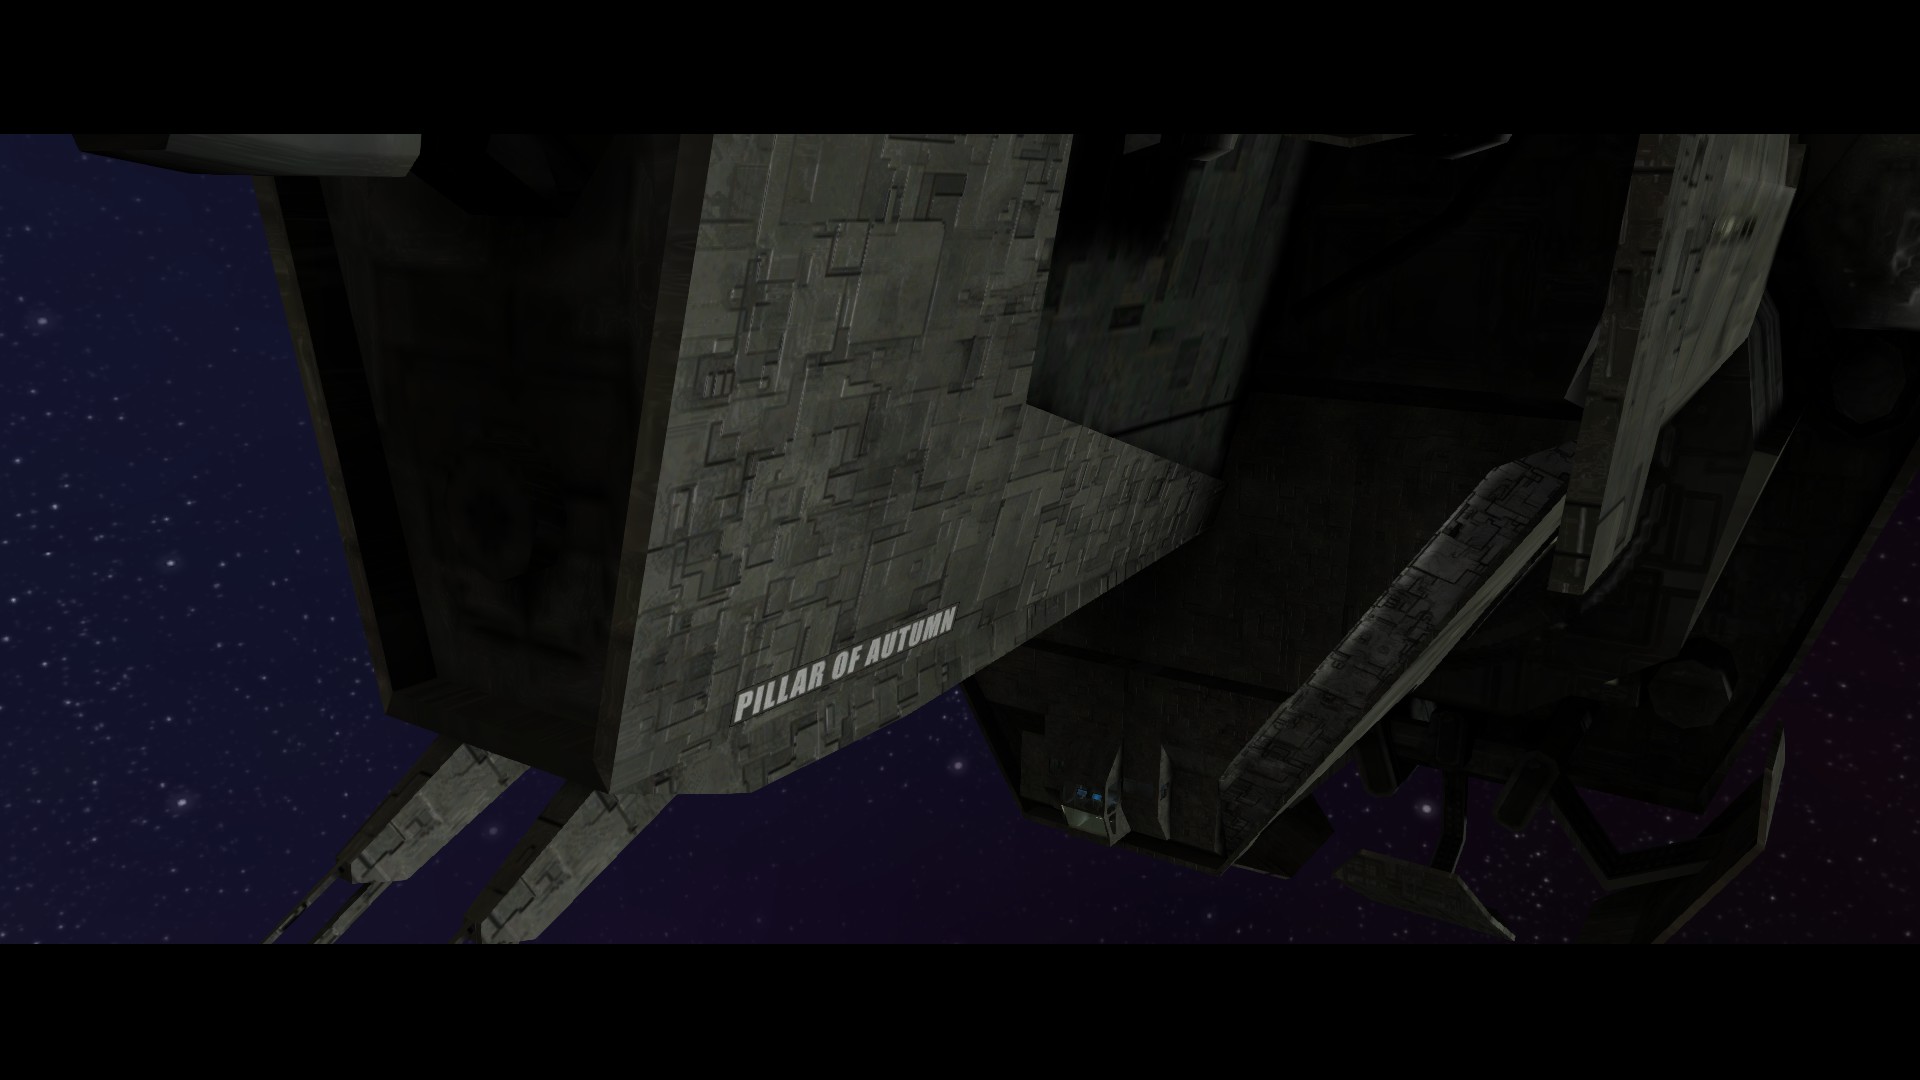
But first; a bold claim
Many claim that Halo CE is the reason console FPS games are the success they are today, due to its innovative gameplay formula and focus on cooperative support. I believe it was its first level — The Pillar of Autumn — that was the key to claiming this crown, as it is still one of the best FPS tutorial missions ever made.
What makes it so impressive is just how much is crammed into its relatively short runtime, all masterfully woven together in a way that’s subtle and somehow not too repetitive despite its linearity. It’s a shining example of (and one of the games that pioneered) the tried-and-true “introduce, practice, test” structure for rapid skill acquisition in games.
Other singleplayer games, such as those made by Valve, also nailed this technique, but Halo was historically significant — introducing hundreds of thousands of players to FPS games on console, and helping push the new (at the time) Xbox into the spotlight.
It was this level’s accessibility that helped younger me get into FPS games, and what an introduction it was! It’s no wonder it’s still one of my favourite levels to this day, and why I have returned to it professionally all these years later. This and its sister level “The Maw” aren’t without their issues, but at the time this was — and in many ways still is — a masterclass in FPS level design, which is why I’m breaking it down, recreating it, and fixing my biggest gripes along the way.
Event flow keys

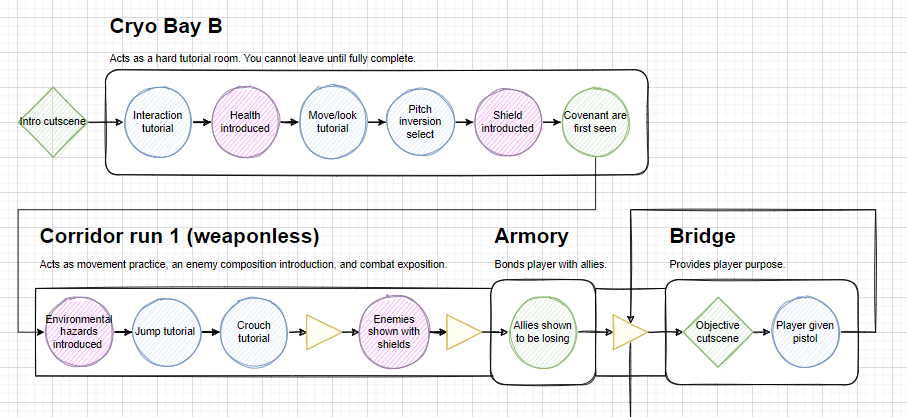
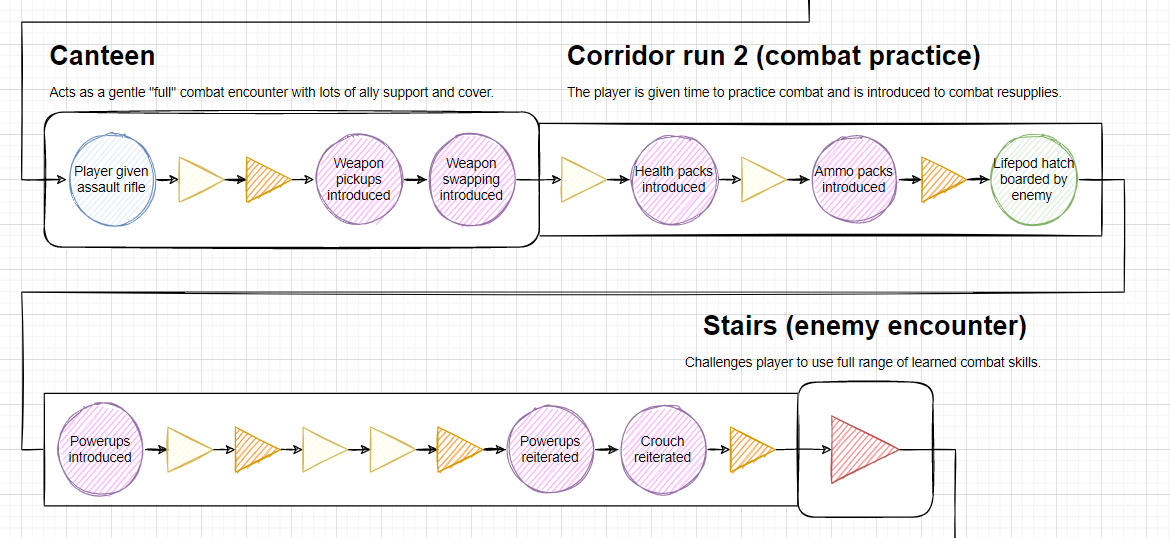
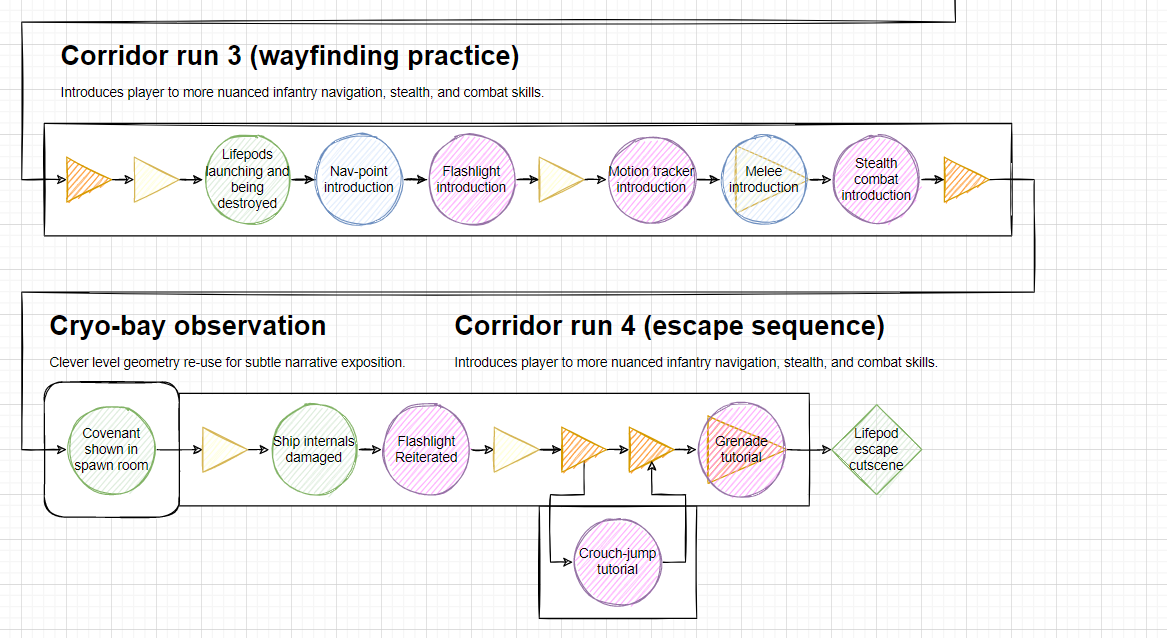
To break down the level and illustrate just how the pacing and tutorials are designed, I’ve made a full diagram breakdown of the event order.
Act 1: New to the genre?
Cryo-bay B
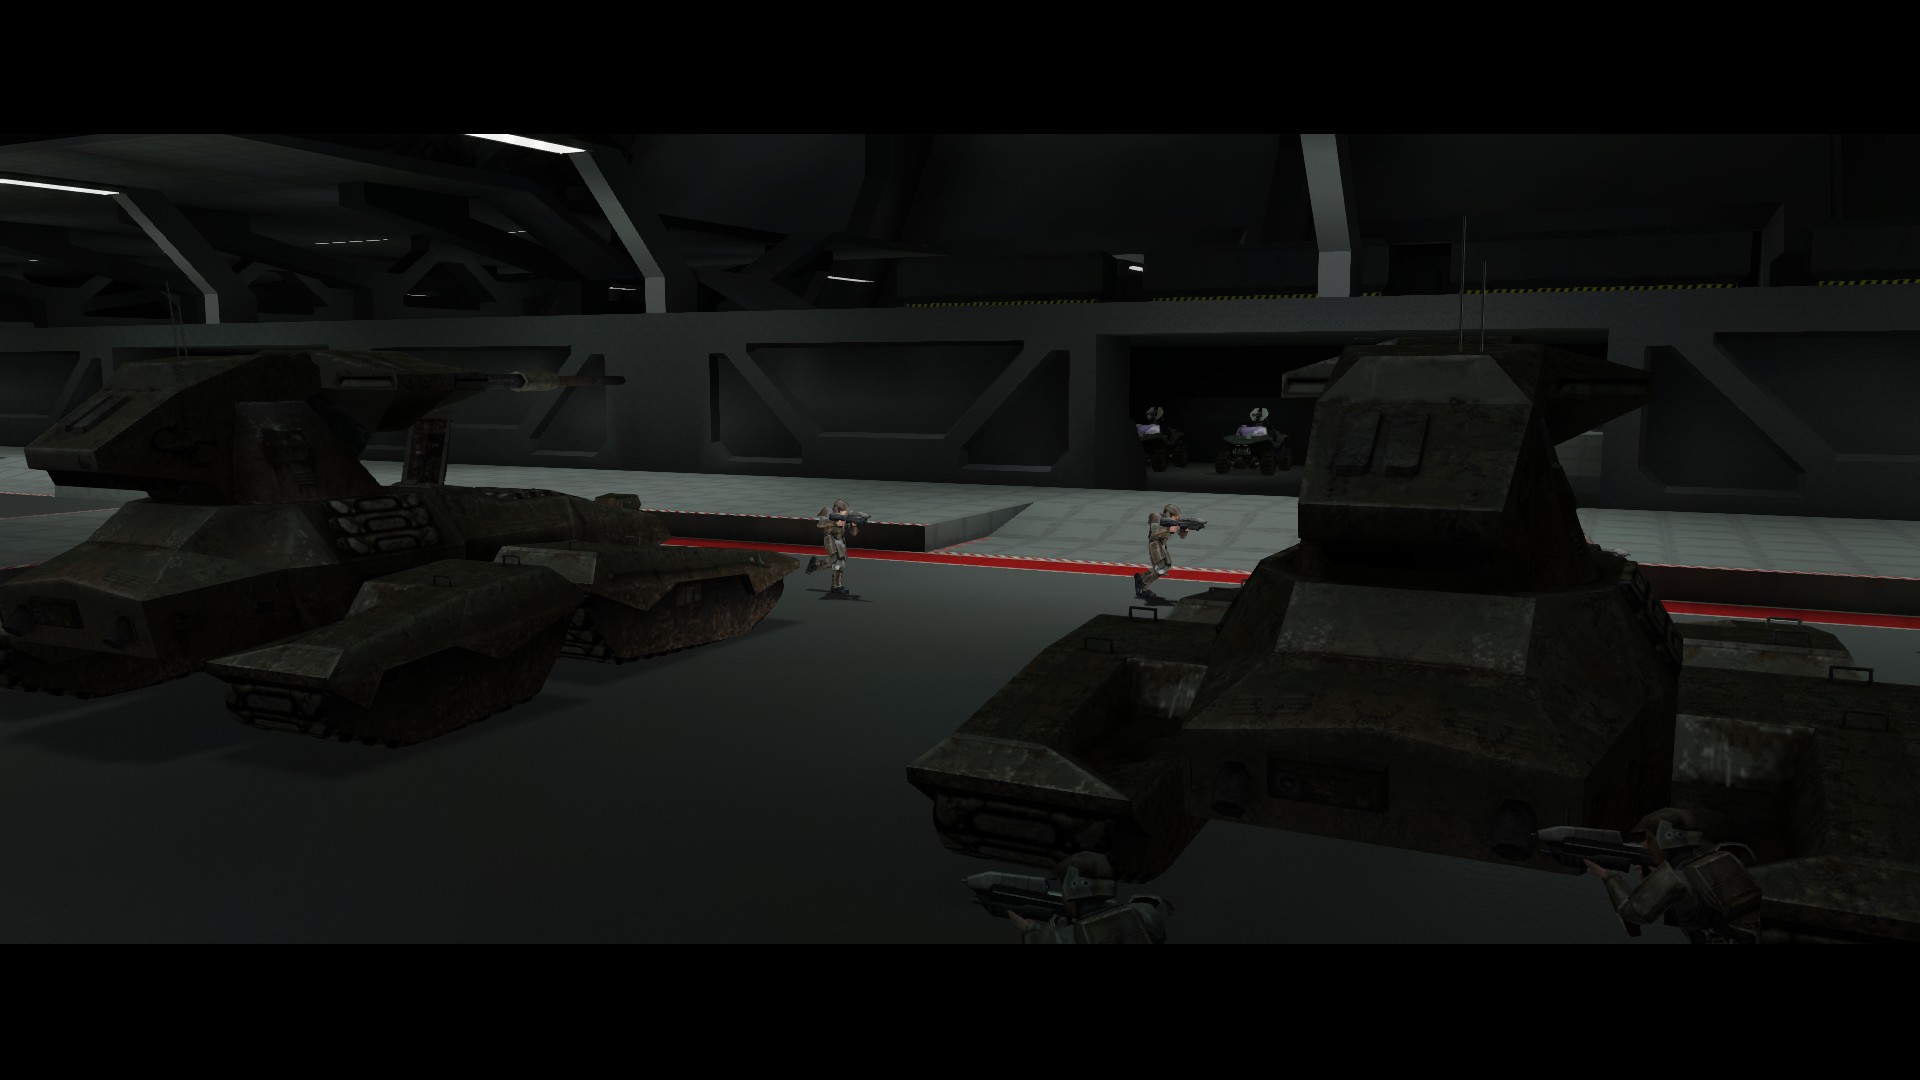
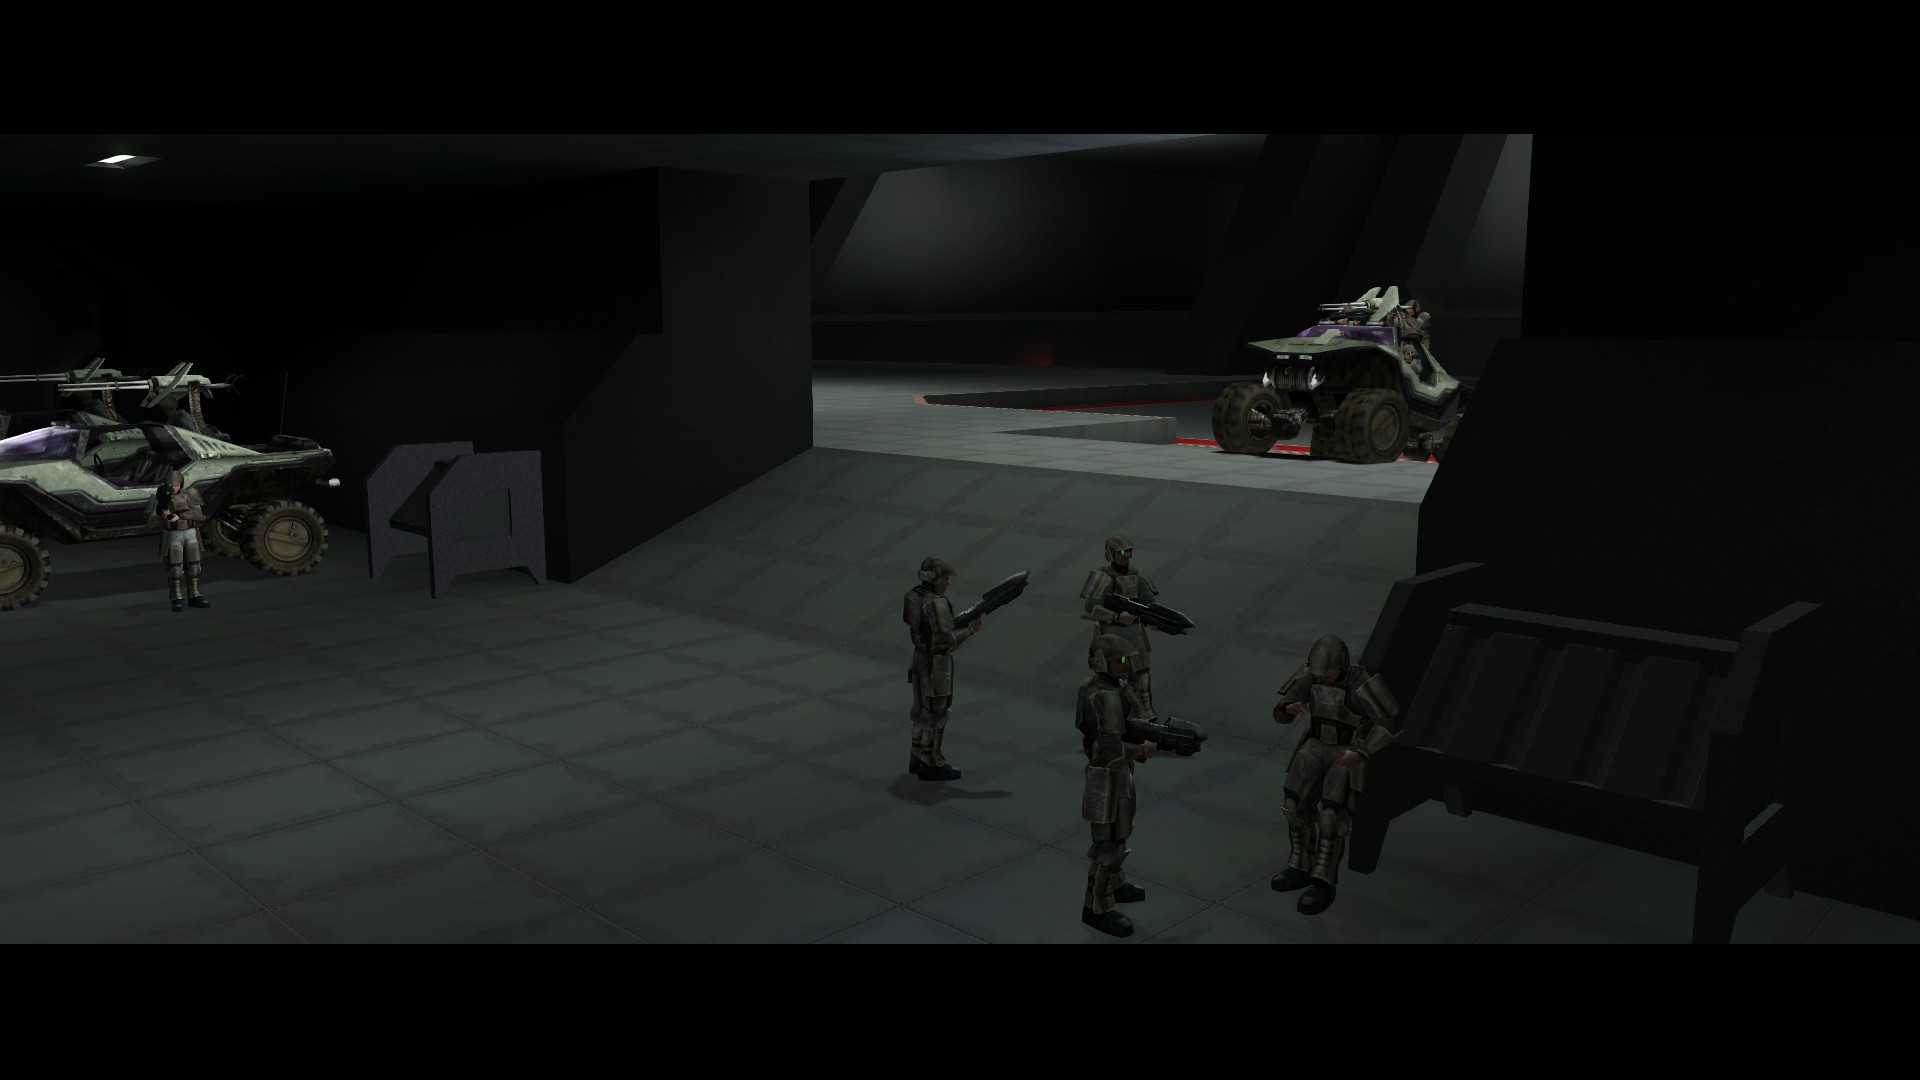
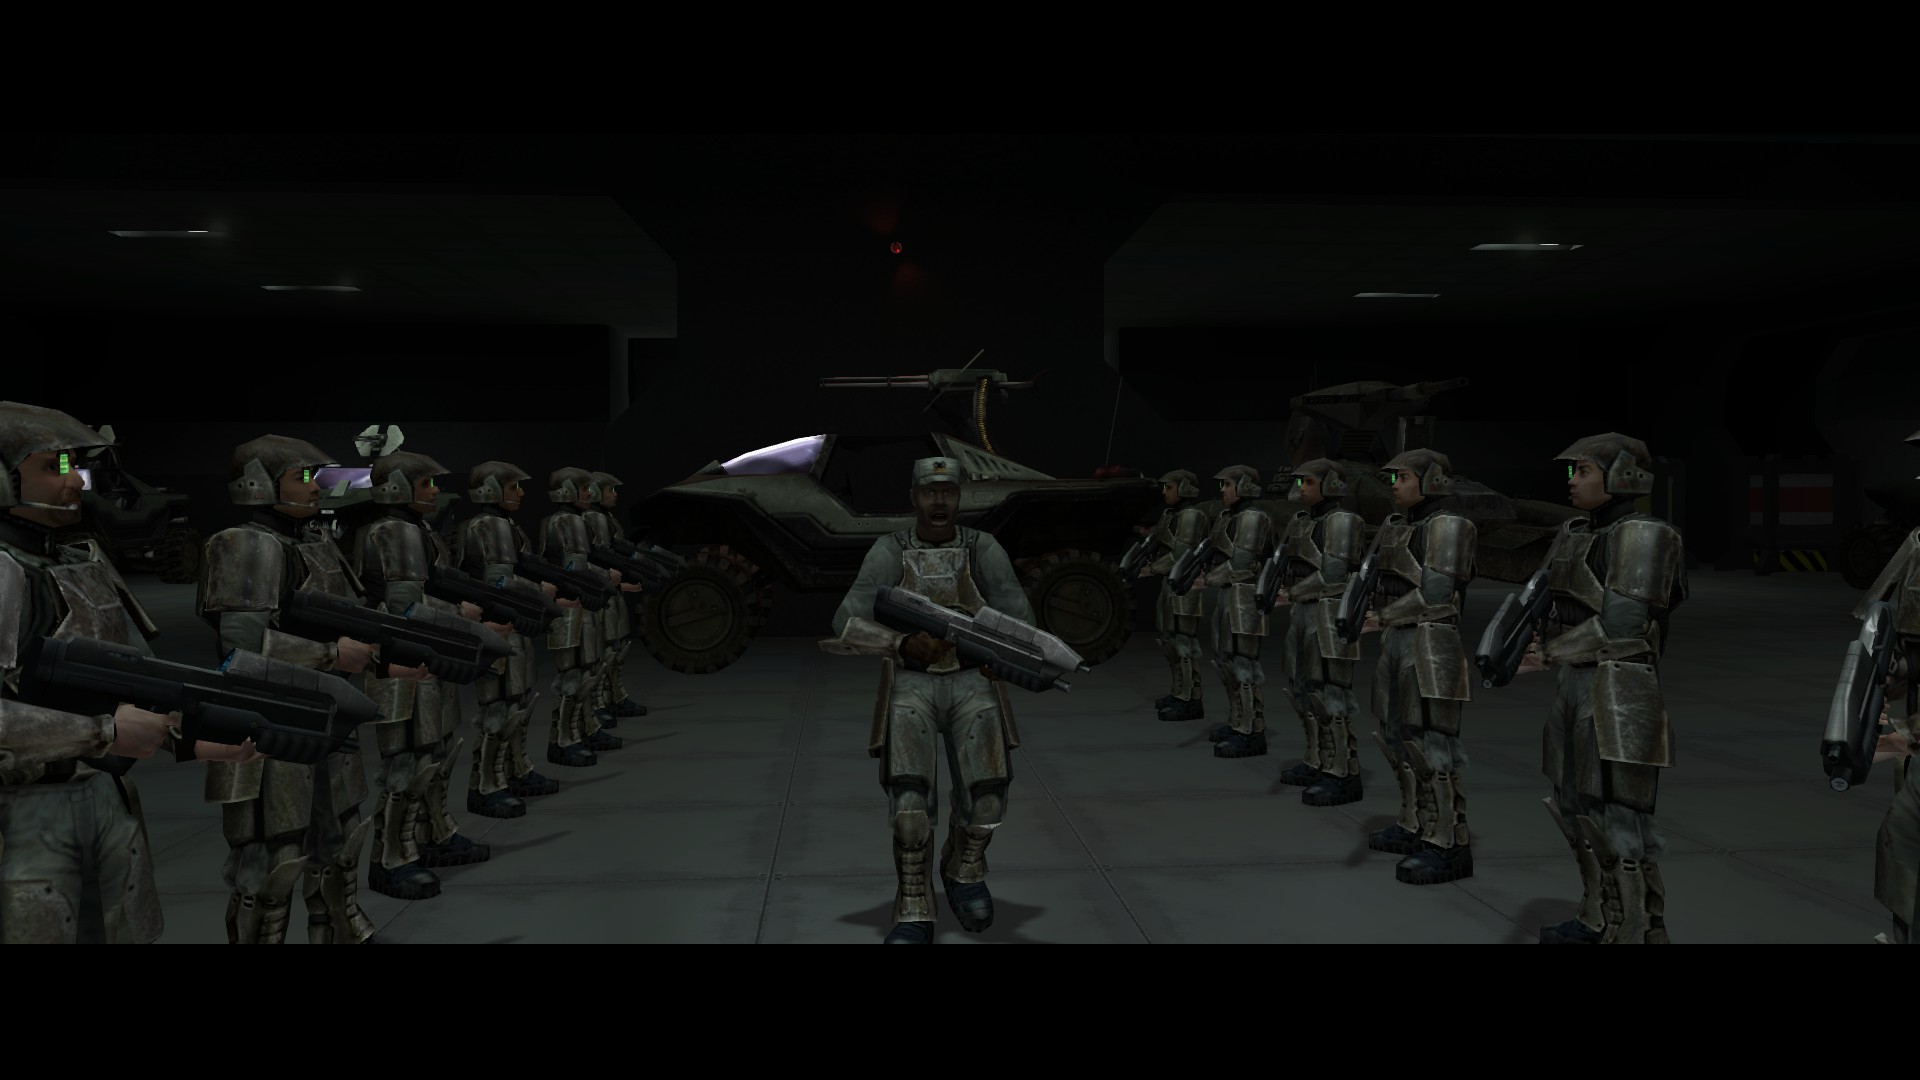
When the level begins, we watch a cutscene of a ship under attack, the crew coming to life moving vehicles and getting combat-ready. Unfortunately, my only major critique for this level is that immediately after, the pacing built by said cutscene stops dead for the opening tutorial room.
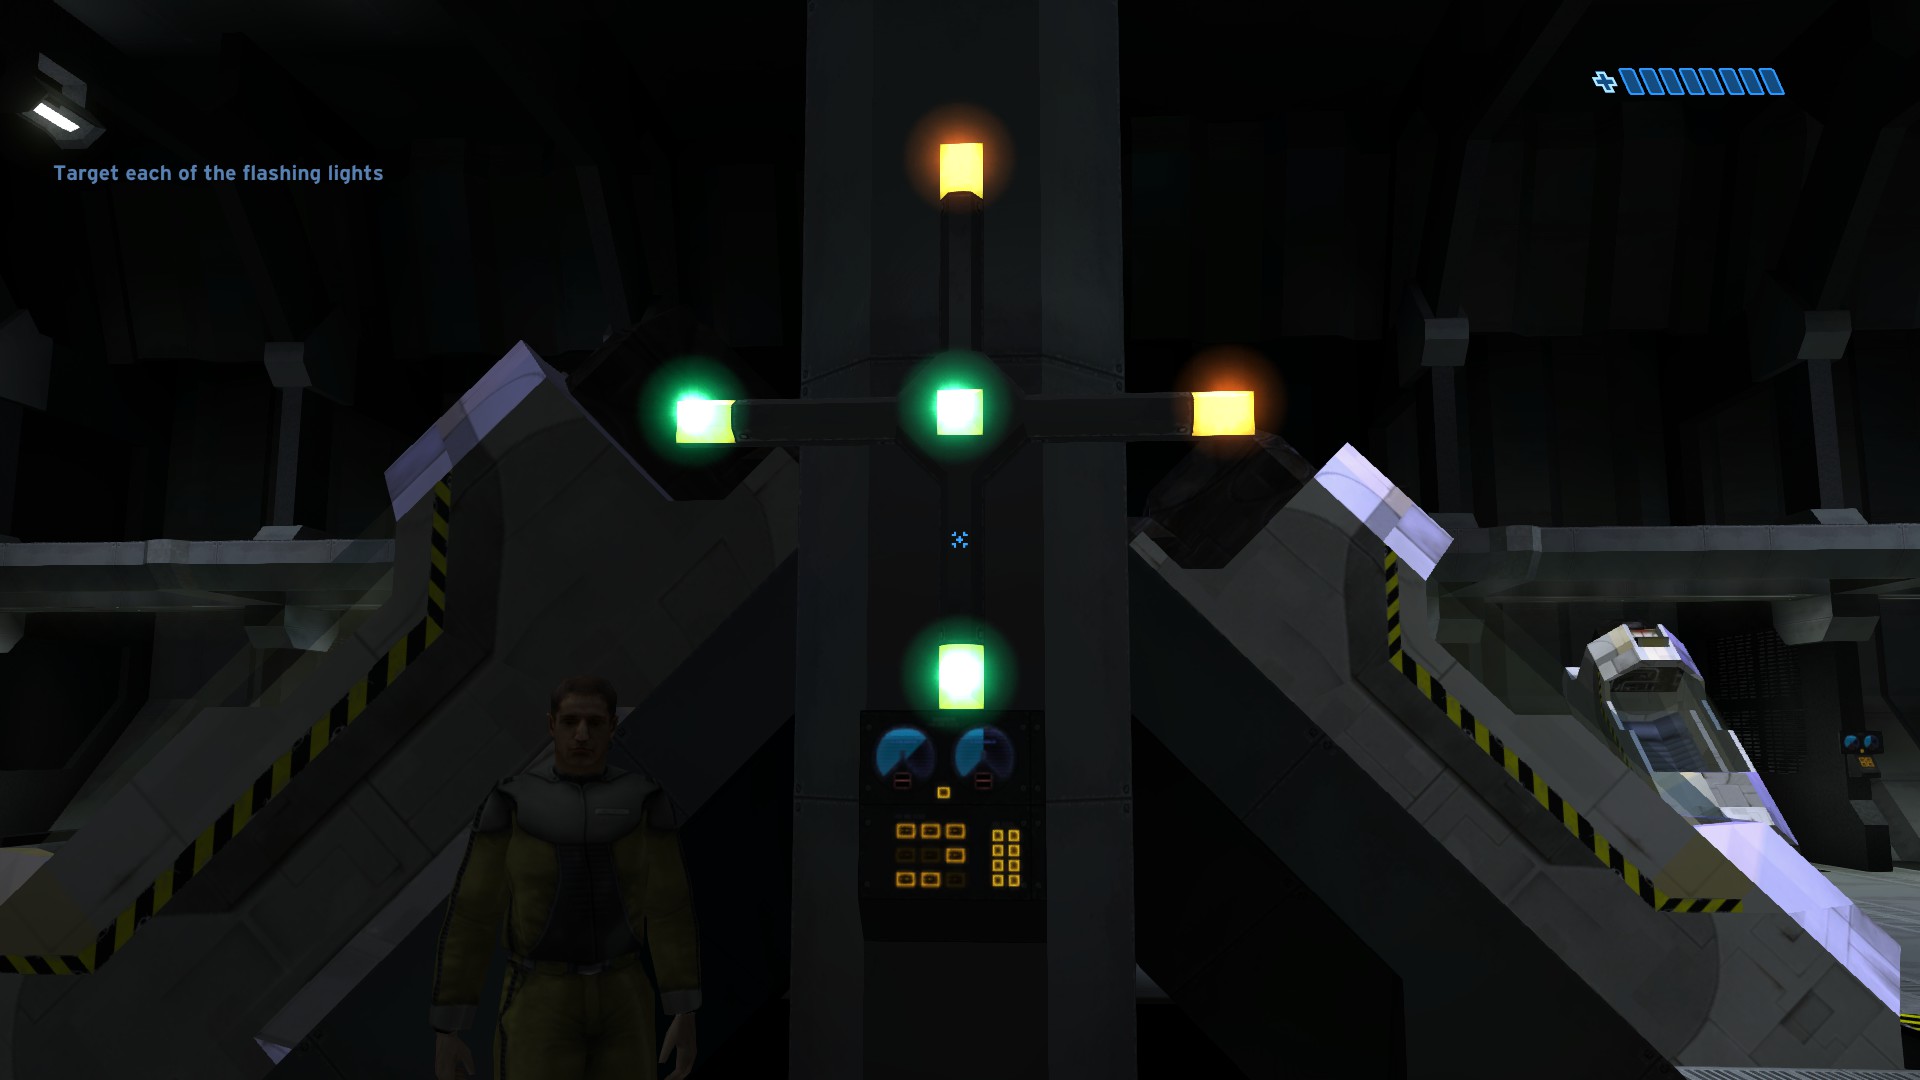
By today’s standards this section is excruciatingly slow, but it’s important to put things into context: at the time, relatively few people played games, let alone console FPS games. To compound this, Halo was ahead of its time in some respects — a separate shield and health bar, dual weapon slots, and twin-stick shooter mechanics that had to be combined into a cohesive control scheme for a relatively new console.
It’s why this room is the only section where you’re locked in, and now-common features are introduced in order. That’s not to say these introductions aren’t made somewhat organic — everything is kept thematically coherent, with things such as the health-bar not being too in-your-face.
To the bridge!
Following this tutorial room, the pacing gets right back on track, letting the player practice their newfound movement skills by running through an action-ridden ship. This linear section forces the player through a few light obstacles so they’re equipped for the rest of the game.
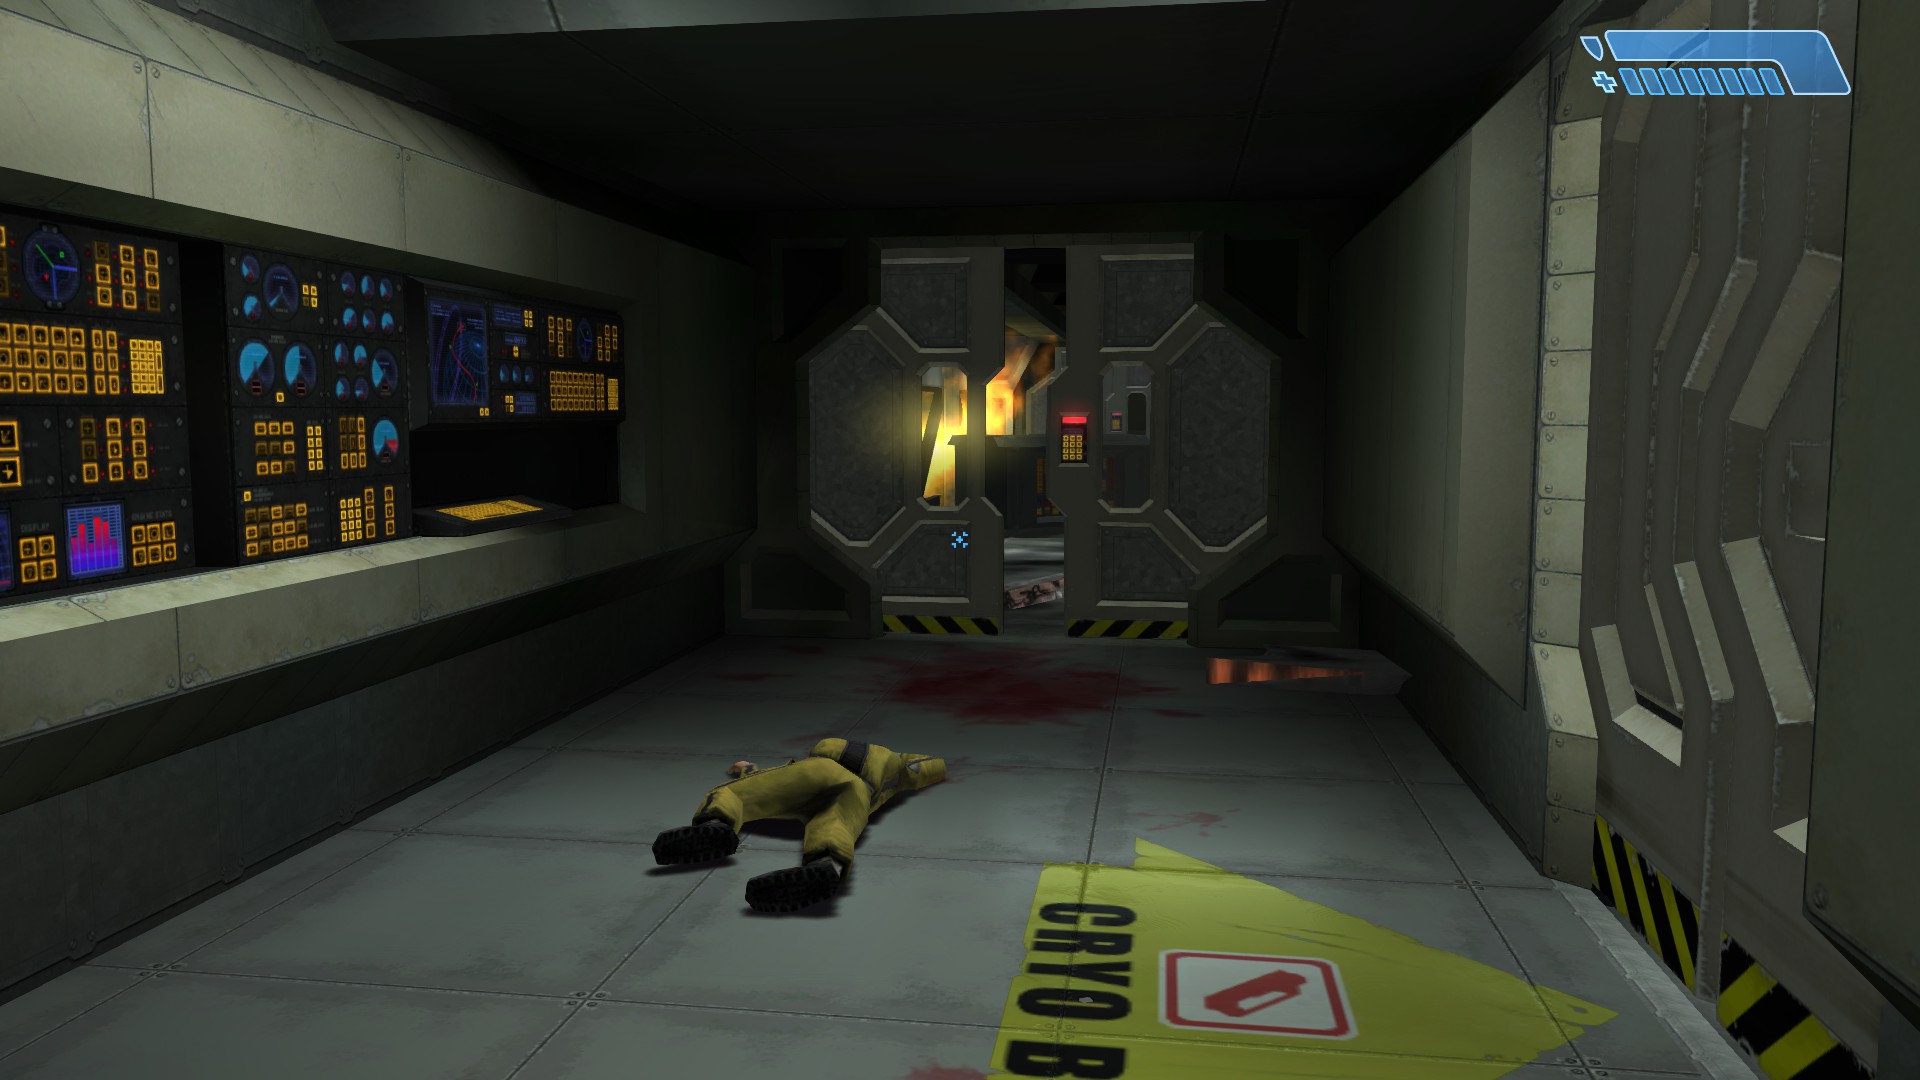
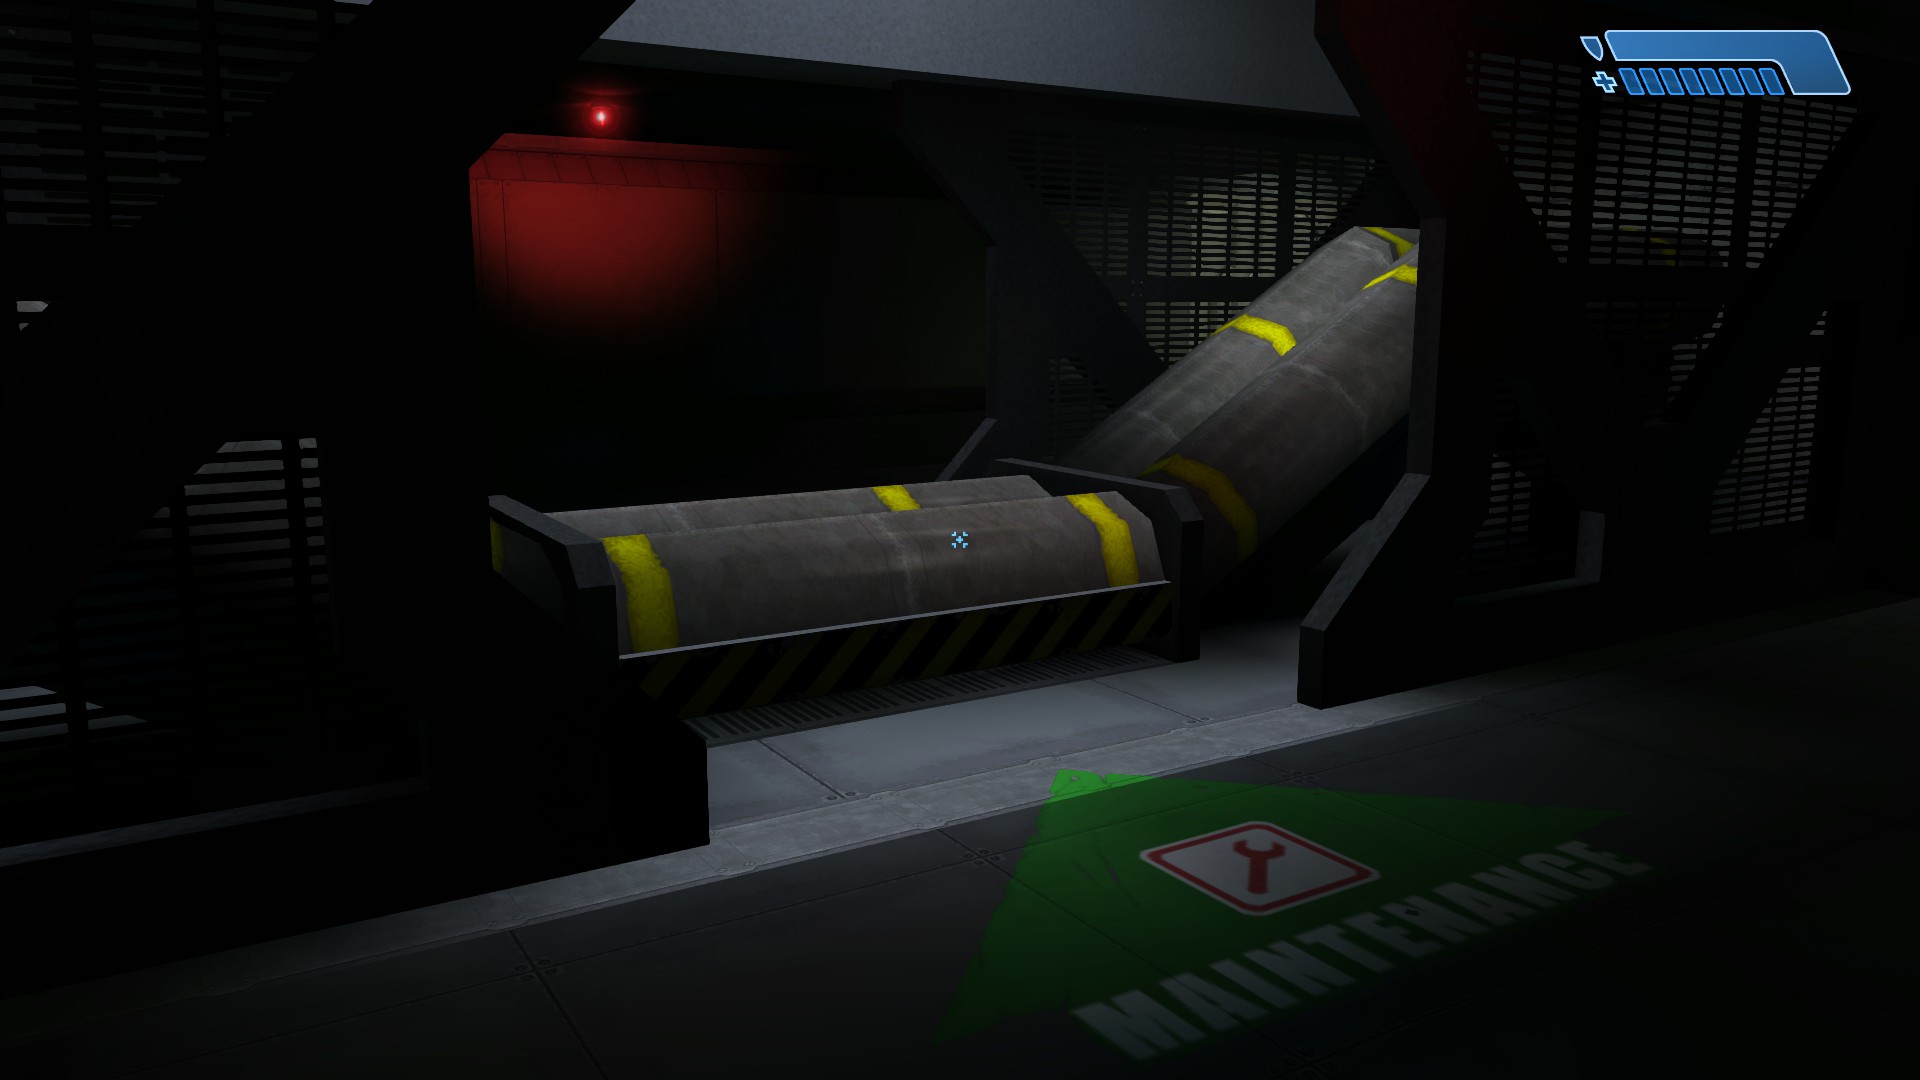
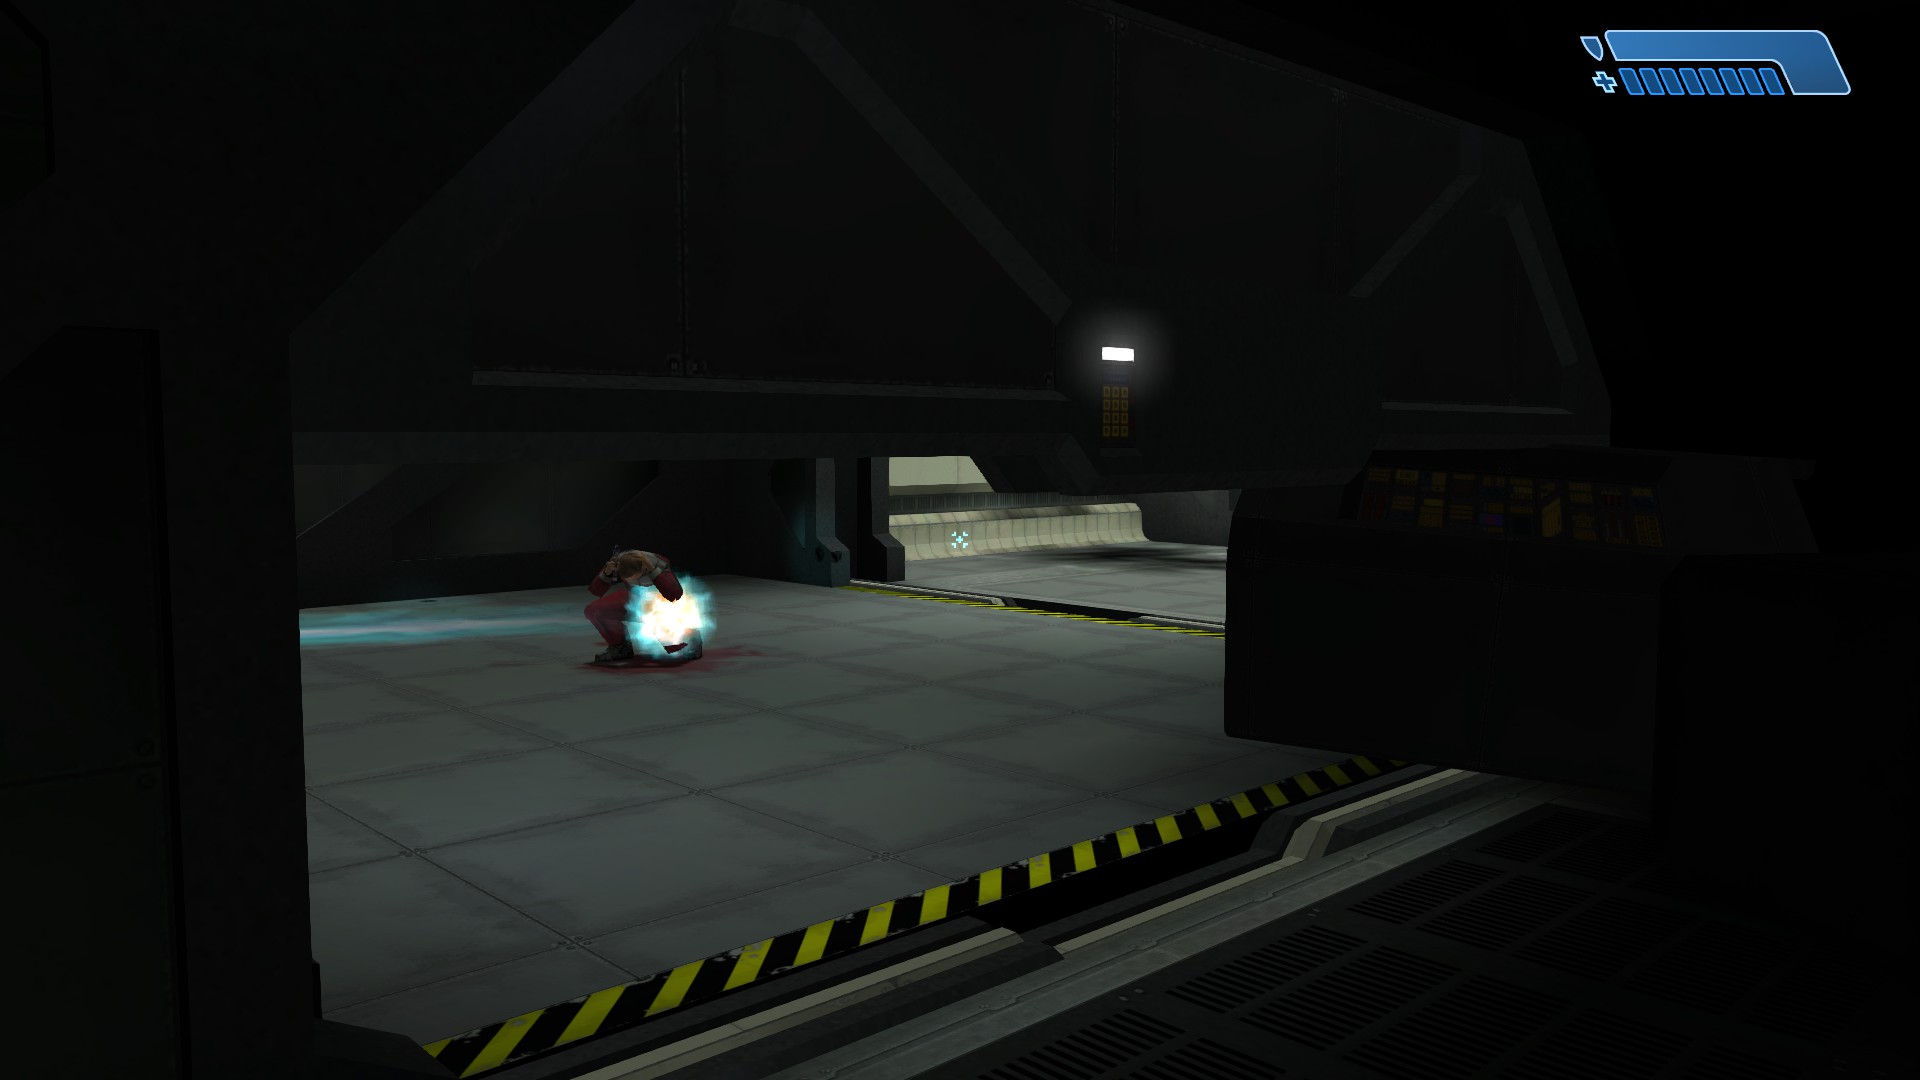
A great design choice here is not immediately giving the player a weapon — both allowing them to take in the surroundings of a ship in chaos, and providing a sense of natural urgency to get to the next objective.
Act 2: Combat training
Shooting gallery
One thing I love about the combat practice for this mission is just how organic it feels. Nothing is on rails, although the enemy/ally placement and the order in which things are presented is most definitely deliberate in preparing the player for the rest of the campaign.
You start off being given a pistol by the captain of the ship, imbuing the simple weapon with a sense of importance. This is immediately after being given the directive of getting both yourself and the shipboard AI off the ship via escape pod. Now equipped with both the means and the motive, the player launches straight into combat, shooting three of the easiest enemies in the game.
Then you’re provided Halo’s staple weapon, the Assault Rifle, progressing into this level’s equivalent of a shooting gallery. The canteen is full of tables and pillars, providing great cover while forcing player movement, and you’re provided plenty of allies to draw fire as you practice your shots.
You’re given two combat encounters, with enemies deliberately laid out in one direction at a time, minimising the fine motor skills required for both thumb-sticks. This is a great introduction to the core combat mechanics, immediately after which you’re let loose into the rest of the ship.
“Introduce, practice, test”
One thing you don’t fully notice unless you break this level down is the predictable structure of its teachable moments. Almost every section can be described as the player being shown an object or skill, then immediately getting a small combat scenario with which to practice it.
In the mid-section of this “act”, the player has presumably been shown the majority of the skills they need, so are given a momentary buff in the form of a shield upgrade, and sent forward into the longest unbroken linear combat section of the entire level. This practice is perfect preparation for the final “test” of the act, which is a unique combat encounter.
In this case, the testing scenario is fighting up a staircase within an octagonal room, with doors opening one by one on each side. Unlike the canteen, the stair room forces the player to move and look in all directions, which either assumes the player has practiced the twin-stick formula or still needs that little extra push in mastering it.
What’s nice about this space is it’s self-balancing in the sense that there’s still plenty of cover in the form of pillars and the stairs themselves, and some ally units to once again draw fire if the player is struggling. There’s also no artificial push to progress up the staircase until the player is ready, allowing them to pivot around the stairs on the lower level and pick targets off at their own pace, all while still practicing the aforementioned movement skills.
Act 3: Wayfinding
The cool-down
Now that the player has (hopefully) got to grips with the core mechanics, there’s a cool-down period of sorts, allowing them a brief reprieve and the level a tonal shift. It’s during this section that you see allies escaping in pods, but just before you can reach them, the pods launch and are destroyed as they leave.
I believe it’s here the level uses a moment of mixed emotion (panic, relief and loneliness) to snap you out of the previous action-packed pacing, and transition the player’s mindset into something more thoughtful.
It’s a great subtle shift, and allows the introduction of mechanics such as stealth at a time when the player is most receptive to it. Stealth is made thematically consistent with a sense of loneliness on the dying ship, but there’s no forced failure state for detection. If the player instead feels anger or just wants to maintain momentum and go in all guns blazing, they can do so — allowing them to express themselves in a way that feels natural. If the emotional moment is missed entirely, or doesn’t land, there’s no disconnect for the player and the pacing never breaks.
The escape
At the start of the second half of this act there’s a nice moment of “closure”, where the player finds themselves in the observation room above the cryo-bay. You’re looking down on your training room, now surrounded by enemies, as if to say “look! This is where it all began, and look how far my skills have come…”. As a tutorial mission it seems incredibly fitting to remind the player of their progress in a way that isn’t ham-fisted.
I think it’s also a great way to fill the player with a small amount of hope and confidence as they root for an exit through the charred remains of the ship’s interior. What I like about this section is there’s a hidden lesson for crouch-jumping that’s slightly off the beaten path — although I’m not certain if it’s deliberate. Given the great teaching elsewhere, I’d be inclined to believe it is, as it’s placed to the side of the main route and allows only the most practiced players to use this niche, otherwise unessential skill.
Finally, after searching and fighting, the player encounters the final lesson. This one is remarkably simple and fun, providing a piece of cover and a big stack of grenades, allowing for an explosive clearing of the way out and a quick escape. Leaving the grenade introduction right to the last minute is a great way to prevent less experienced players from blowing themselves up in the narrow corridors, and makes the final scene much more memorable as you begin your journey onto the mysterious Halo.
A modern retrospective
Pacing
I’ve touched on this already, but it’s jarring going from action-ready cutscene to dead-stop tutorial sequence. In PS, I’ll work under the assumption that players are familiar with Arma, its mechanics, and Halo, so that I can focus on pacing and gameplay.
Repetition
While thematically consistent, PoA is incredibly visually repetitive, and this often results in new players becoming disoriented in combat, especially in sections with several routes. It somewhat remedies this with macro variety in corridor layouts, unique rooms that serve as mental checkpoints, and a commitment to prop and enemy arrangements being unique.
While the variety is adequate for a game of its time, a modern recreation (especially one for multiple players) would first require a strengthening of these pillars. Every encounter, prop arrangement, environmental story, and light must come together to make each space feel entirely unique.
Secondly, the very fabric of the ship itself needs more depth and greater visual distinction between areas. This could be in the form of various states of maintenance, different utilitarian design elements layered into corridors, and unique props.
My overall design philosophy with PS is to distil the feel and intent of each of PoA’s many elements and craft something original, to unshackle myself from some of the dated design concepts. One such component are the painted one-directional arrows intended to show the player where to go, that not only don’t make sense but seem like a bandaid solution to player navigation.
I want to keep the idea of navigation guides, but flesh it out into a metro-style navigation system through continuous floor screens, inspired by the displays in Ender’s Game. This in my mind empowers the player to be more conscientious and self-sufficient, while removing the original crutch and forcing more inspired level design.
Modular asset system
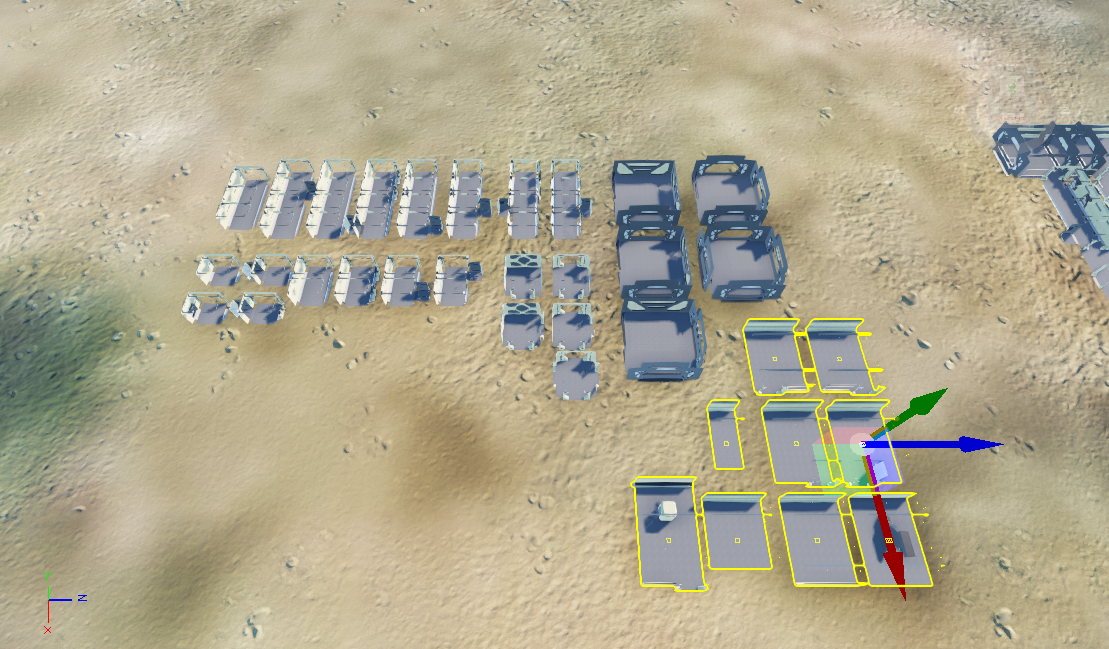
I have designed my modular kit on two levels:
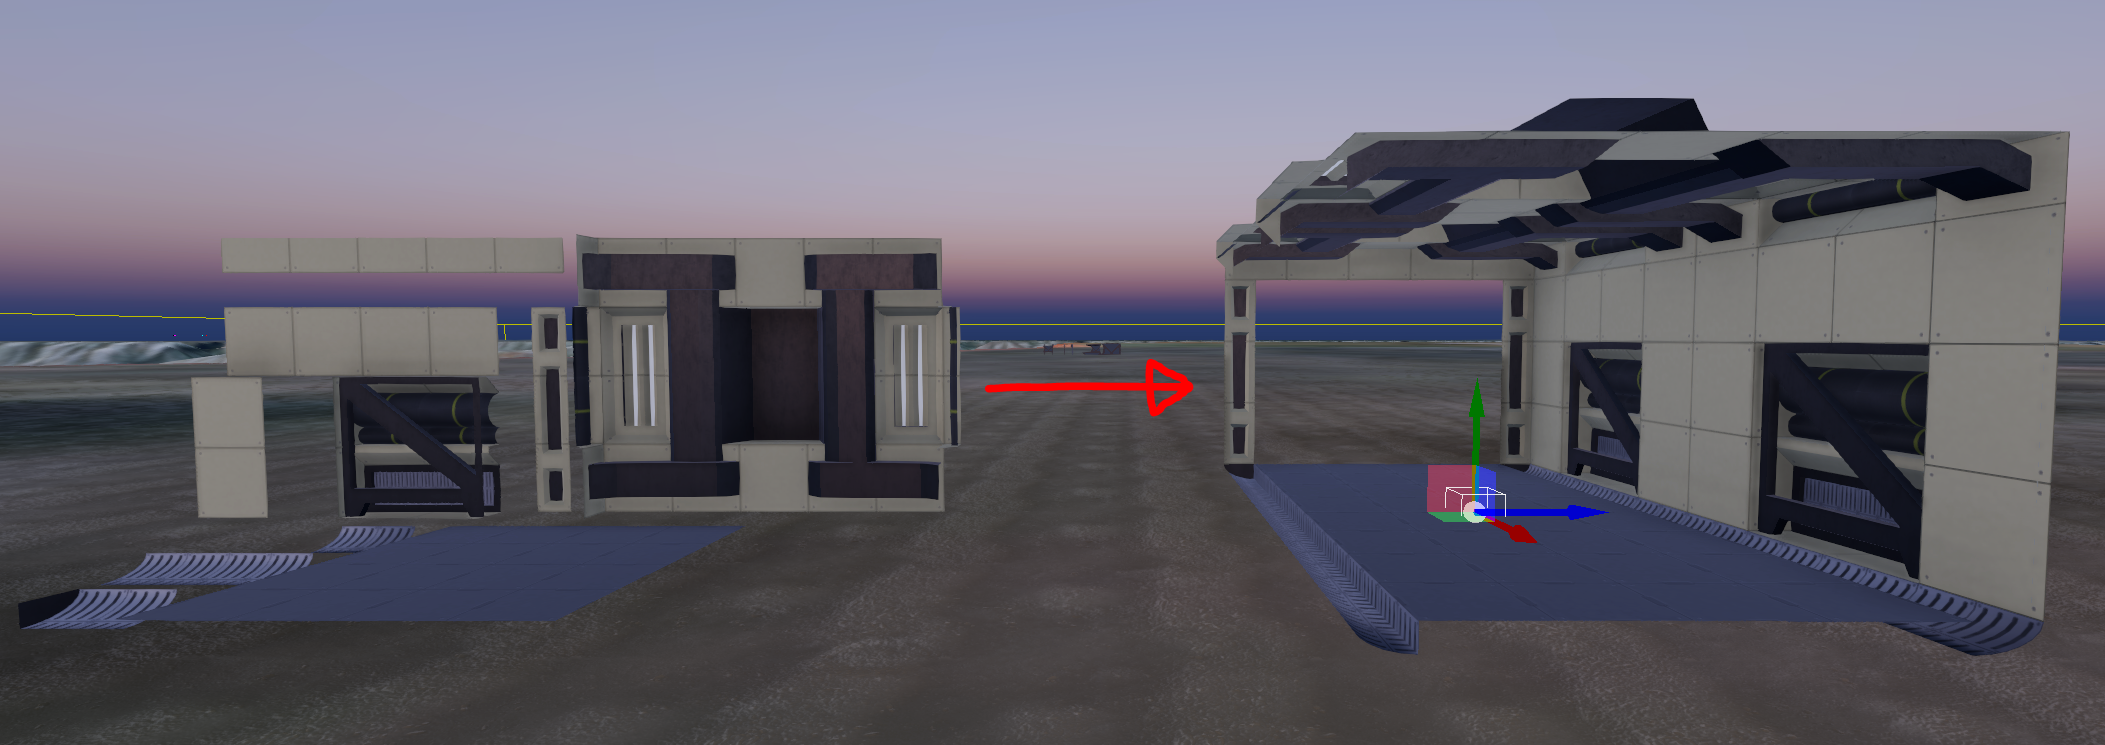
- Components are individual models exported to the level editor, which are modular in design and share materials.
- Compositions are collections of components, such as a corridor or room variant. These are also modular in design and should snap together for fast level prototyping, and can be saved in-engine for easy re-use.
In the Enfusion engine you can “break” a composition in the scene and change its components, allowing me to add variation to otherwise repetitive layouts. I generally try to save these unique variants for re-use — if not for me, then for mod users when the pack is eventually released.
Component specification
- Use of compositions and components must be seamless.
- Components must use size increments of .25m (the smallest supported snapping increment in the level-editor).
- Face details such as decorative bevels and outsets/insets should use increments of .125m or .1m for a consistent visual style.
- Common primitives such as floor panels should avoid backfaces and high poly counts.
- All components should follow a low-poly workflow due to high object counts.
- All components should use trim-sheets or repeating textures.
- Different materials should be assigned to different areas of the UV, so individual global materials can be easily swapped/replaced.
Components (left), composition (right)
Decoration
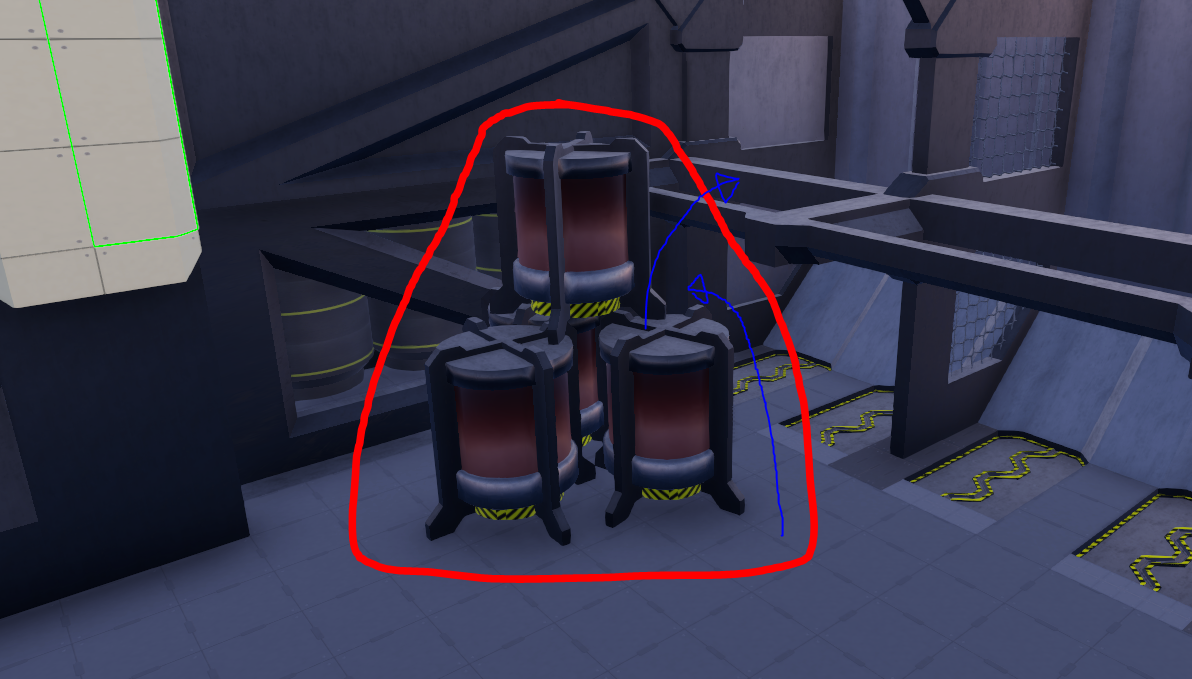
Select assets don’t conform to any sense of modularity, as they aren’t part of the architecture. These usually have a gameplay purpose, such as being the right height for climbing or shooting over.
Multiplayer map
Layout design
The multiplayer map is designed as an interim milestone and early test-bed for the modular asset list. To save time later on, I wanted to take and adjust a specific area of the campaign layout so it could be reused.
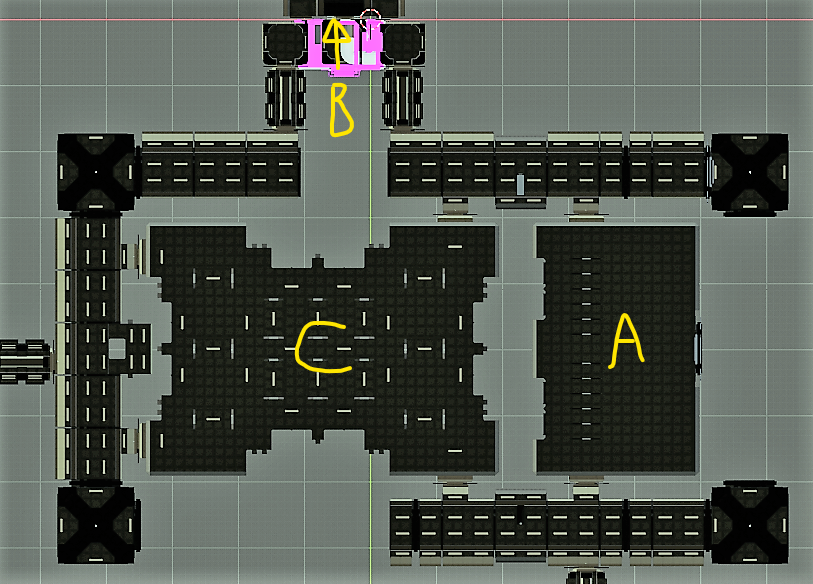
I identified an iconic area of the original level that was roughly the right size and had some existing symmetry. This was a combination of the canteen (C), armory (A) and surrounding corridors, located close to the bridge (B).
Aerial view of original level section
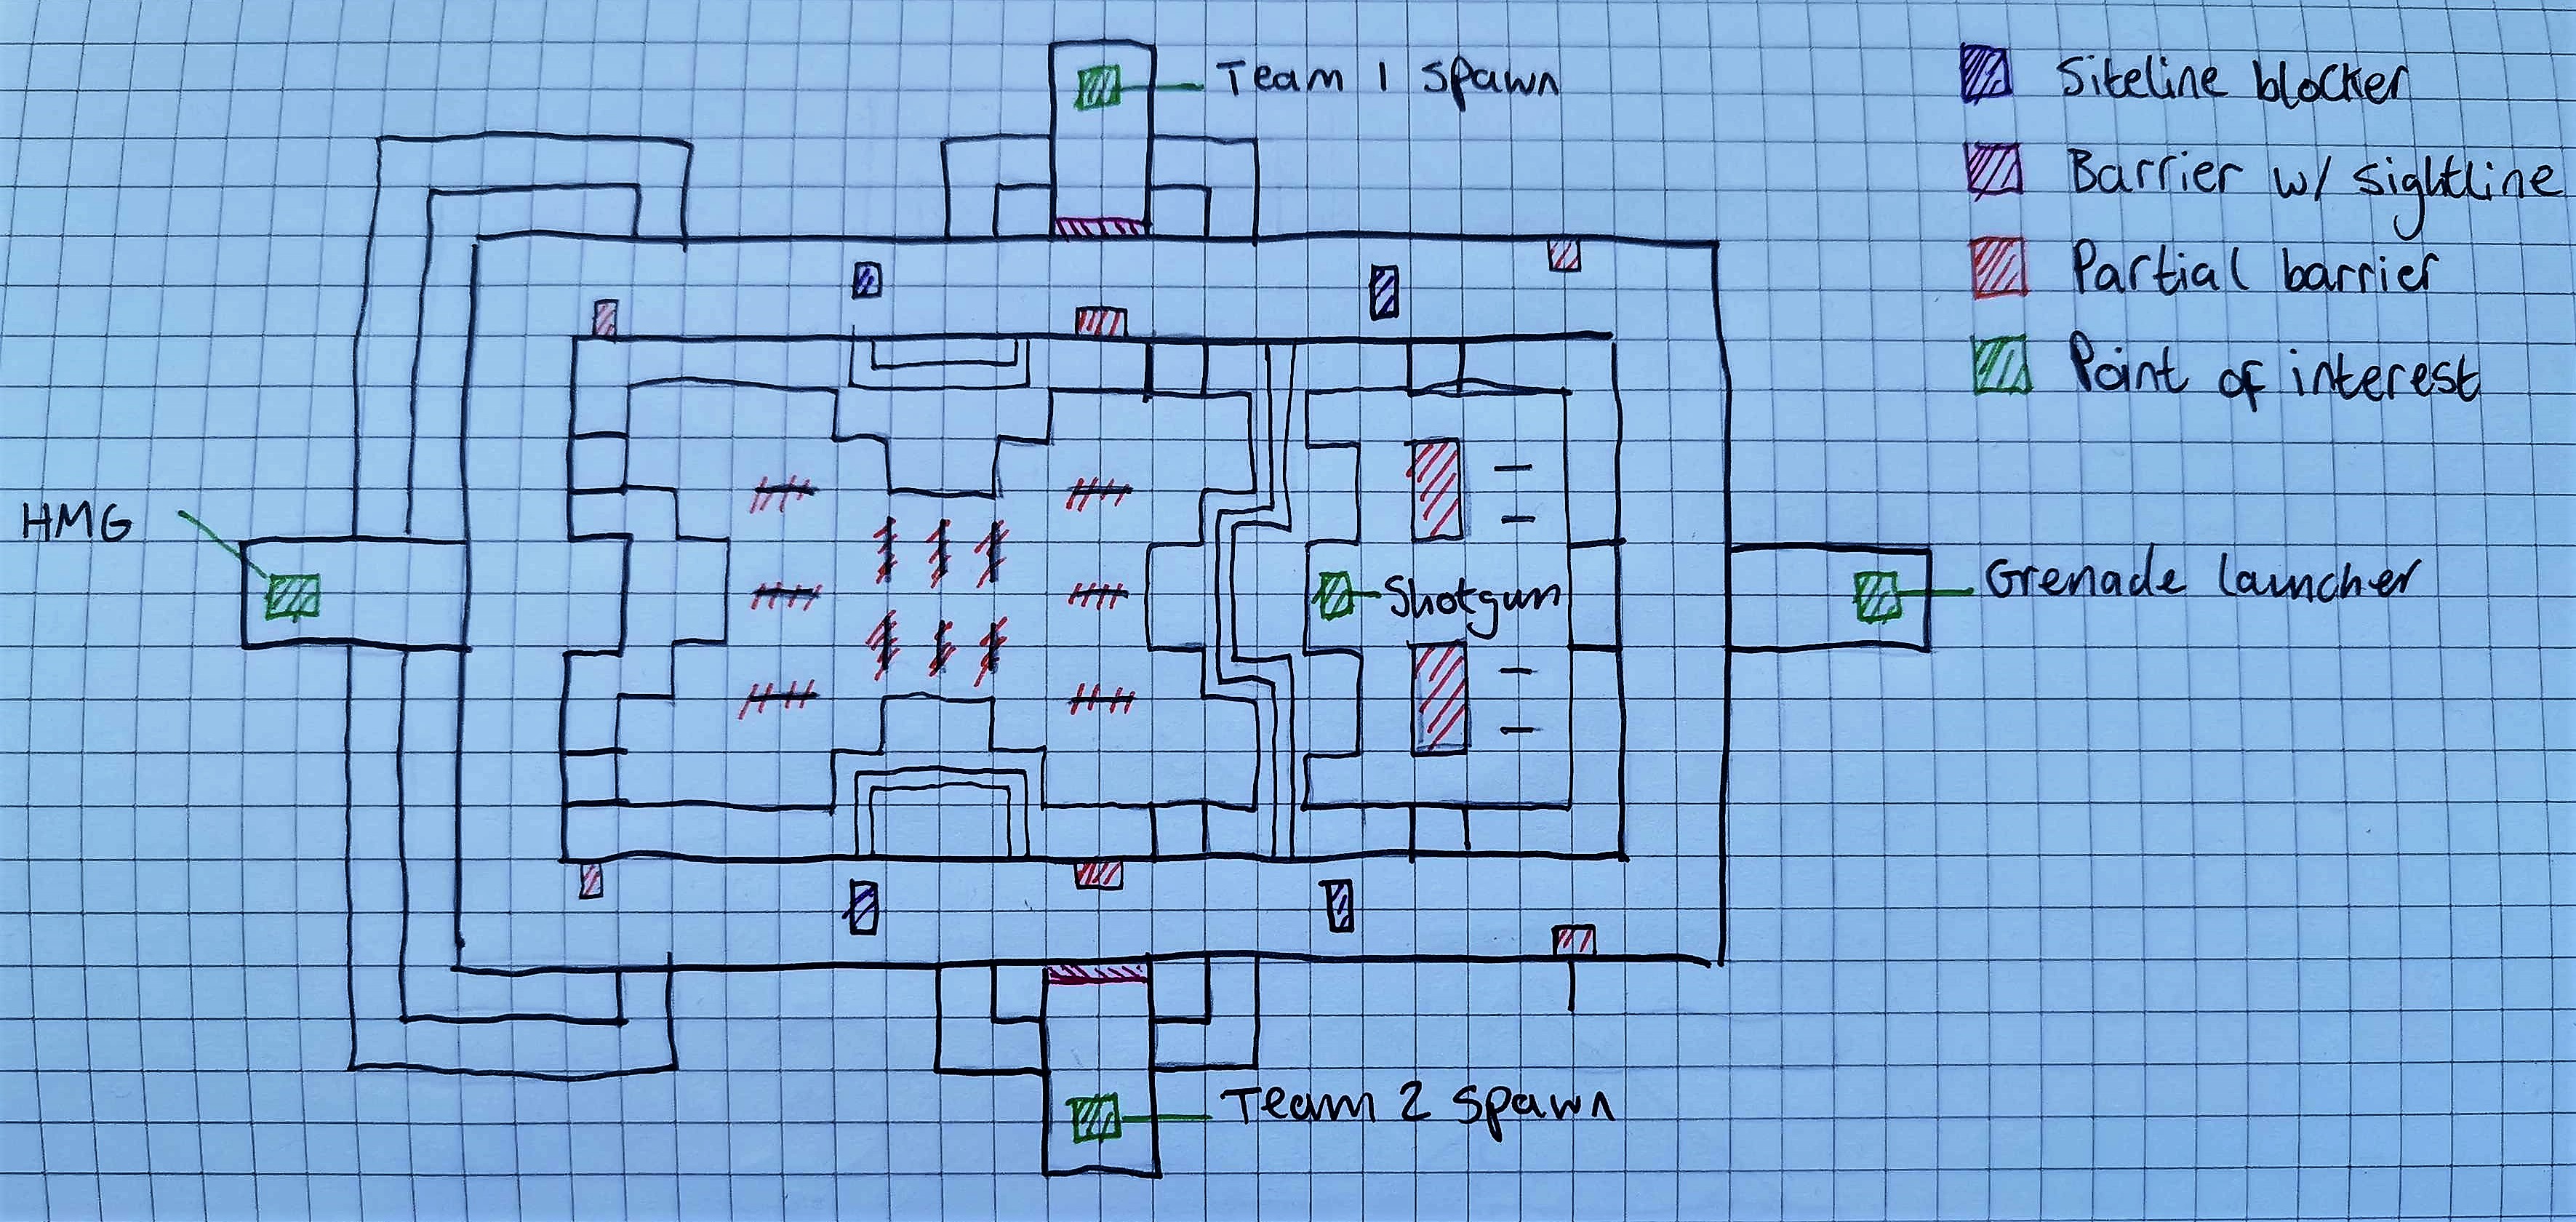
My initial design is driven by the following thought-processes:
- There was an obvious foot-traffic “loop” I could exploit by filling gaps in the outer large corridors.
- The top smaller corridor “loop” would make an ideal spawn area, but it should be centralised, made bigger, and could be mirrored horizontally.
- Power weapons should exist in the furthest extents of the map to encourage travel. A single power weapon should exist in the centre to drive competition.
- The main corridor should have plenty of sight-line blocking and non-blocking cover to tighten up gameplay and encourage movement.
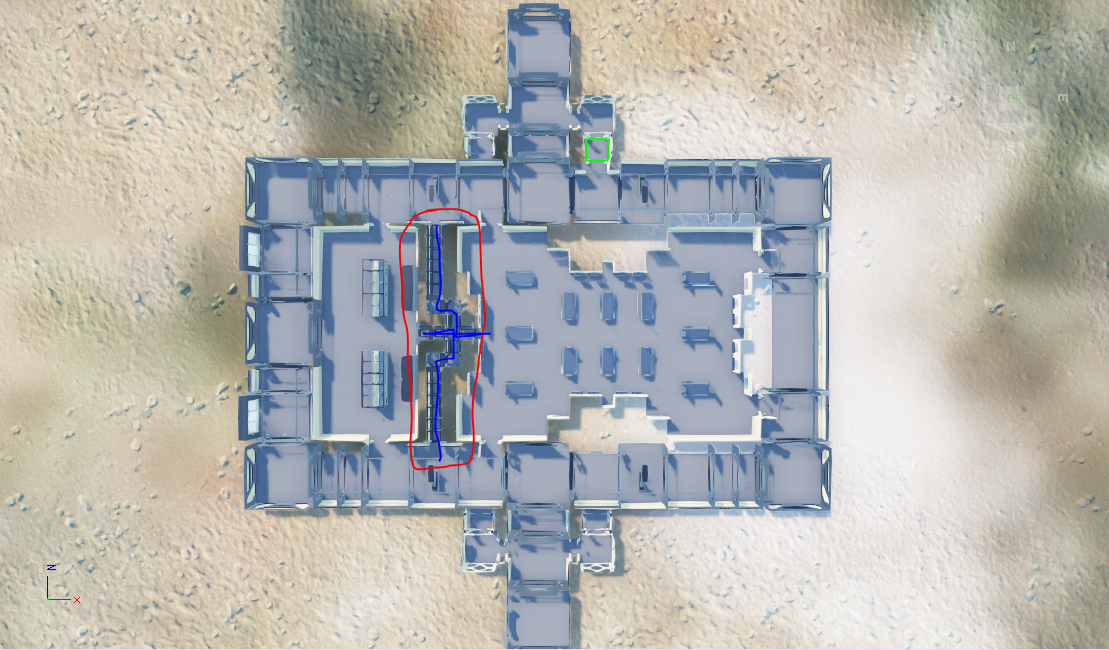
- I wanted to incorporate the smaller maintenance corridors from the original level, so have included a cut-through in the middle. This needs to be tested and may be removed or repositioned.
First draft
3D recreation
After much work modelling missing components and combining those into compositions for later use, I arrived at the following test layout. This helped me get a sense of scale in-game.
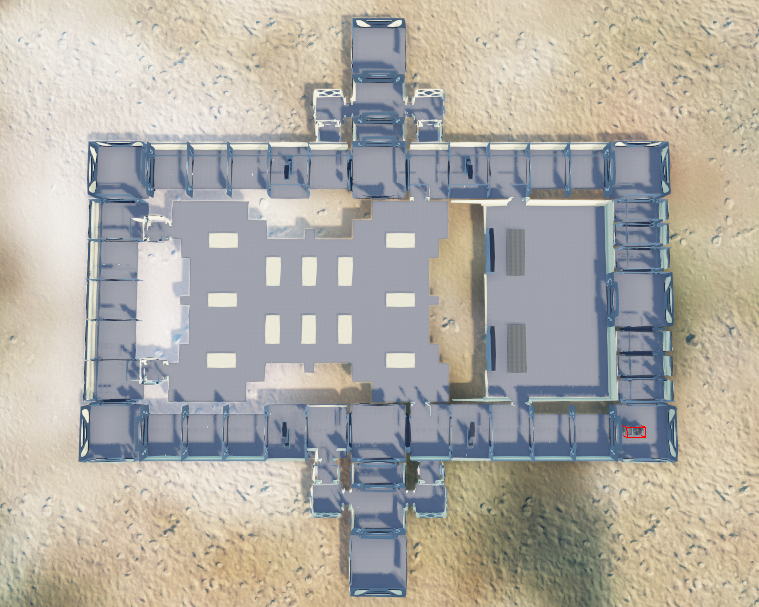
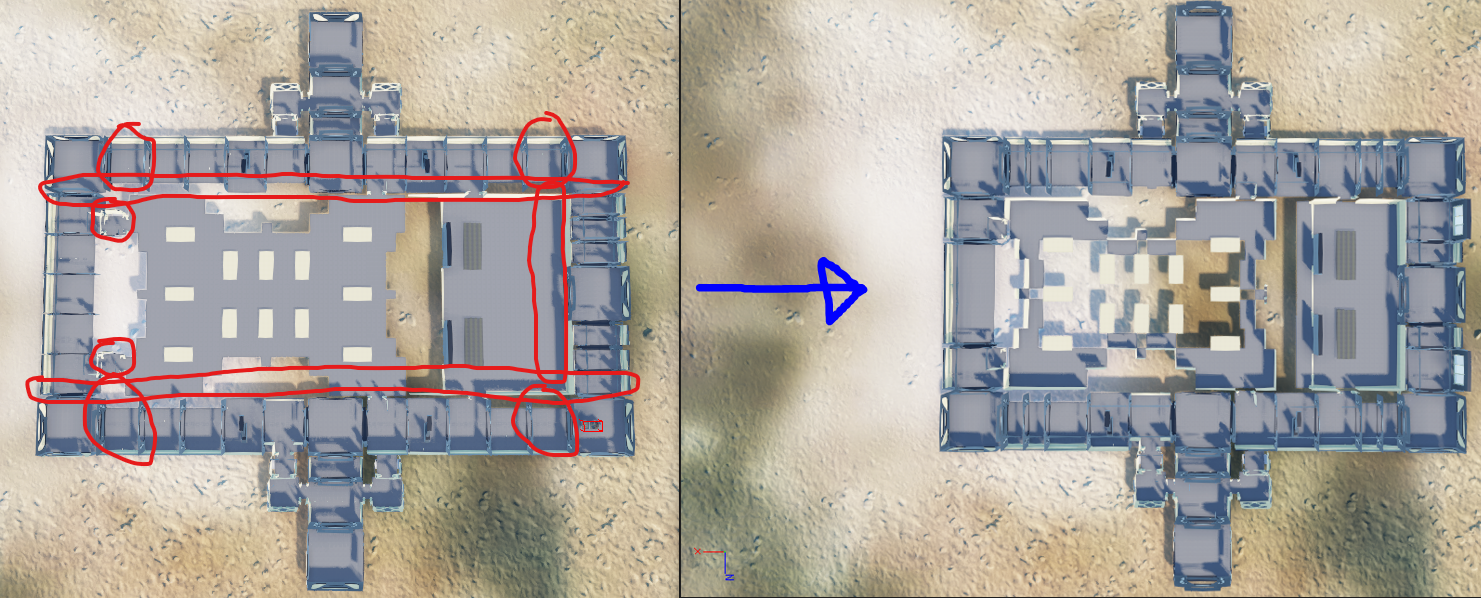
Once in-game, the outer loop felt too large and devoid of detail. Part of this is of course due to a lack of lighting, VFX and props, but I trusted my gut and cut some of the dead space. This helped the gameplay feel massively, and resulted in smaller, more deliberate-feeling central rooms.
Parts missing from the 3D mockup were the left and right weapon locations as well as the new maintenance route. Due to the scale feeling too big originally, the corridors didn’t feel necessary, but the maintenance assets did. I also included a connection between the armory and canteen, as the time to traverse between the rooms felt frustratingly slow despite their adjacency.
The last detail for the core layout was to make something more of the far-right corridor, as it had very little purpose. Taking inspiration from the original level, I added sheltered seating areas into two alcoves to add a kind of mid-range dueling space next to the canteen. As with everywhere else, this still needs detailing and cover to add more flow and pacing to the combat.
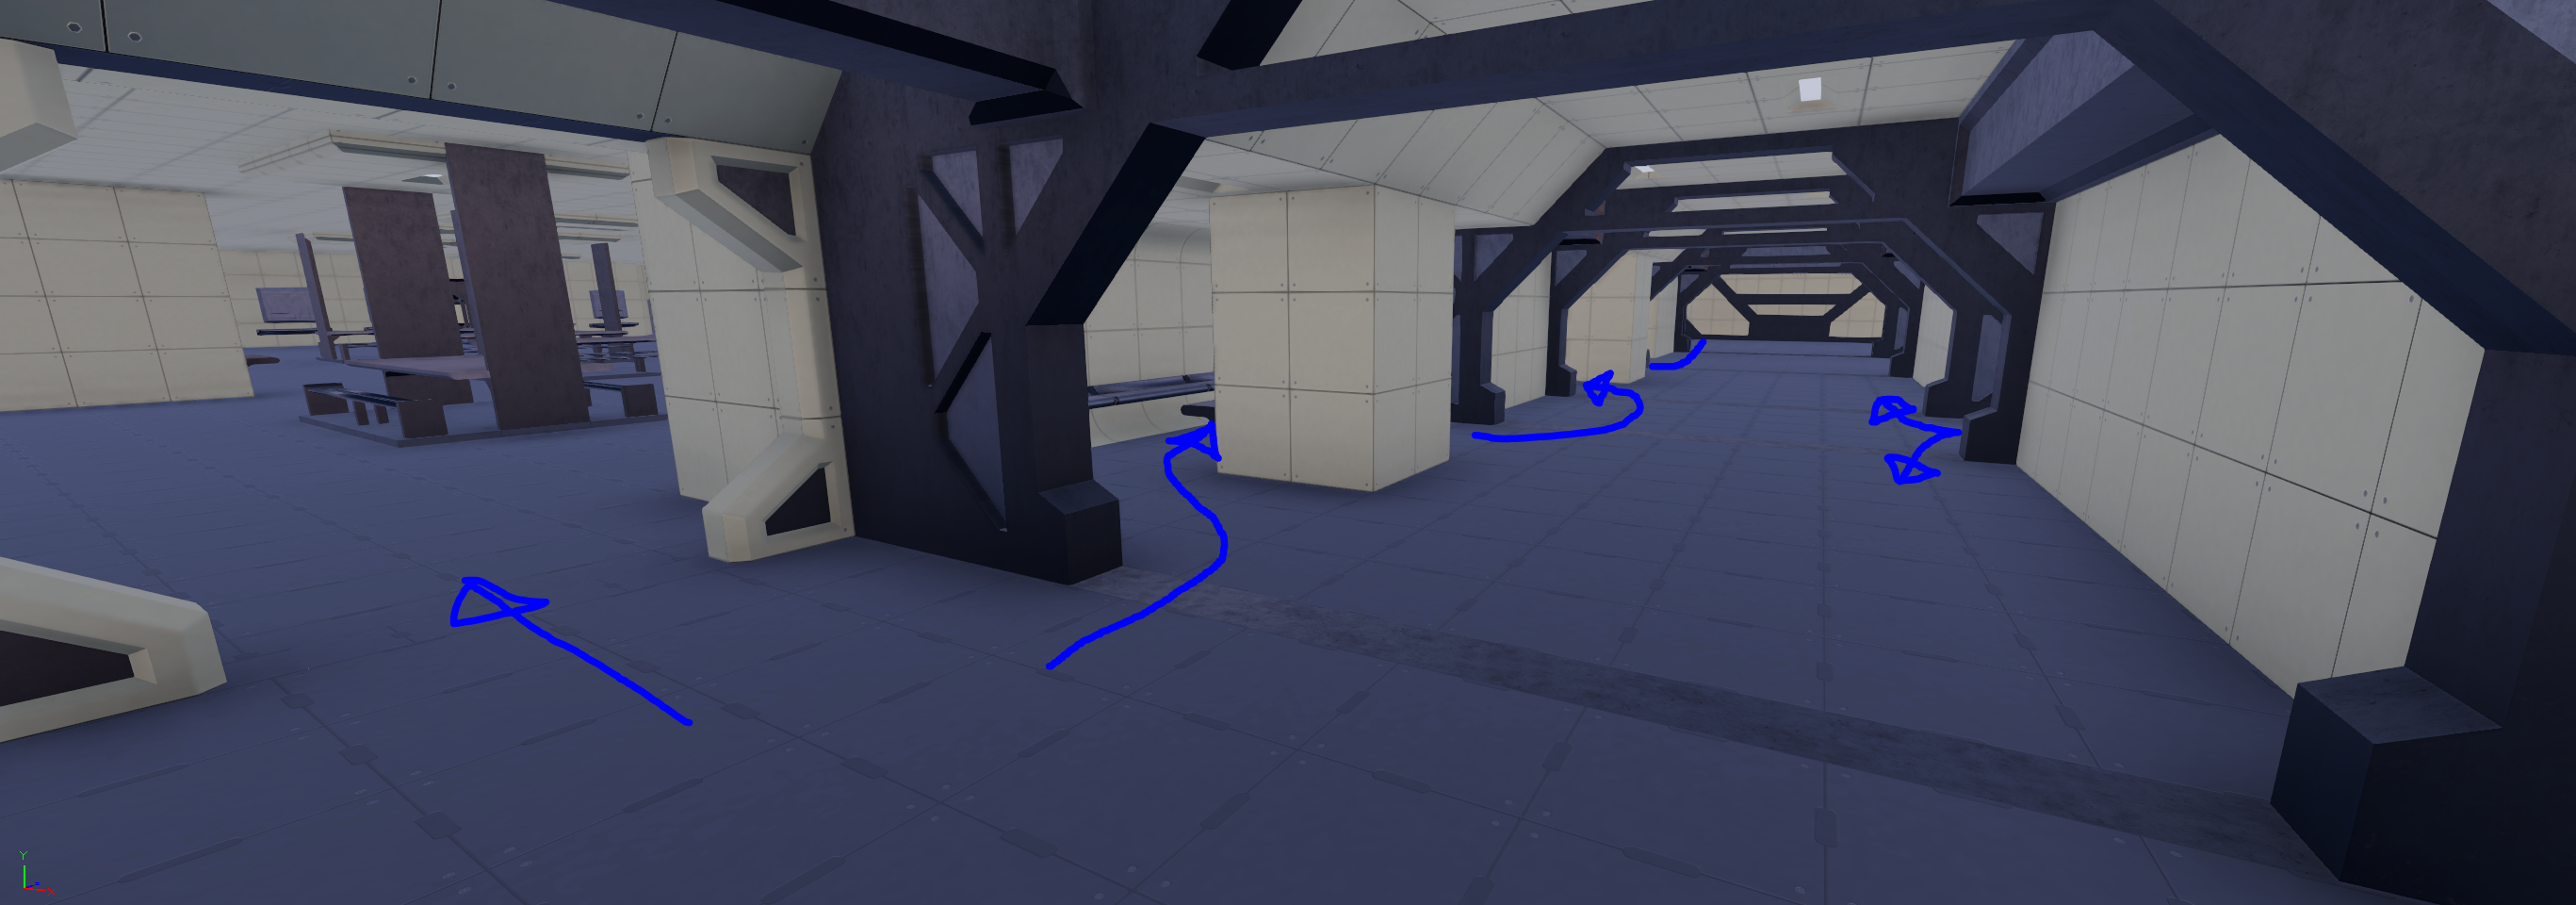
Recreation
Breakdown coming soon.