Overview
Basic level stats
Build time: 3–4 days (approx)
Format: Story PVE Supported player count: 16–32 Tested player count: 22 Tested squad count: 3 Average runtime: 1½h – 2h (excluding player load and prep time)
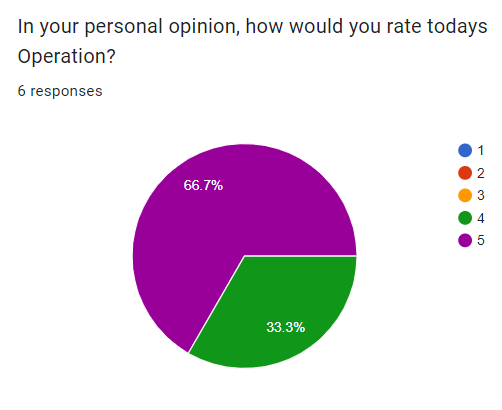
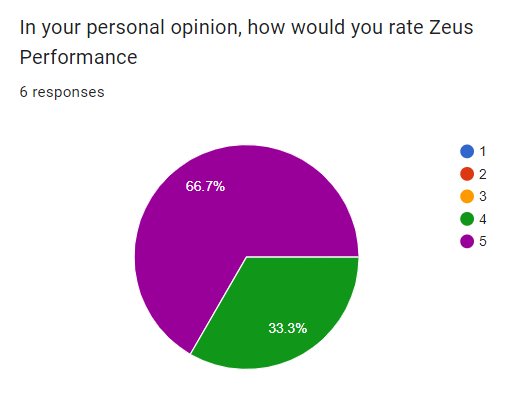
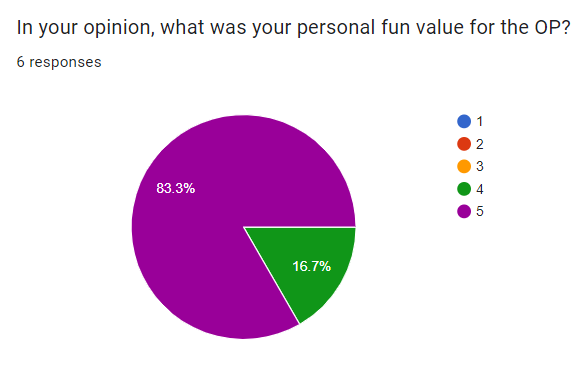
Player feedback responses: 6 total Average player score: 4.7/5.0 ☆
Synopsis
In the explosive opener to our third campaign, the 86th finally catch up to an old foe after months of pursuit through space.
We arrive to find planet Harvest in chaos, with the Navy already locked into combat with the enemy over an old shipyard. Not wanting to avoid the fight, the 86th gear up, drop to the planet’s surface, and help turn the tide of the war by securing this shipyard and the connected oil facility.
Cinematic trailer
My contributions
- Kitbashed bases
- Placed roads
- Placed spaceships
- Placed props
- Placed VFX
- Placed AI
- Selected musical accompaniments
- Defined mission flow
- Monitored and adjusted pacing in real-time
- Monitored and adjusted VFX when appropriate for narrative
- Triggered narrative events (ships crashing)
- Tweaked time of day/lighting
- Tweaked weather effects (rain, lightning etc.)
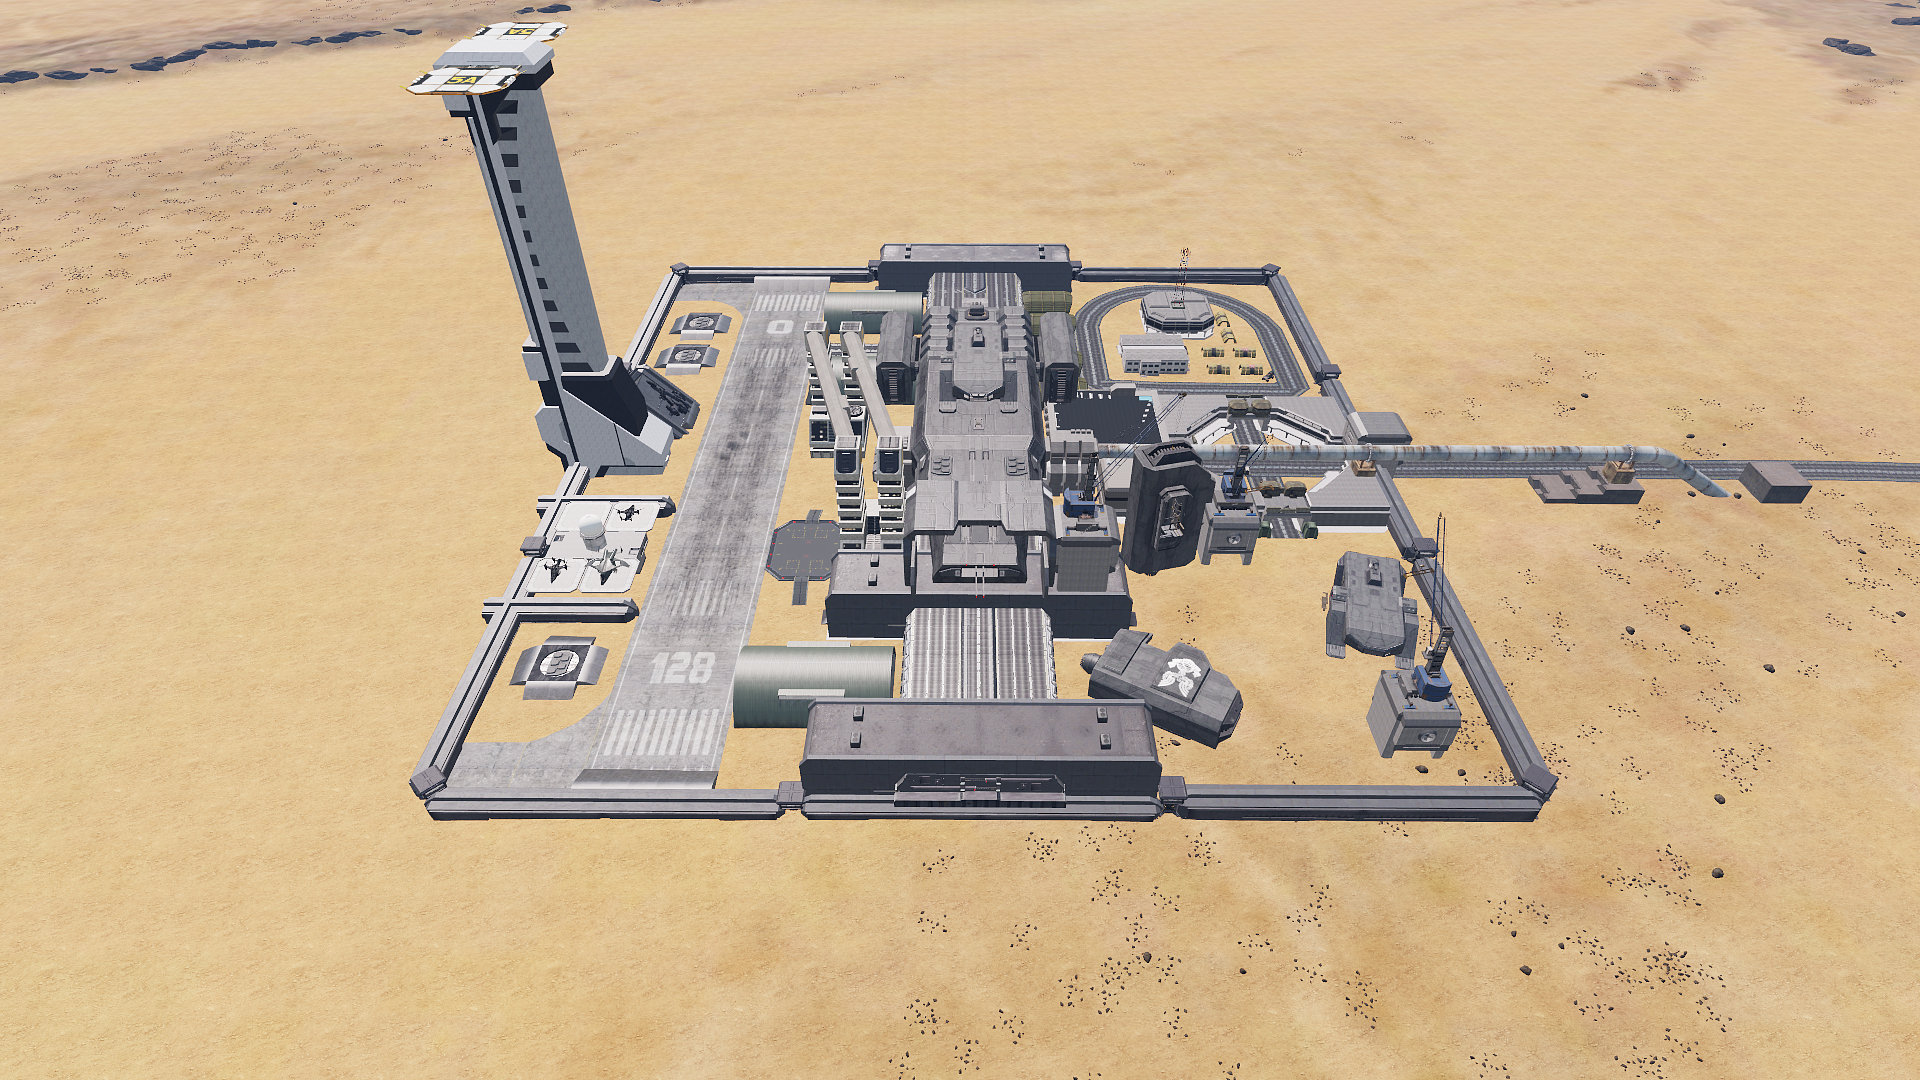
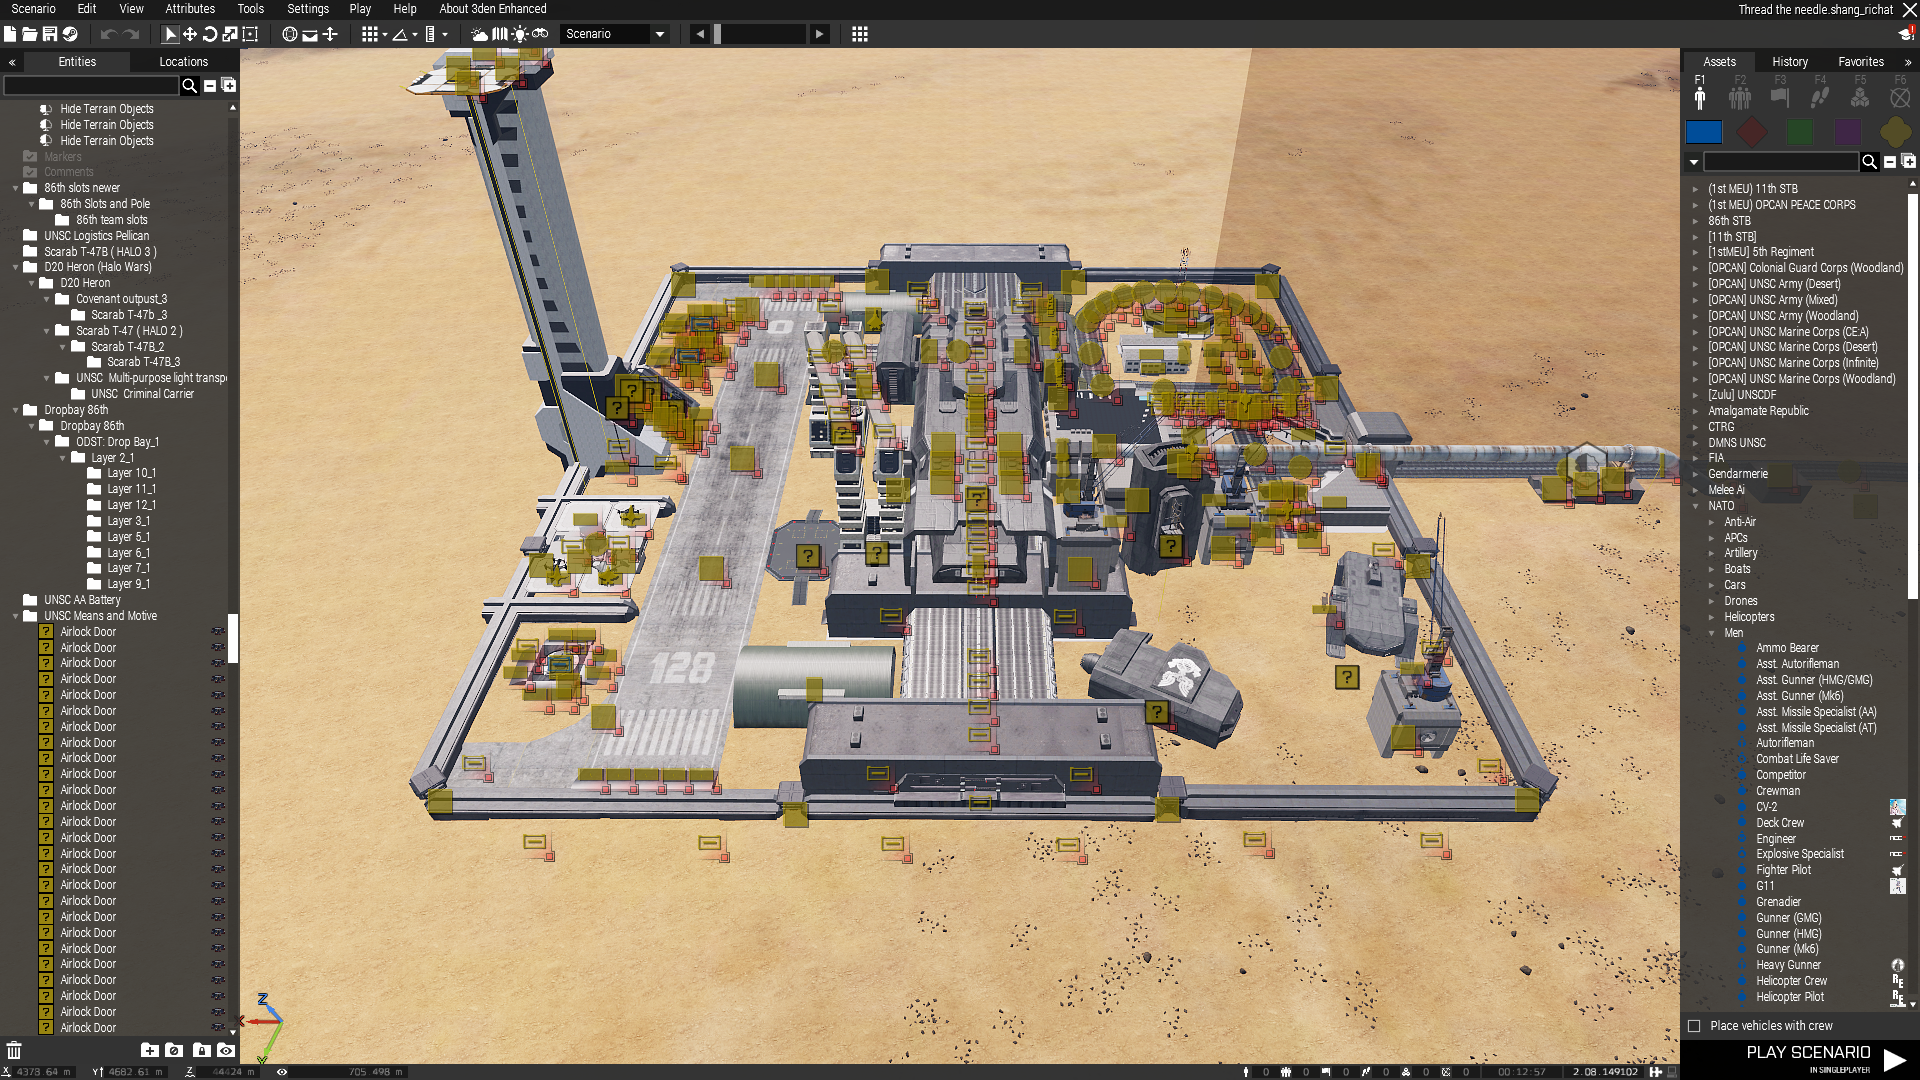
I built this shipyard:
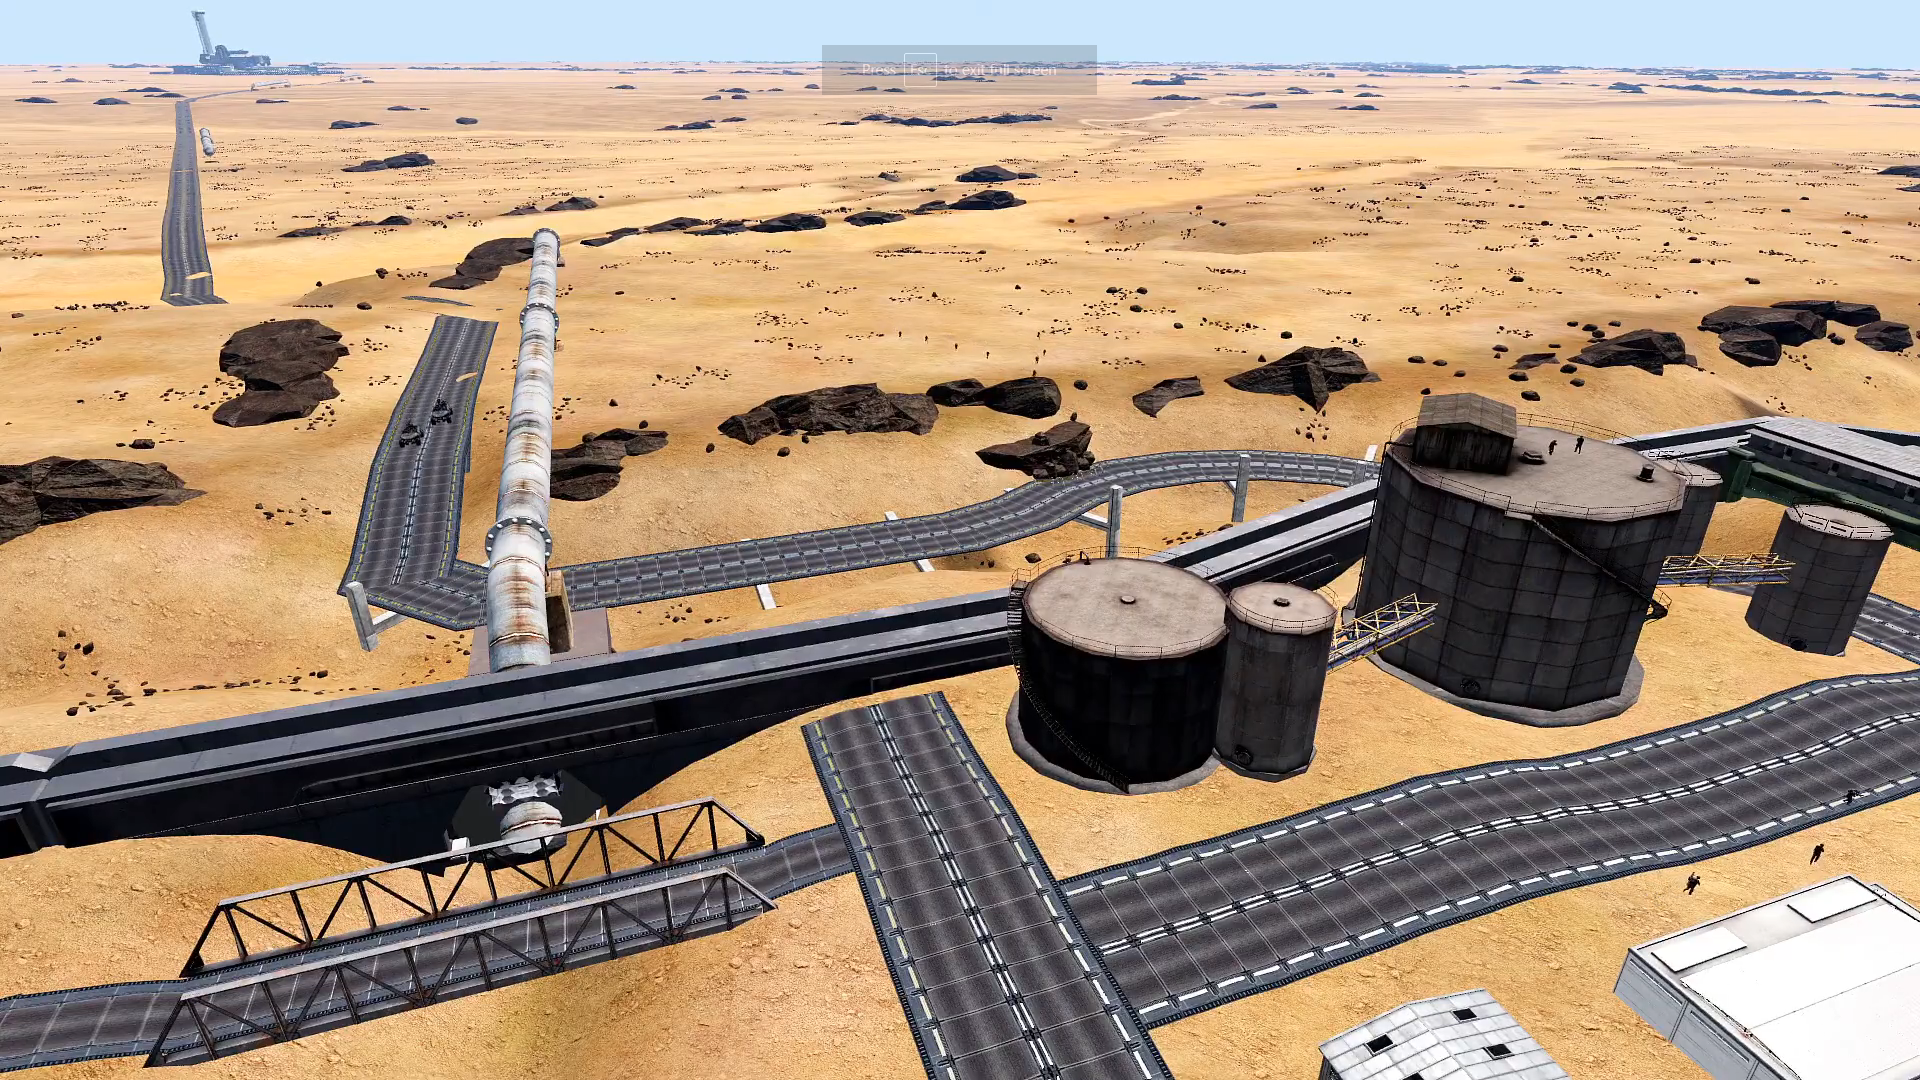
And this oil facility:
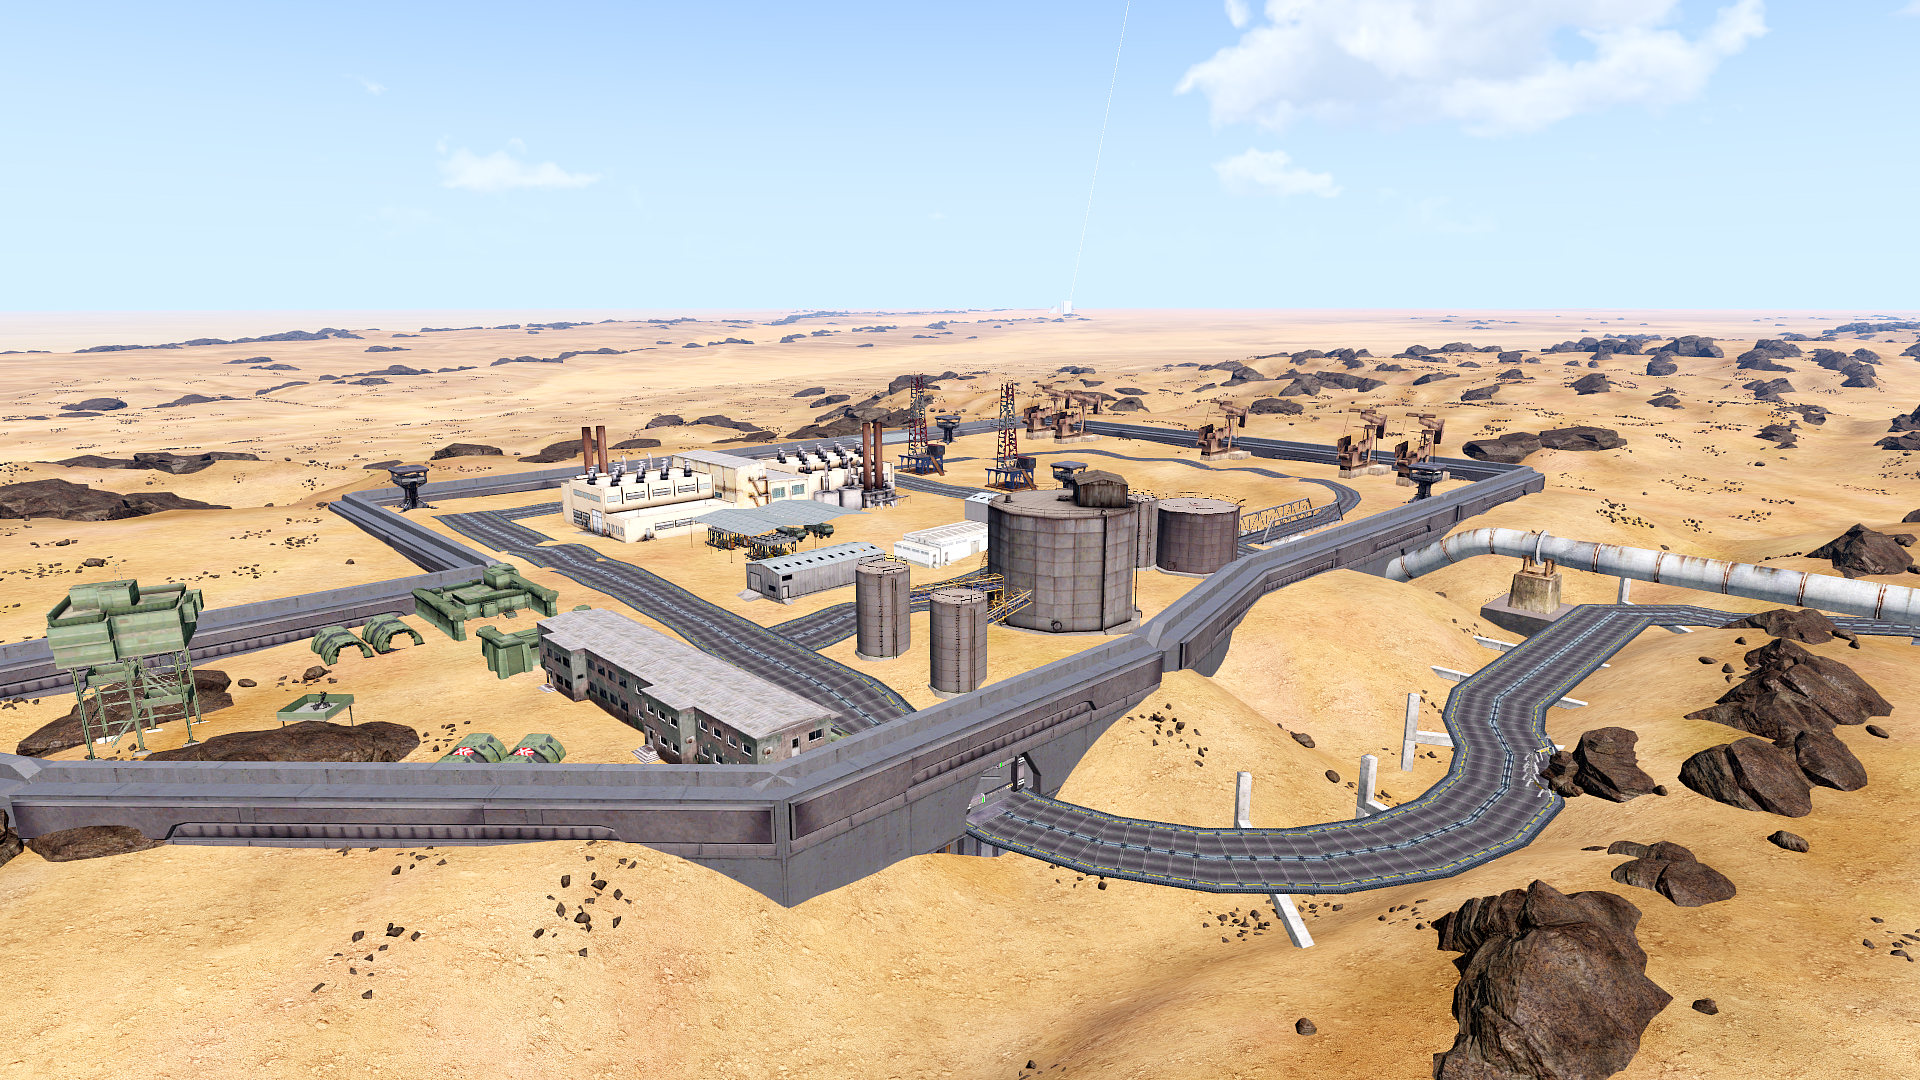
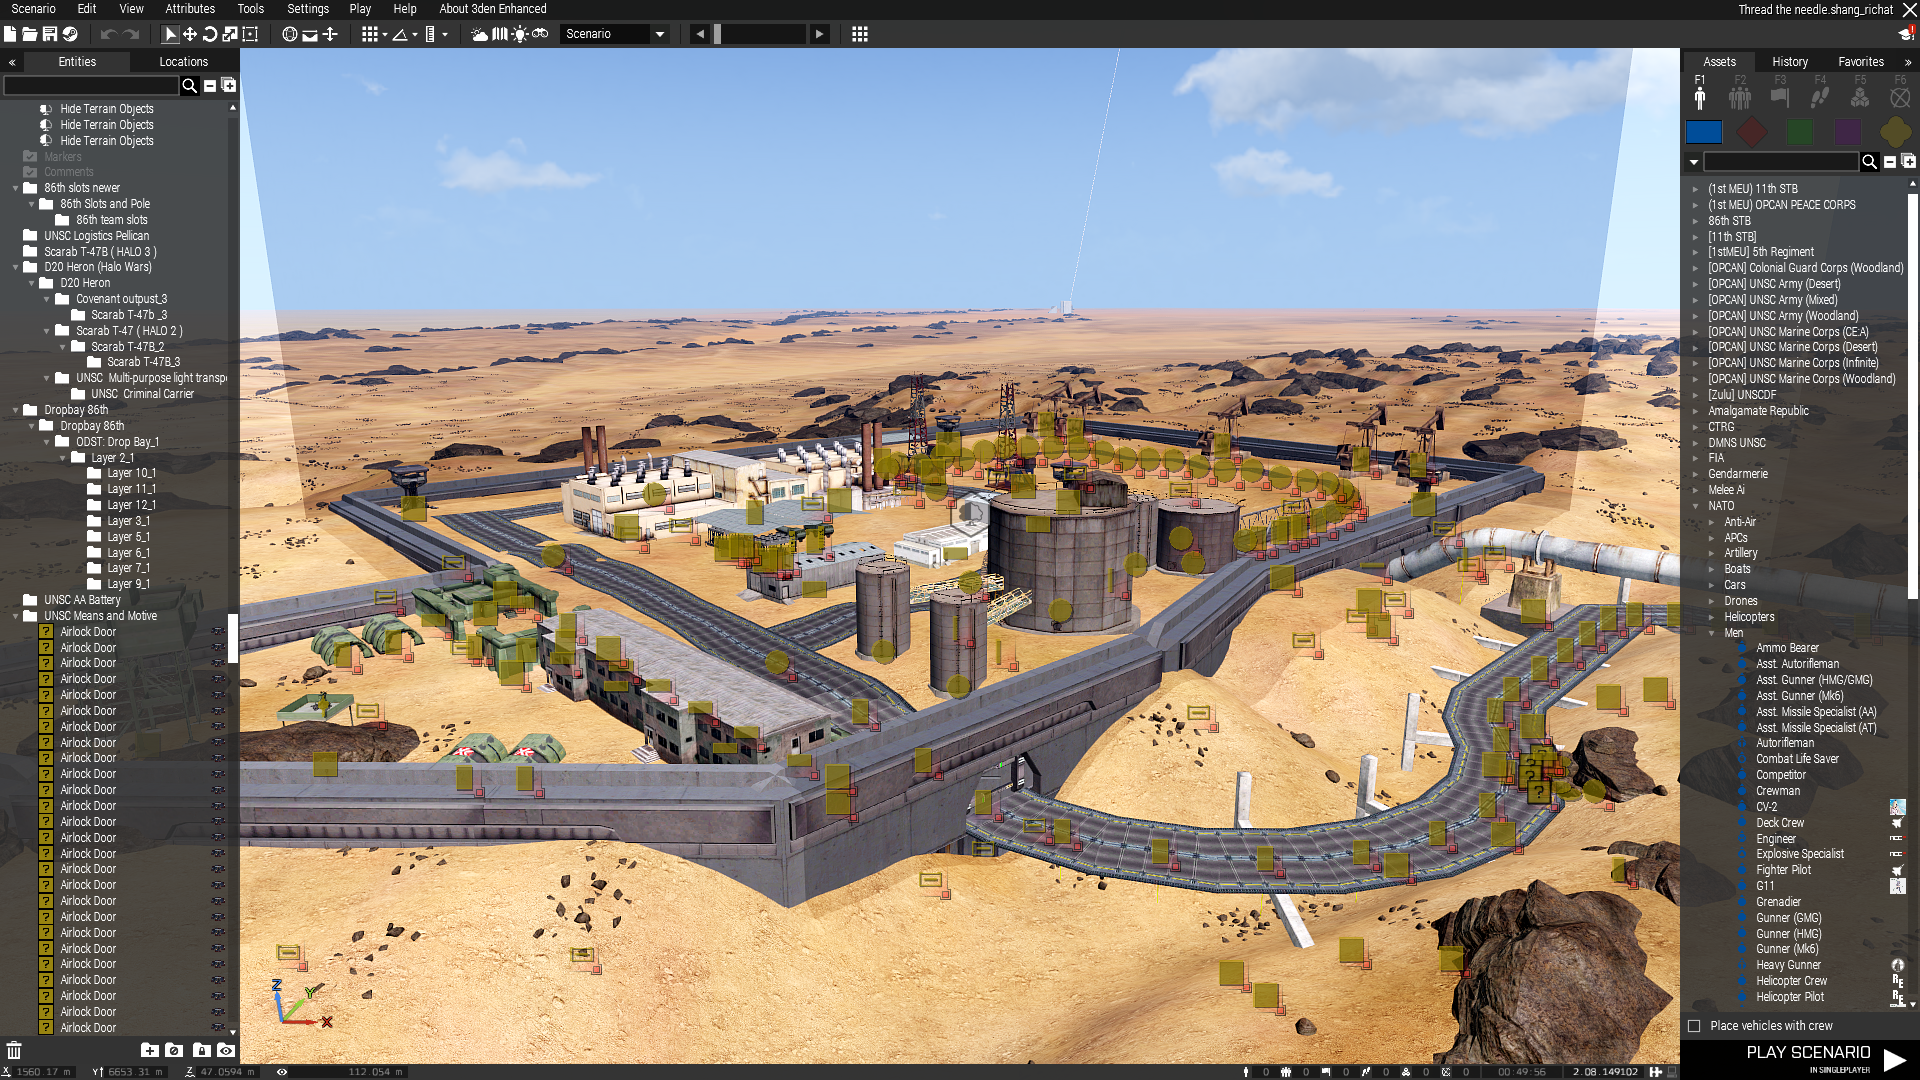
Design walkthrough
Opening “cinematic”
As the opener for my third major campaign for the 86th STB player-base, I wanted to do something special.
The ODST “cool” factor is inserting into a mission via drop-pod, although this is typically reserved for rare occasions to keep the mechanic fresh. My goal was to make this our most visually interesting drop to date.
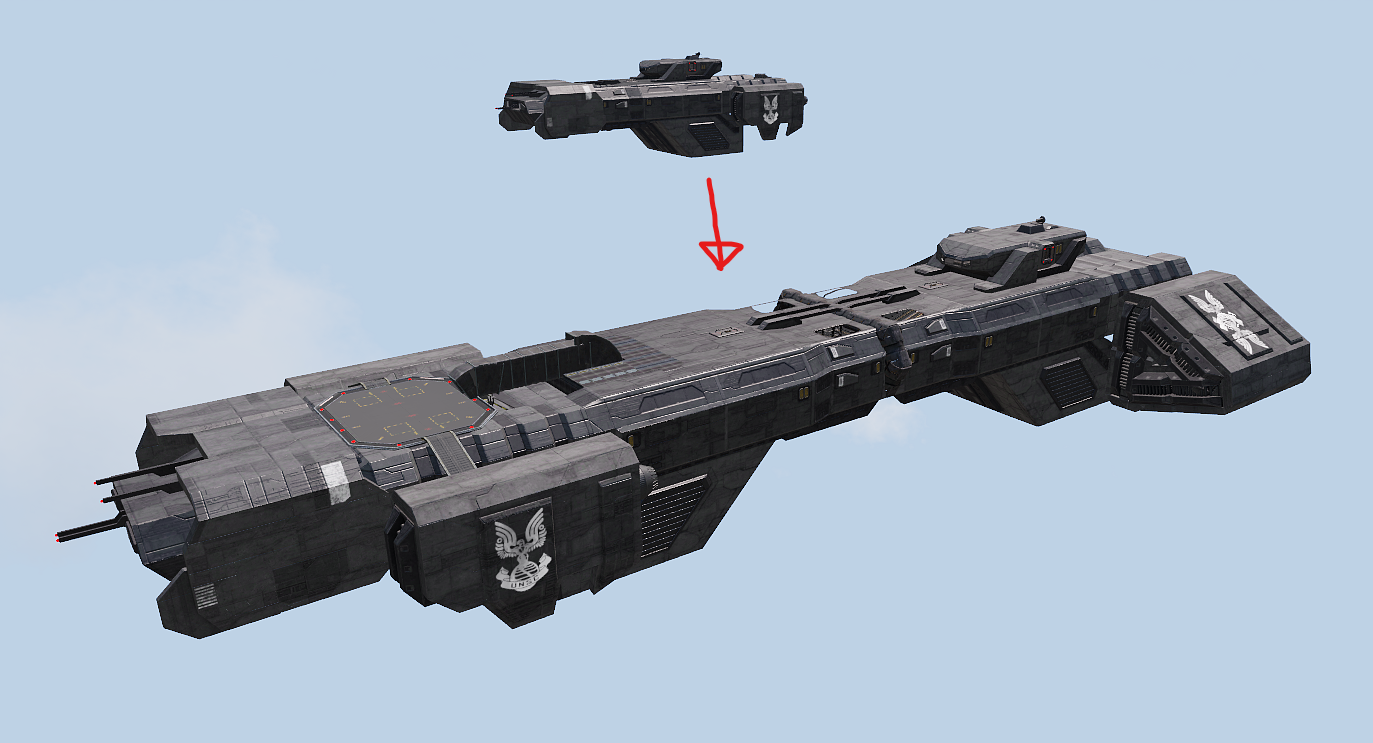
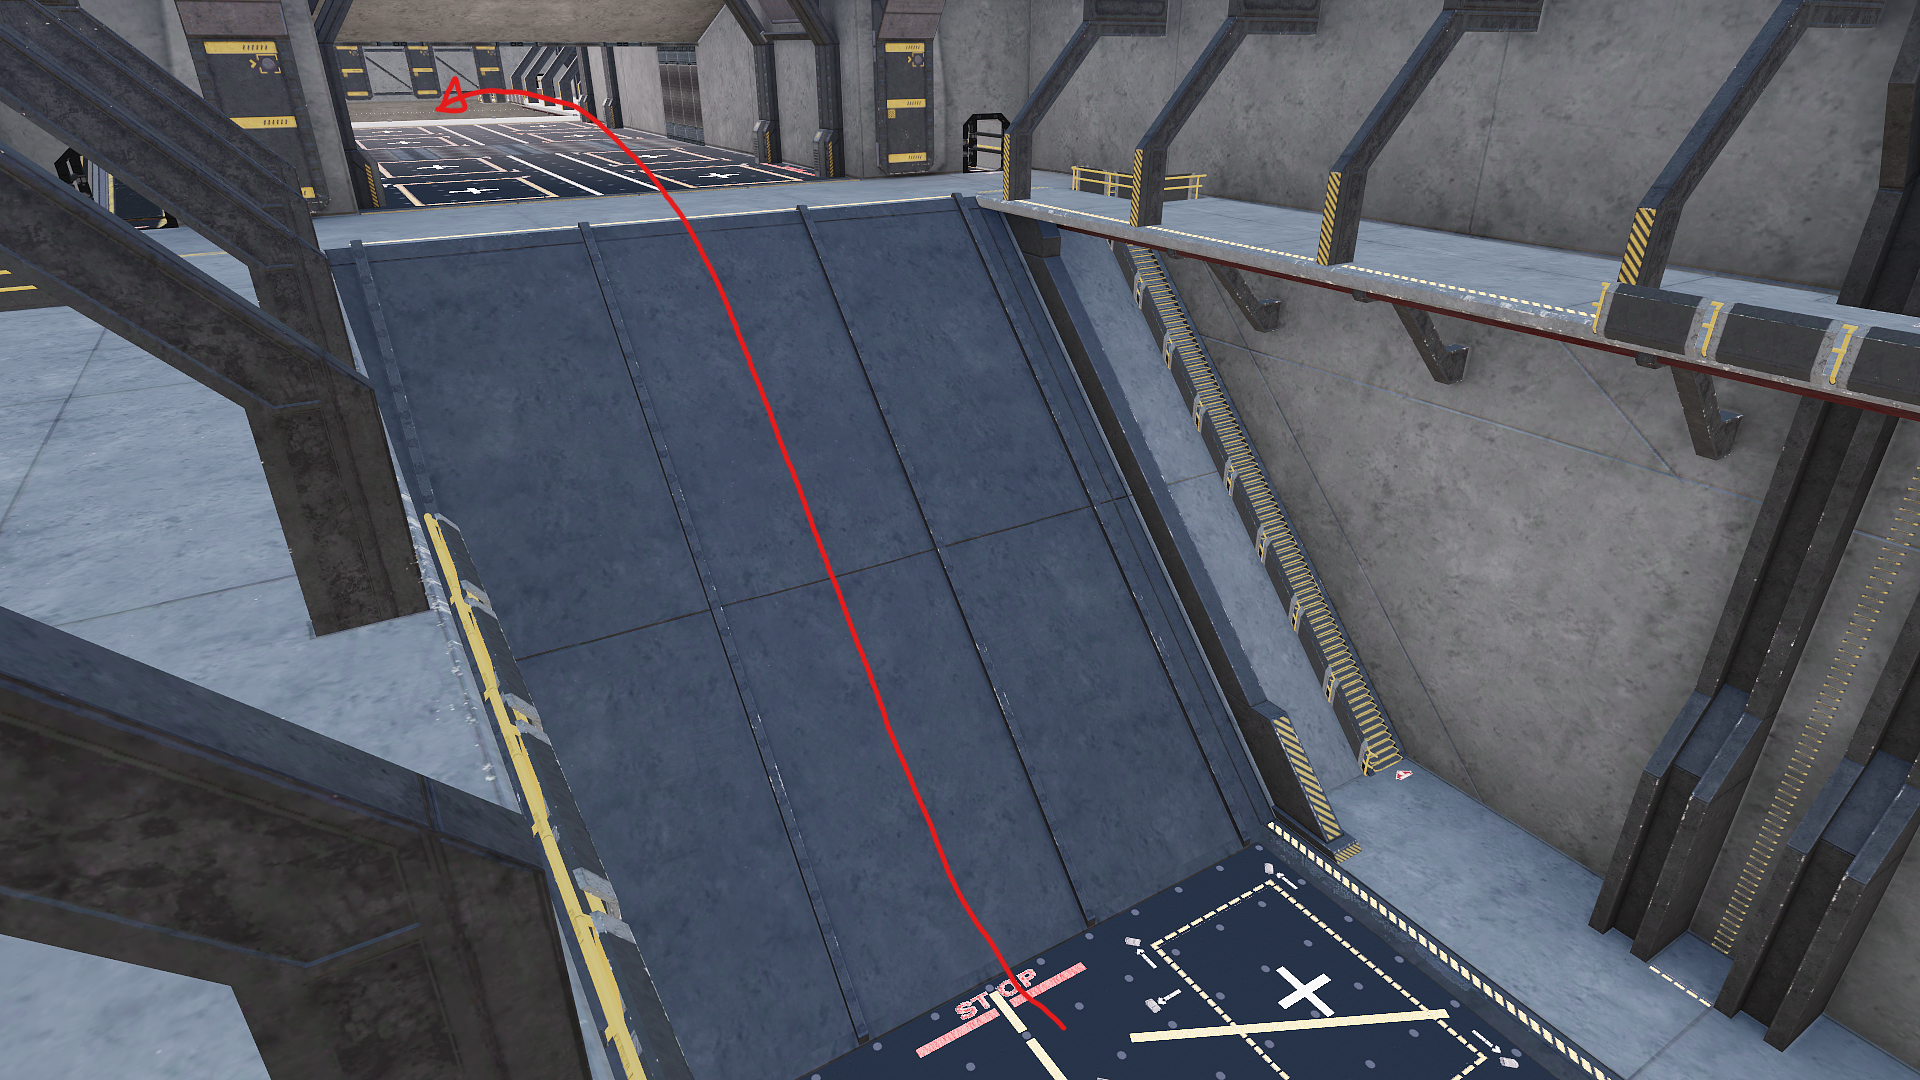
Something I had done for the previous campaign was improve the ship from which we typically spawn, by splitting up the original layout and stitching it back together into a bigger, more “Halo”-looking layout. This was to improve aircraft flow through the ship, but I also designed a better drop-bay. This meant taking the existing low-capacity rooms, moving them, filling them with custom pod chutes, and updating the existing launch scripts to accommodate this new configuration.
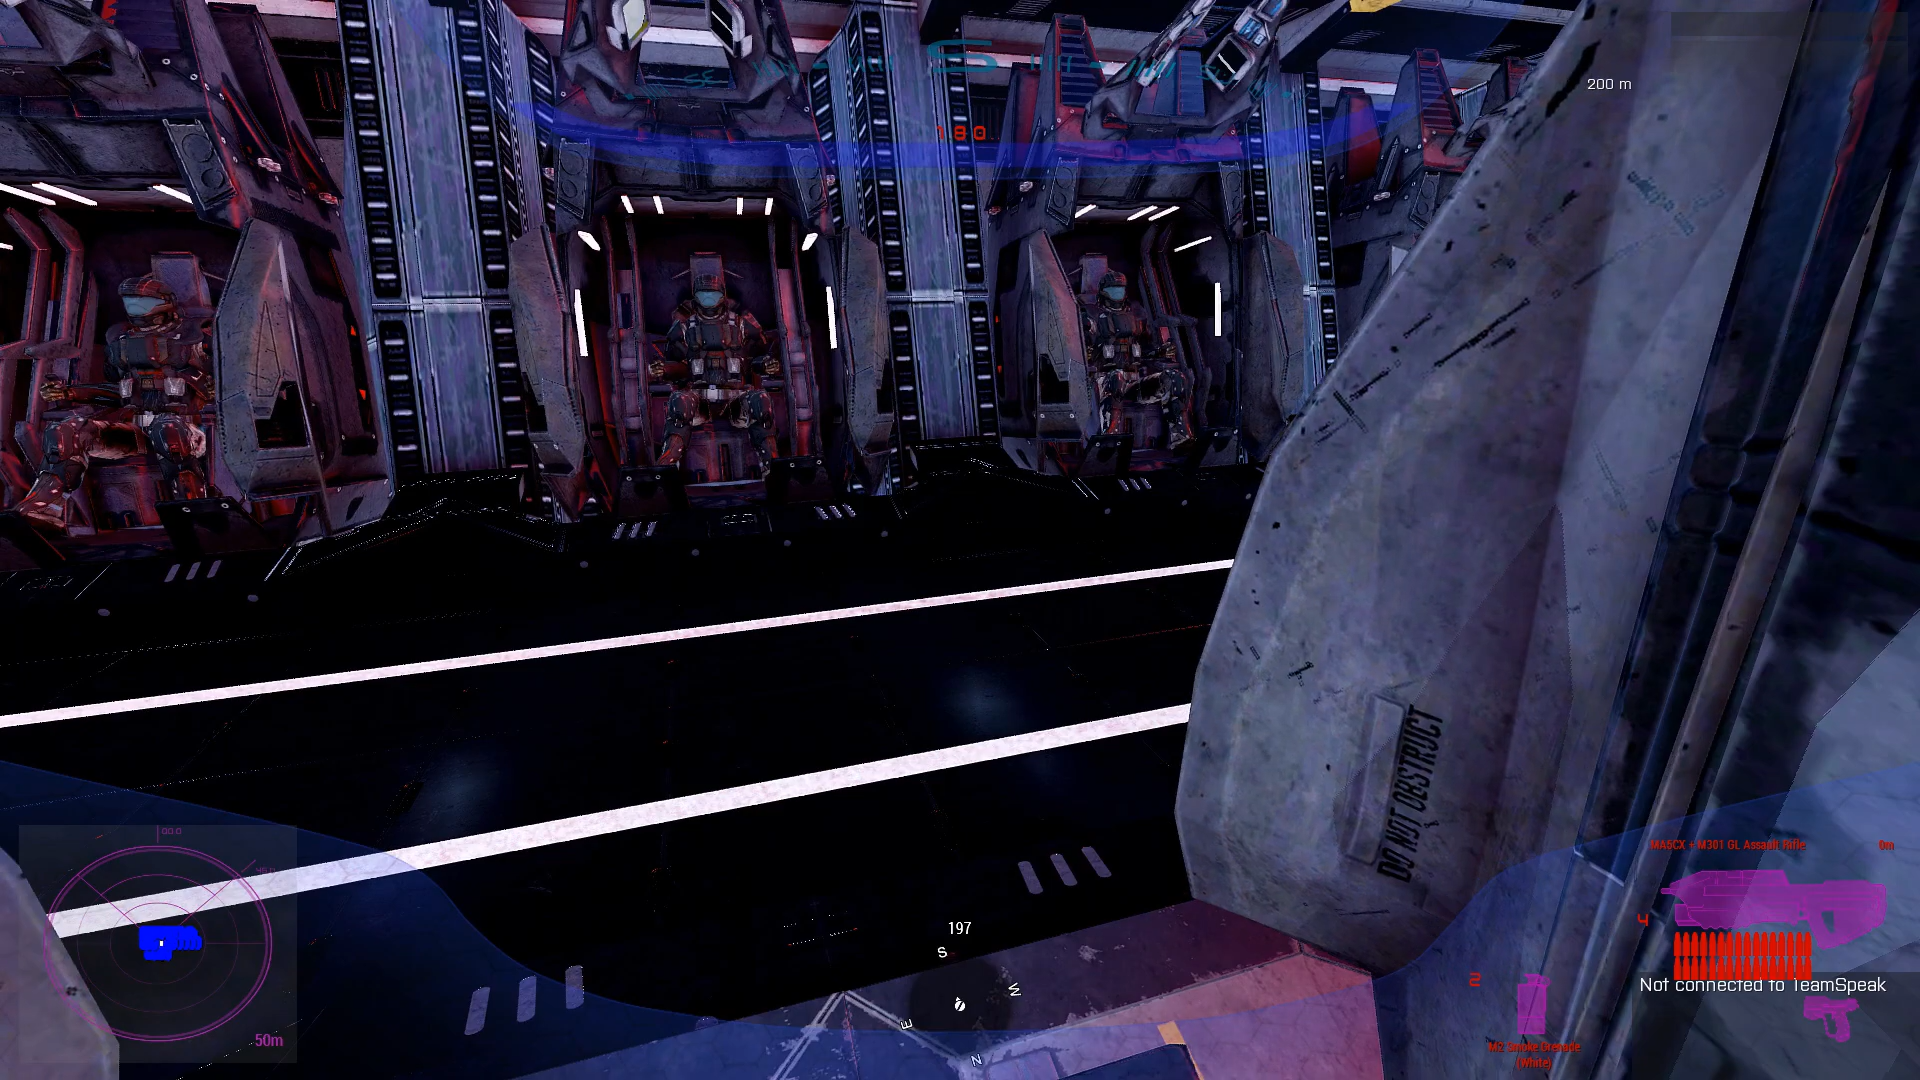
To achieve the “Wow!” factor for the drop itself, I created the illusion of a full-scale spaceship battle, complete with VFX, AI-controlled aircraft, and music. The mission was set in the early hours of the morning with increased time acceleration, so that the scene and VFX really “popped” for the drop, but visibility and player experience wasn’t hindered for long after.
For one final cinematic touch, I attached a frigate mesh to a flyable vehicle and flew it past the players as they fell through the combat.
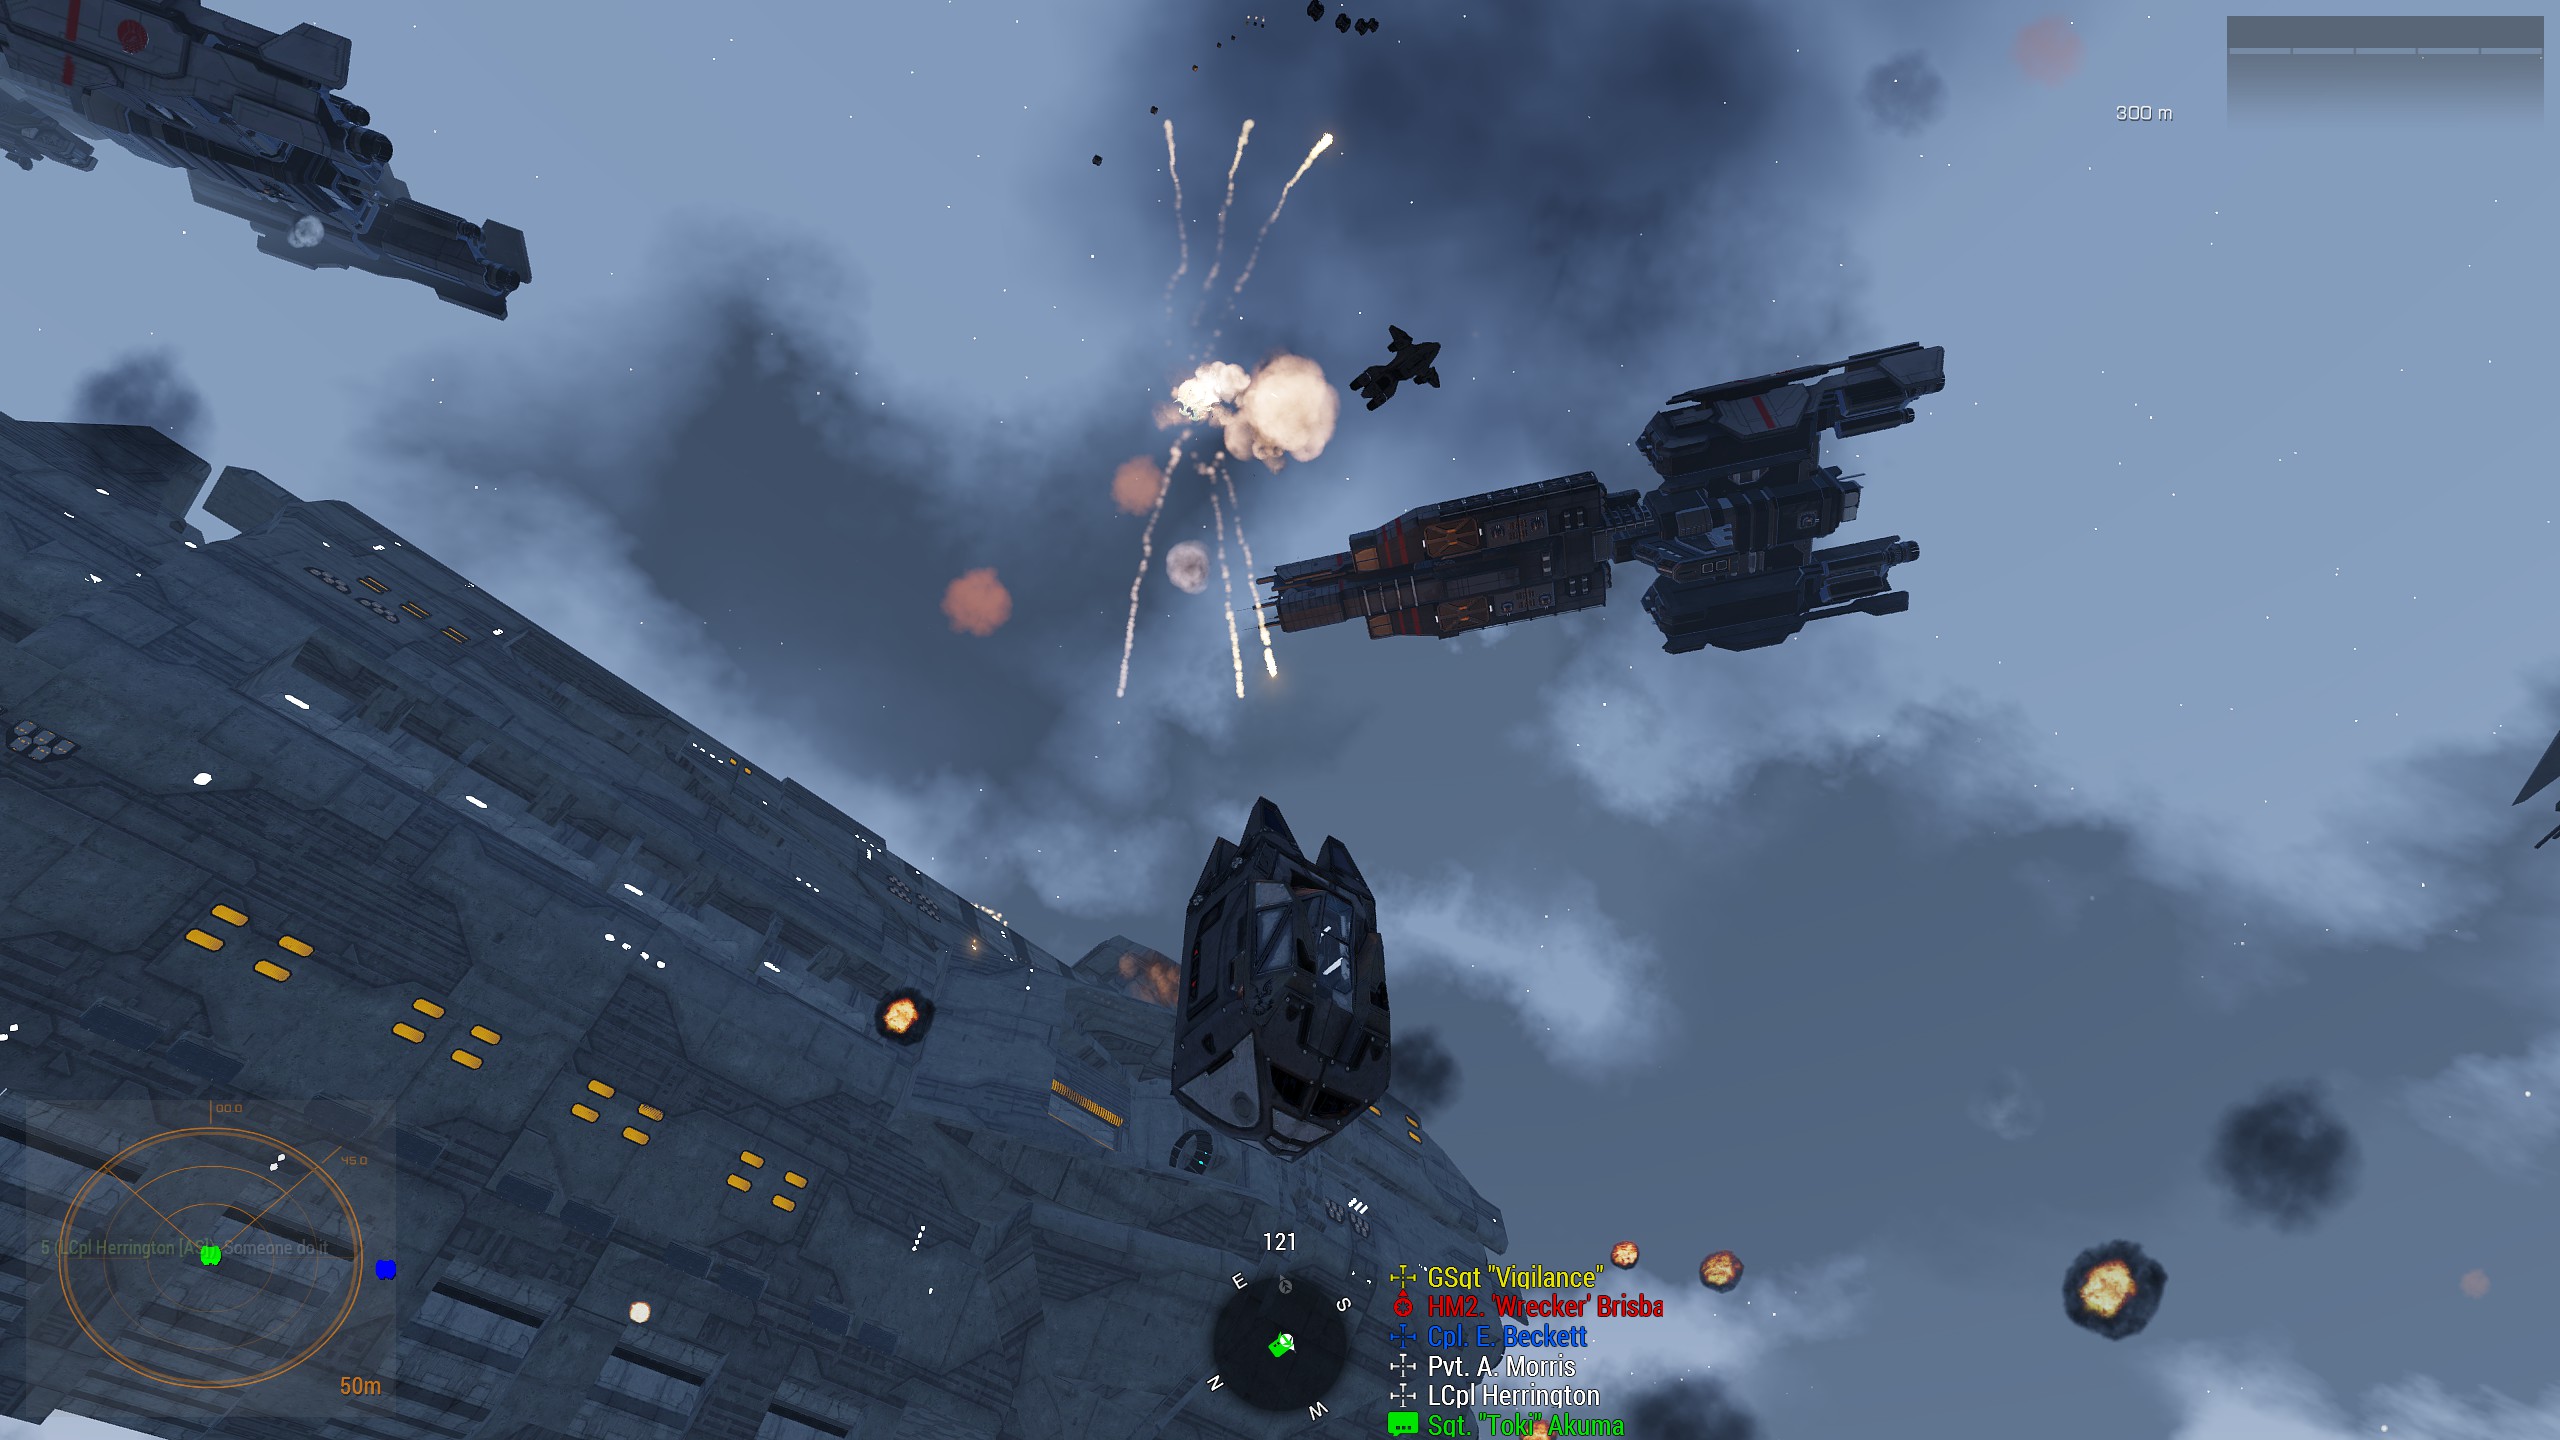
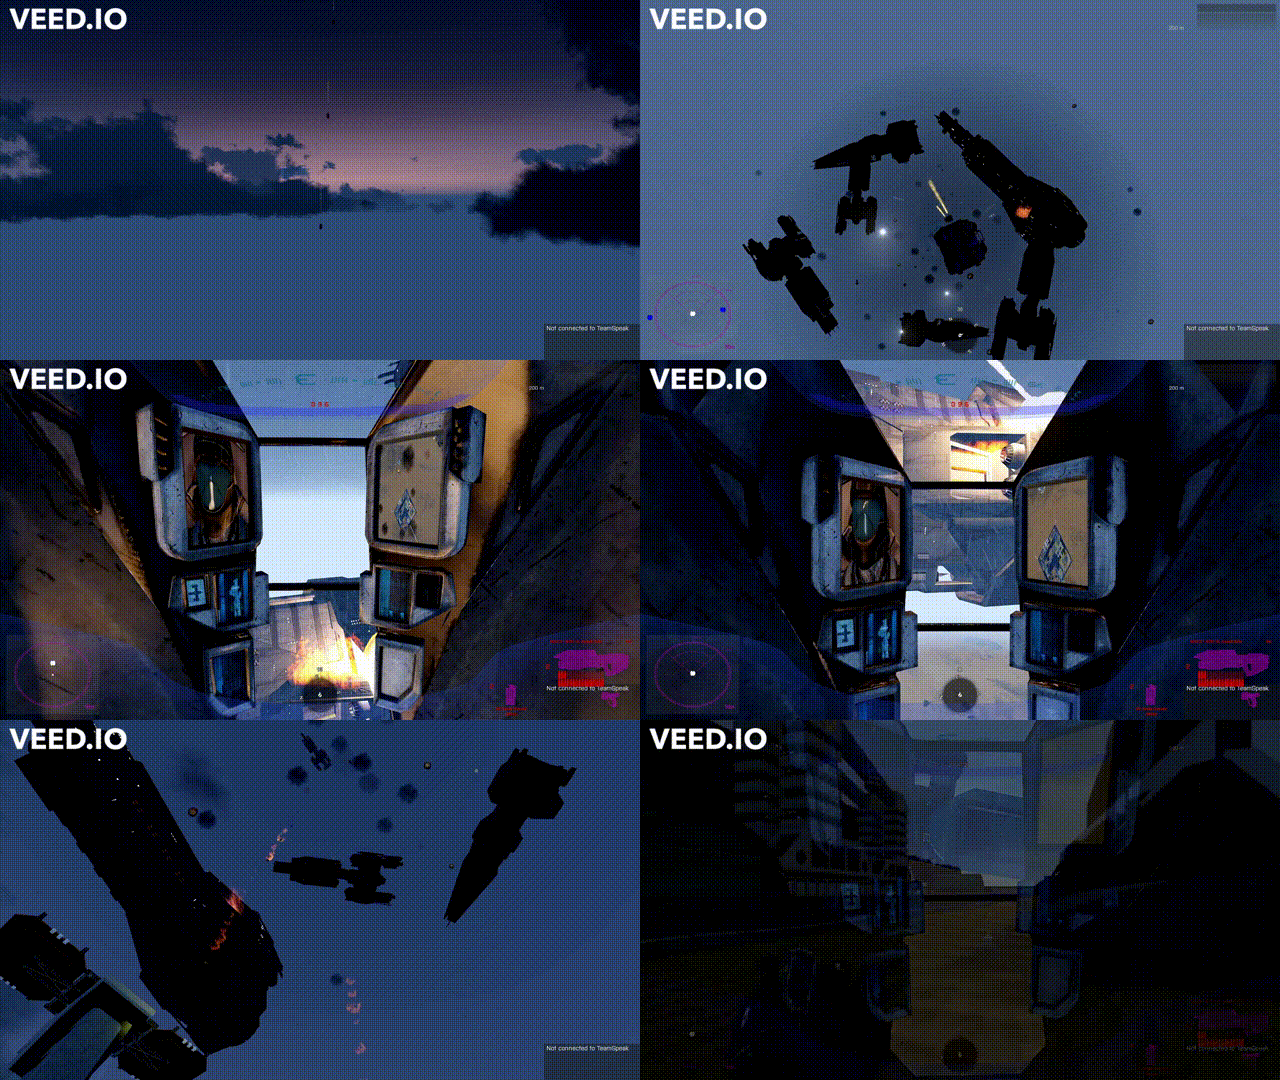
This scene also doubled up as an incredible skybox, and an anchoring backdrop for the first and second half of the mission respectively. All of these components culminated in the following:
Runway
The pod landing zone was quite straightforward, as I needed a flat, empty surface to avoid pods flinging off out of the compound. A runway was perfect for this purpose, and the pods themselves double as cover once landed, making up for the otherwise empty space.
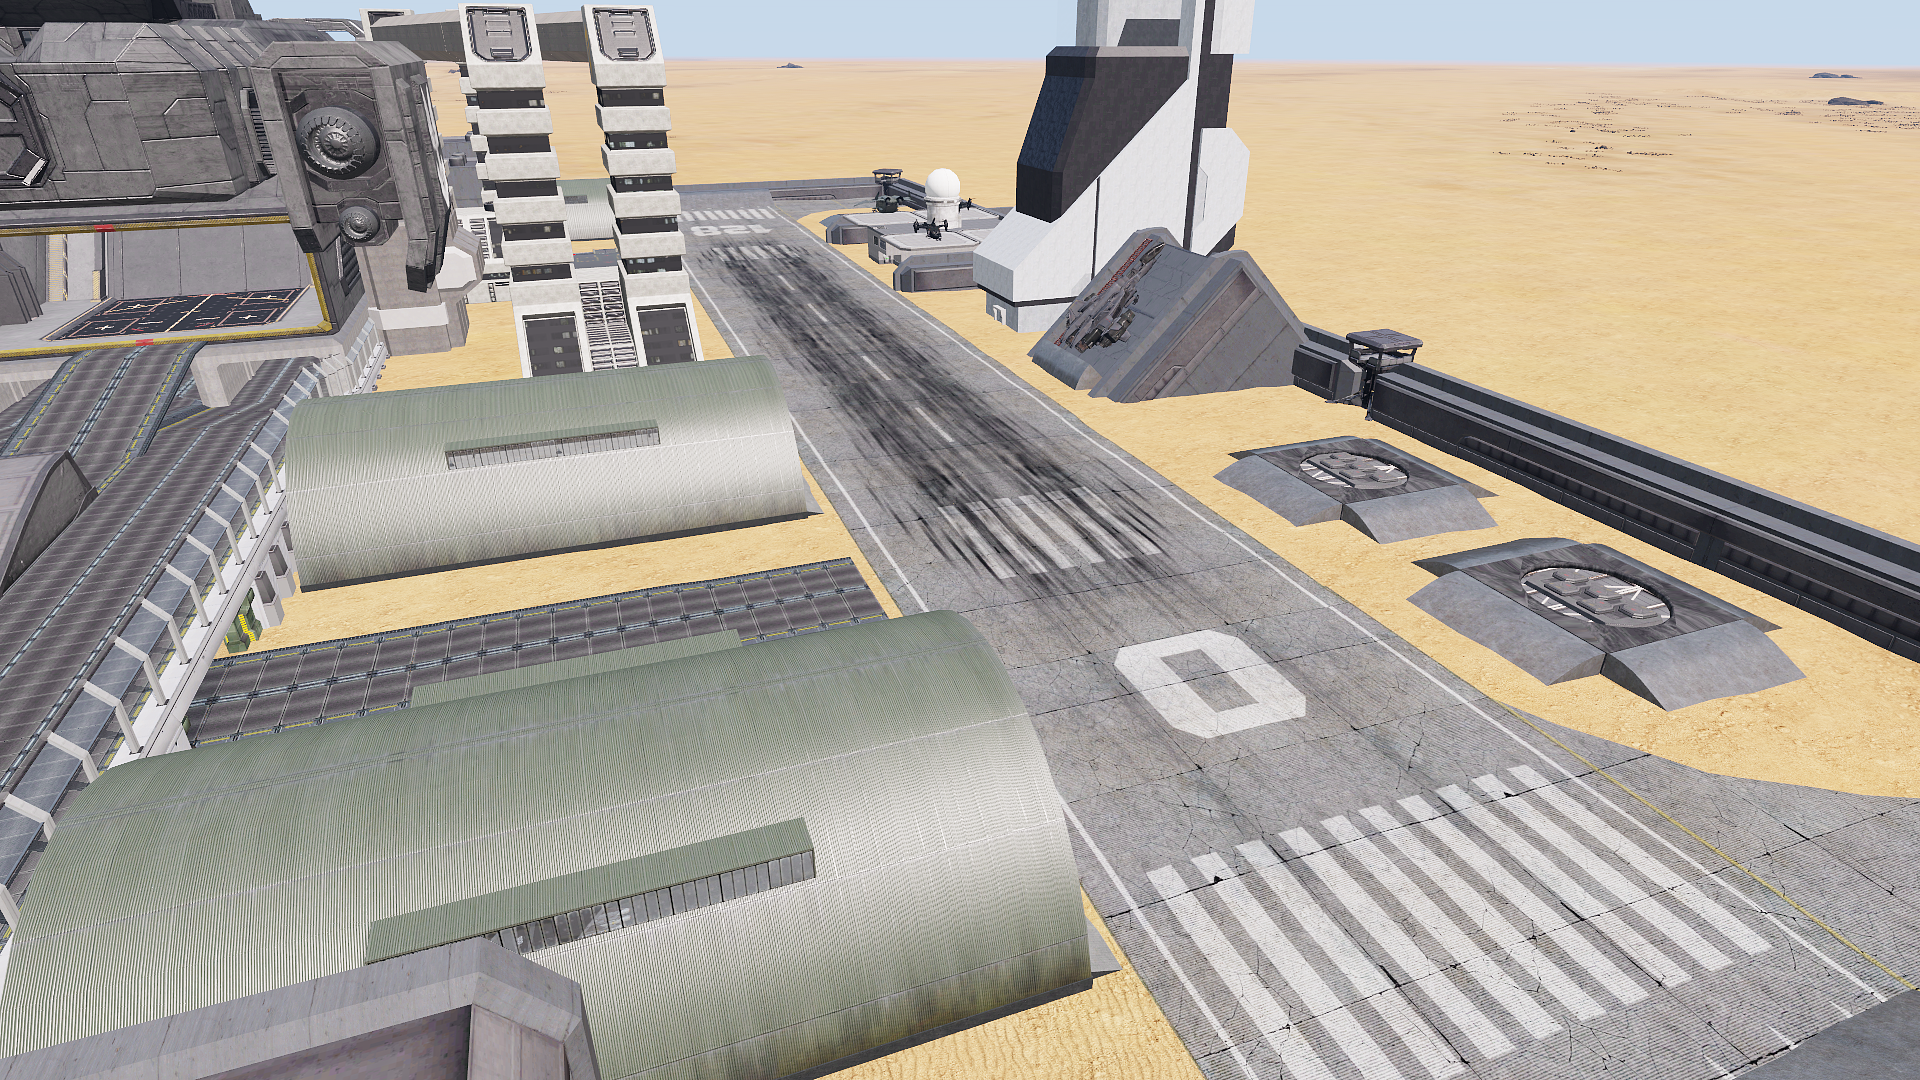
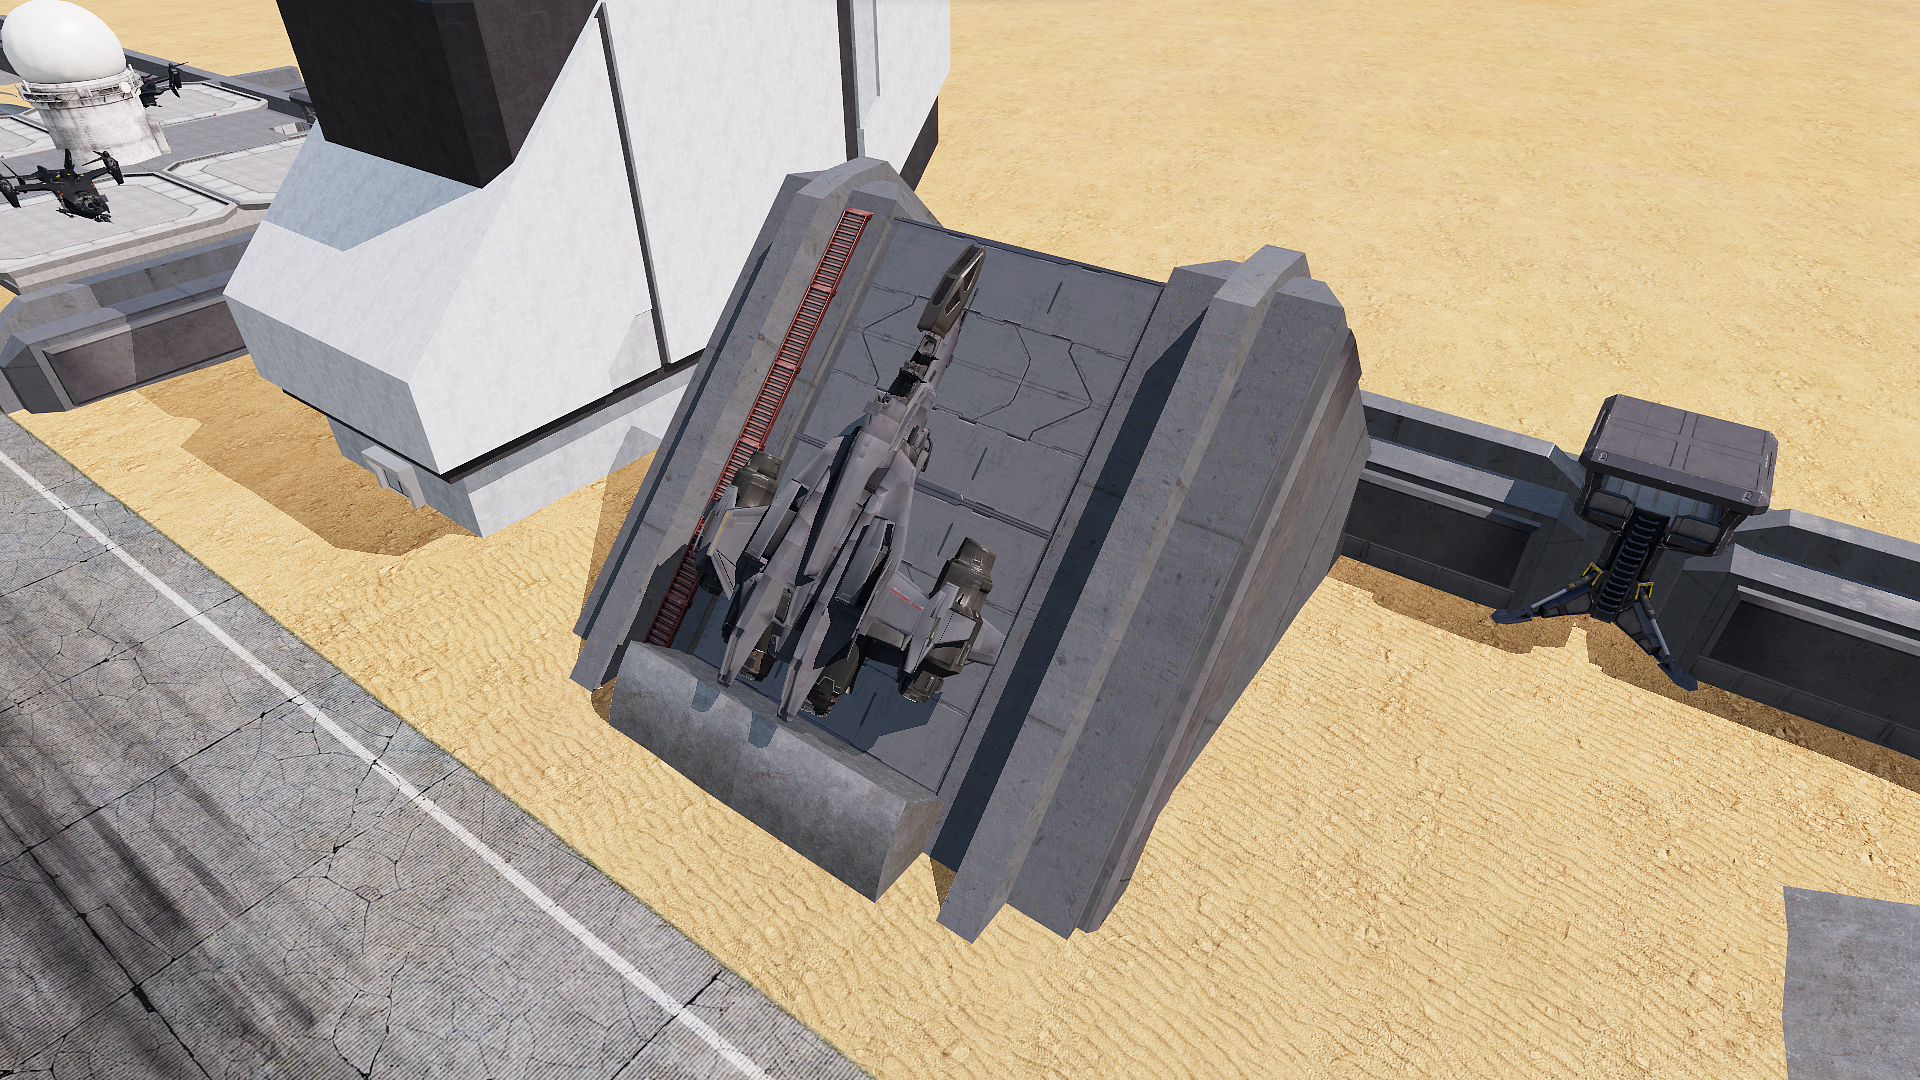
To keep the ground combat connected to the skybox in some way, I placed surface-to-air silos along the runway, as well as a custom launch pad for a saber, which is a plane/rocket hybrid. This saber could be flown into the air to interact with the AI elements of the space. I wanted nothing of this set-piece to go to waste, as it took time to develop and experiment with the feature.
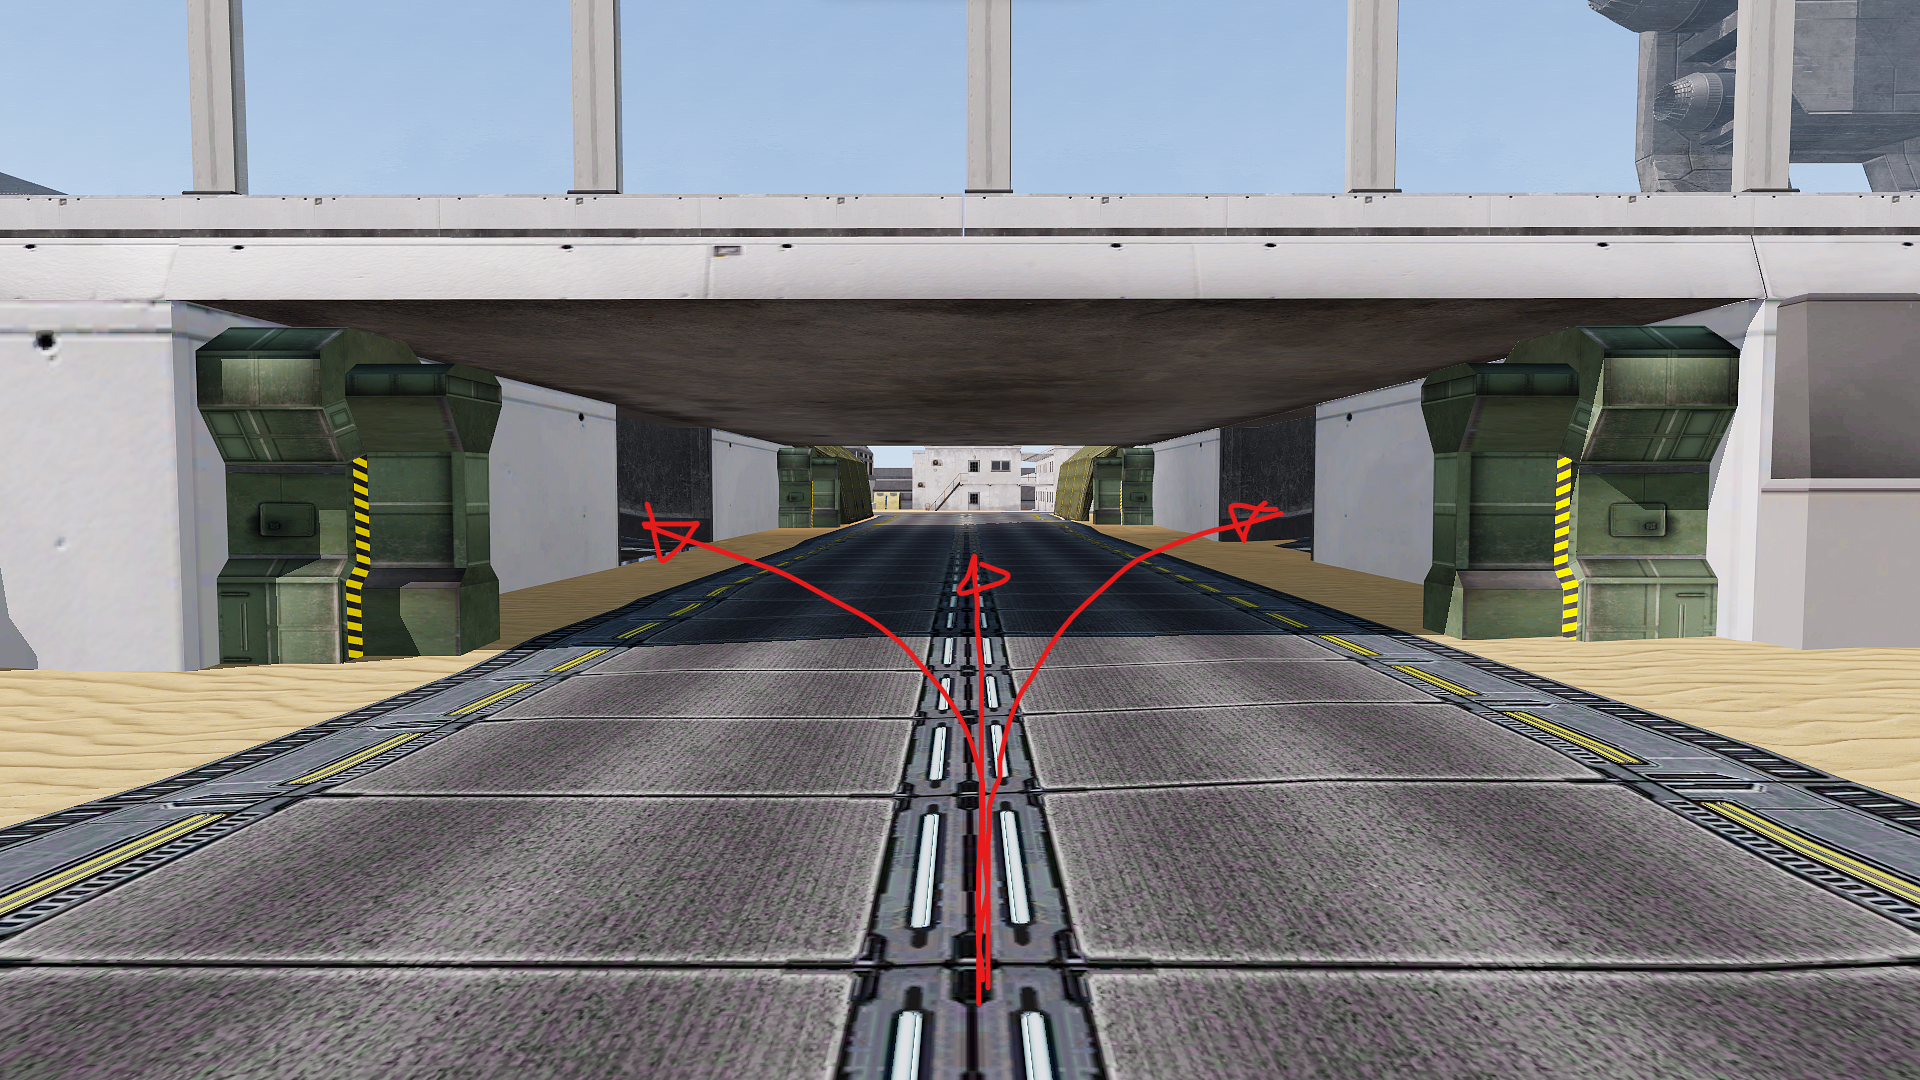
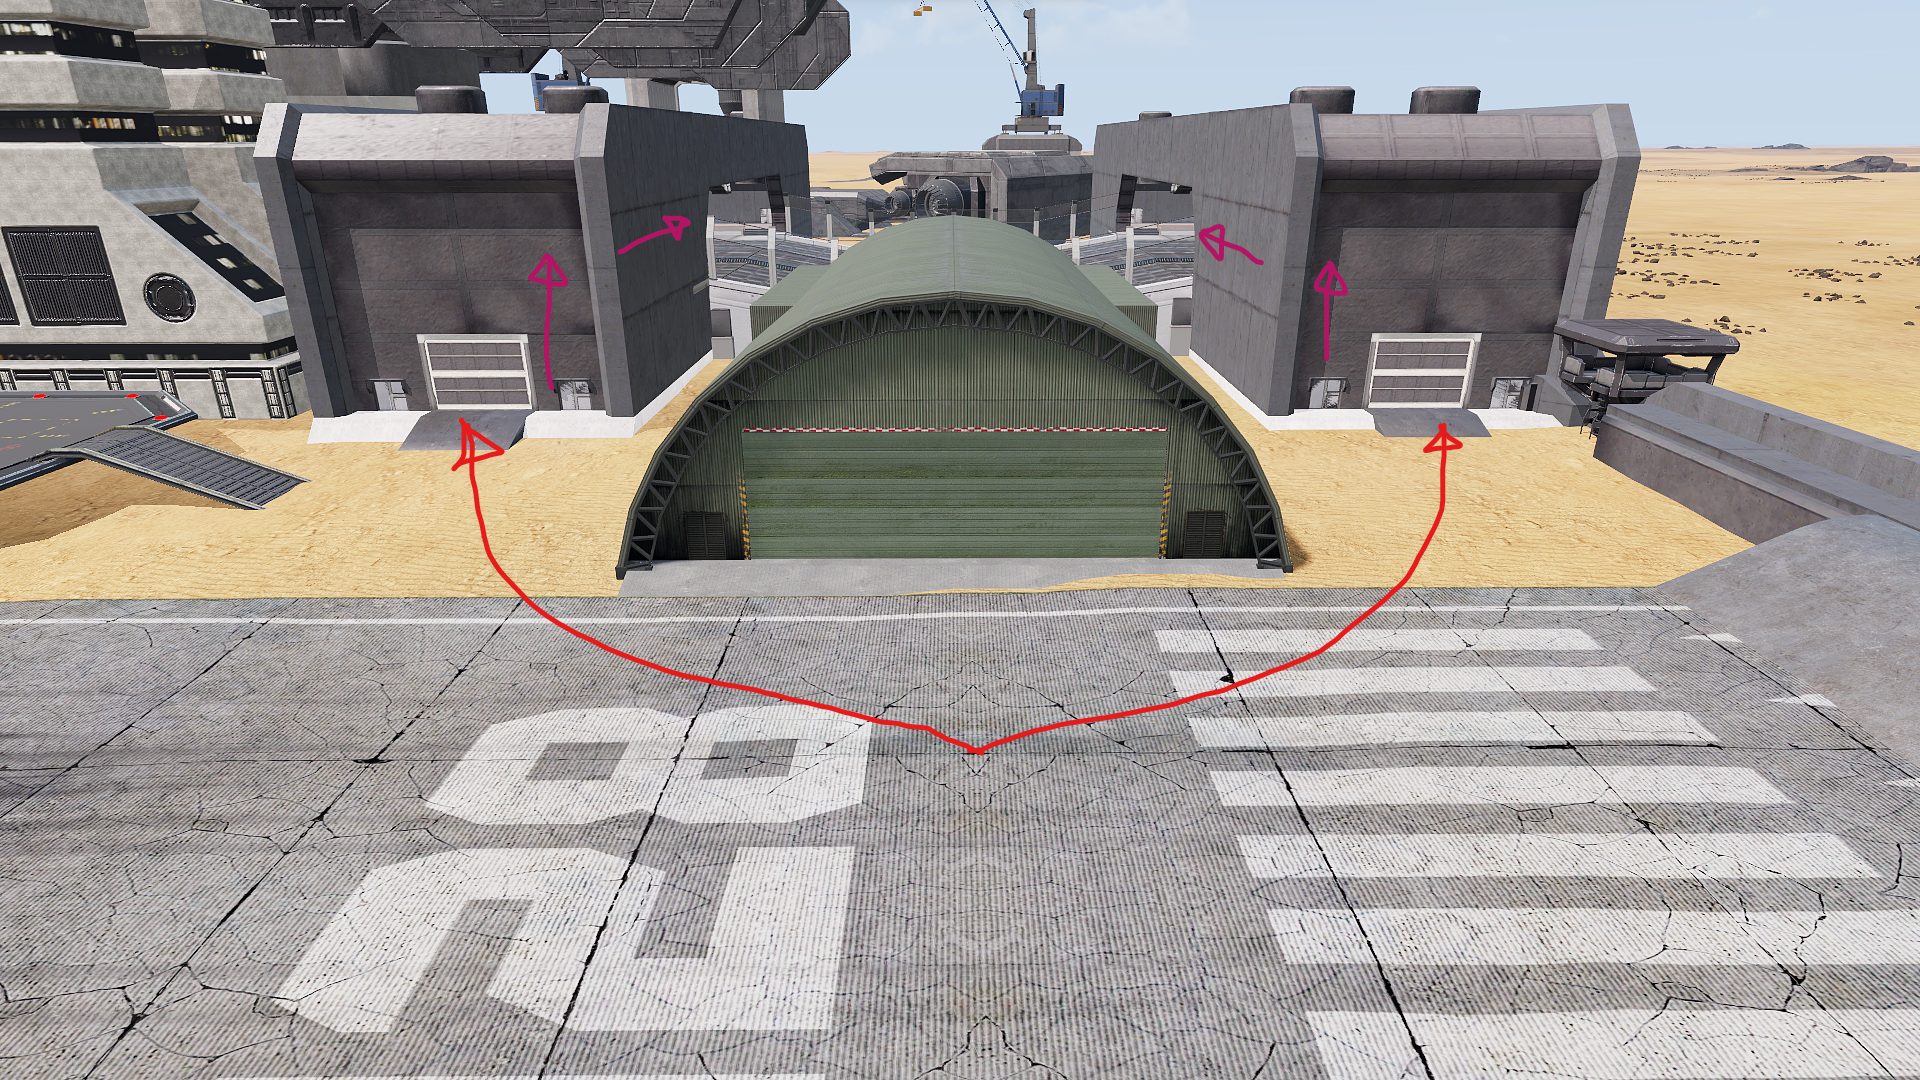
Once clear, the runway presents the choice of three main paths. On the South side is a tunnel, with access to both the enemy-occupied barracks and the Southern end of the ship dock. To the North is a smaller access lift/ladder room that provides more protected access to the Northern end of the ship dock. This presented an interesting tactical choice to the squad leaders in the game.
Ship dock
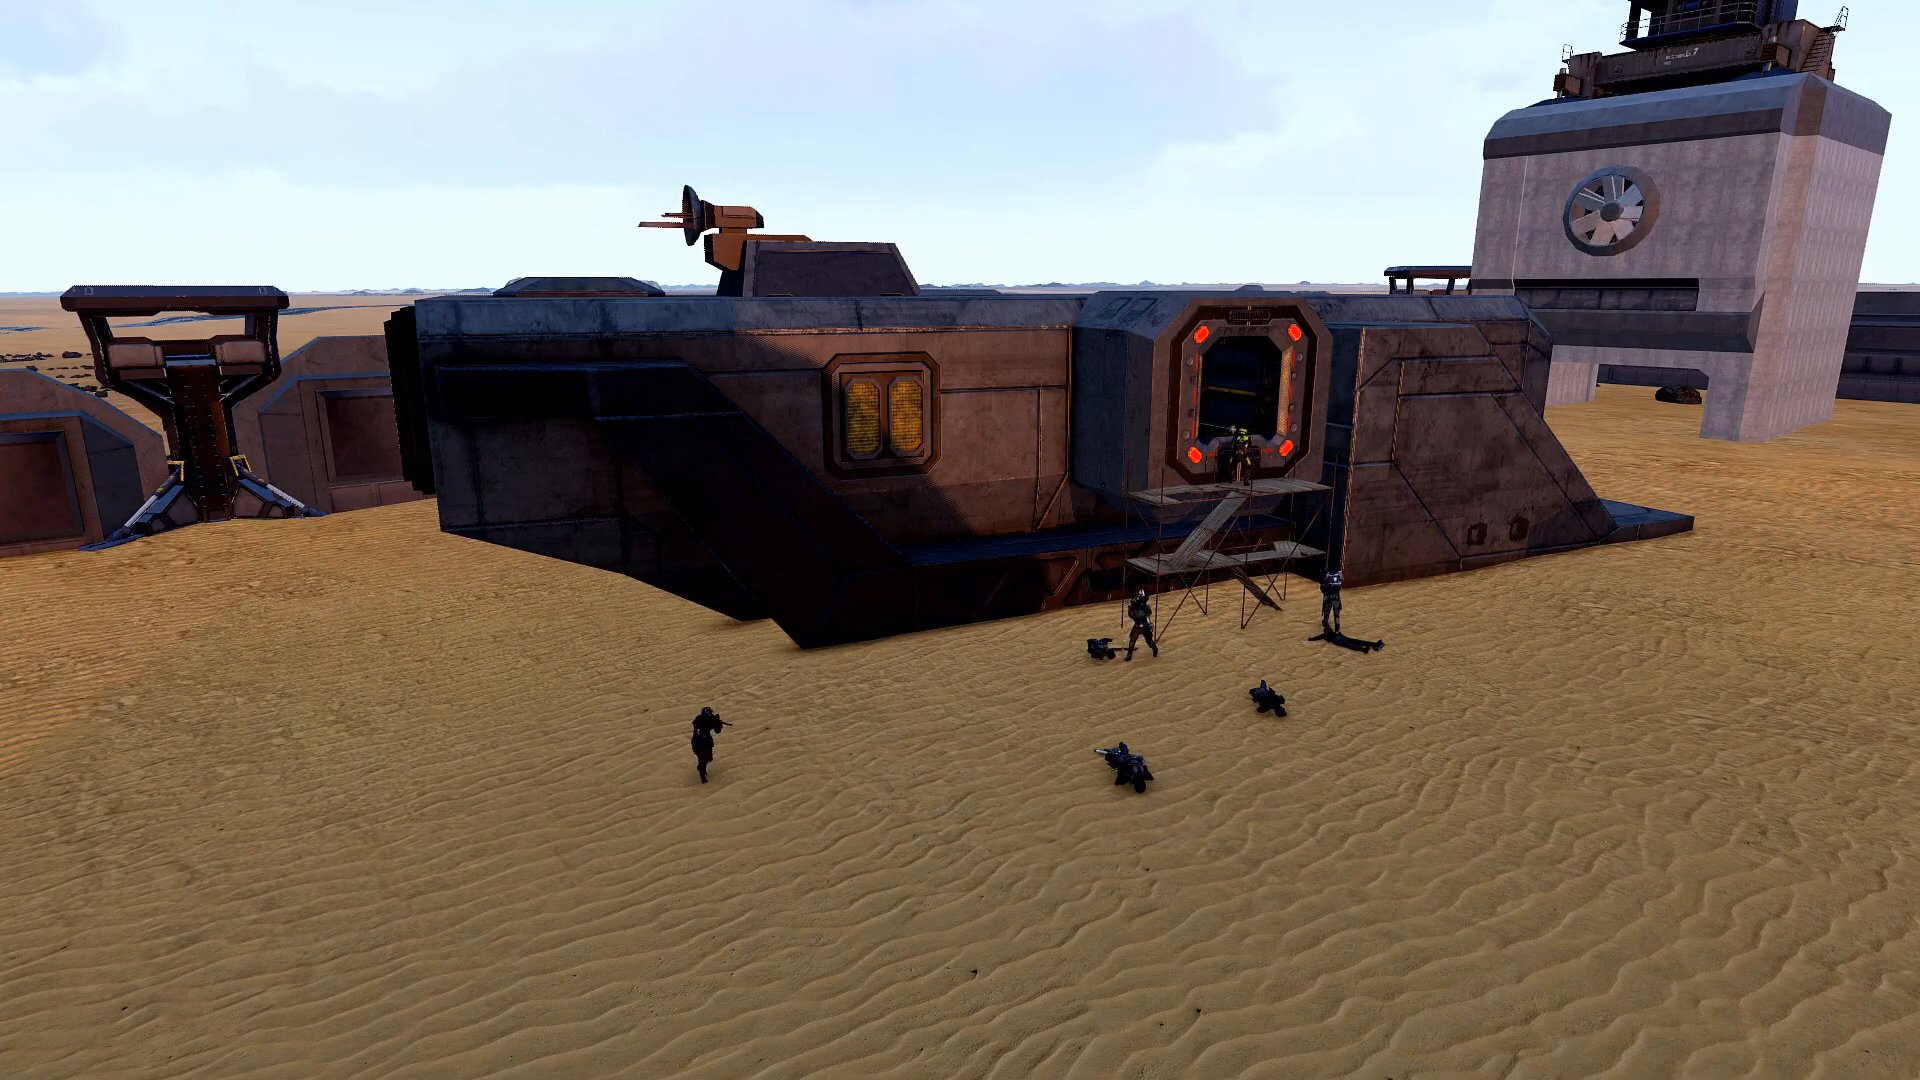
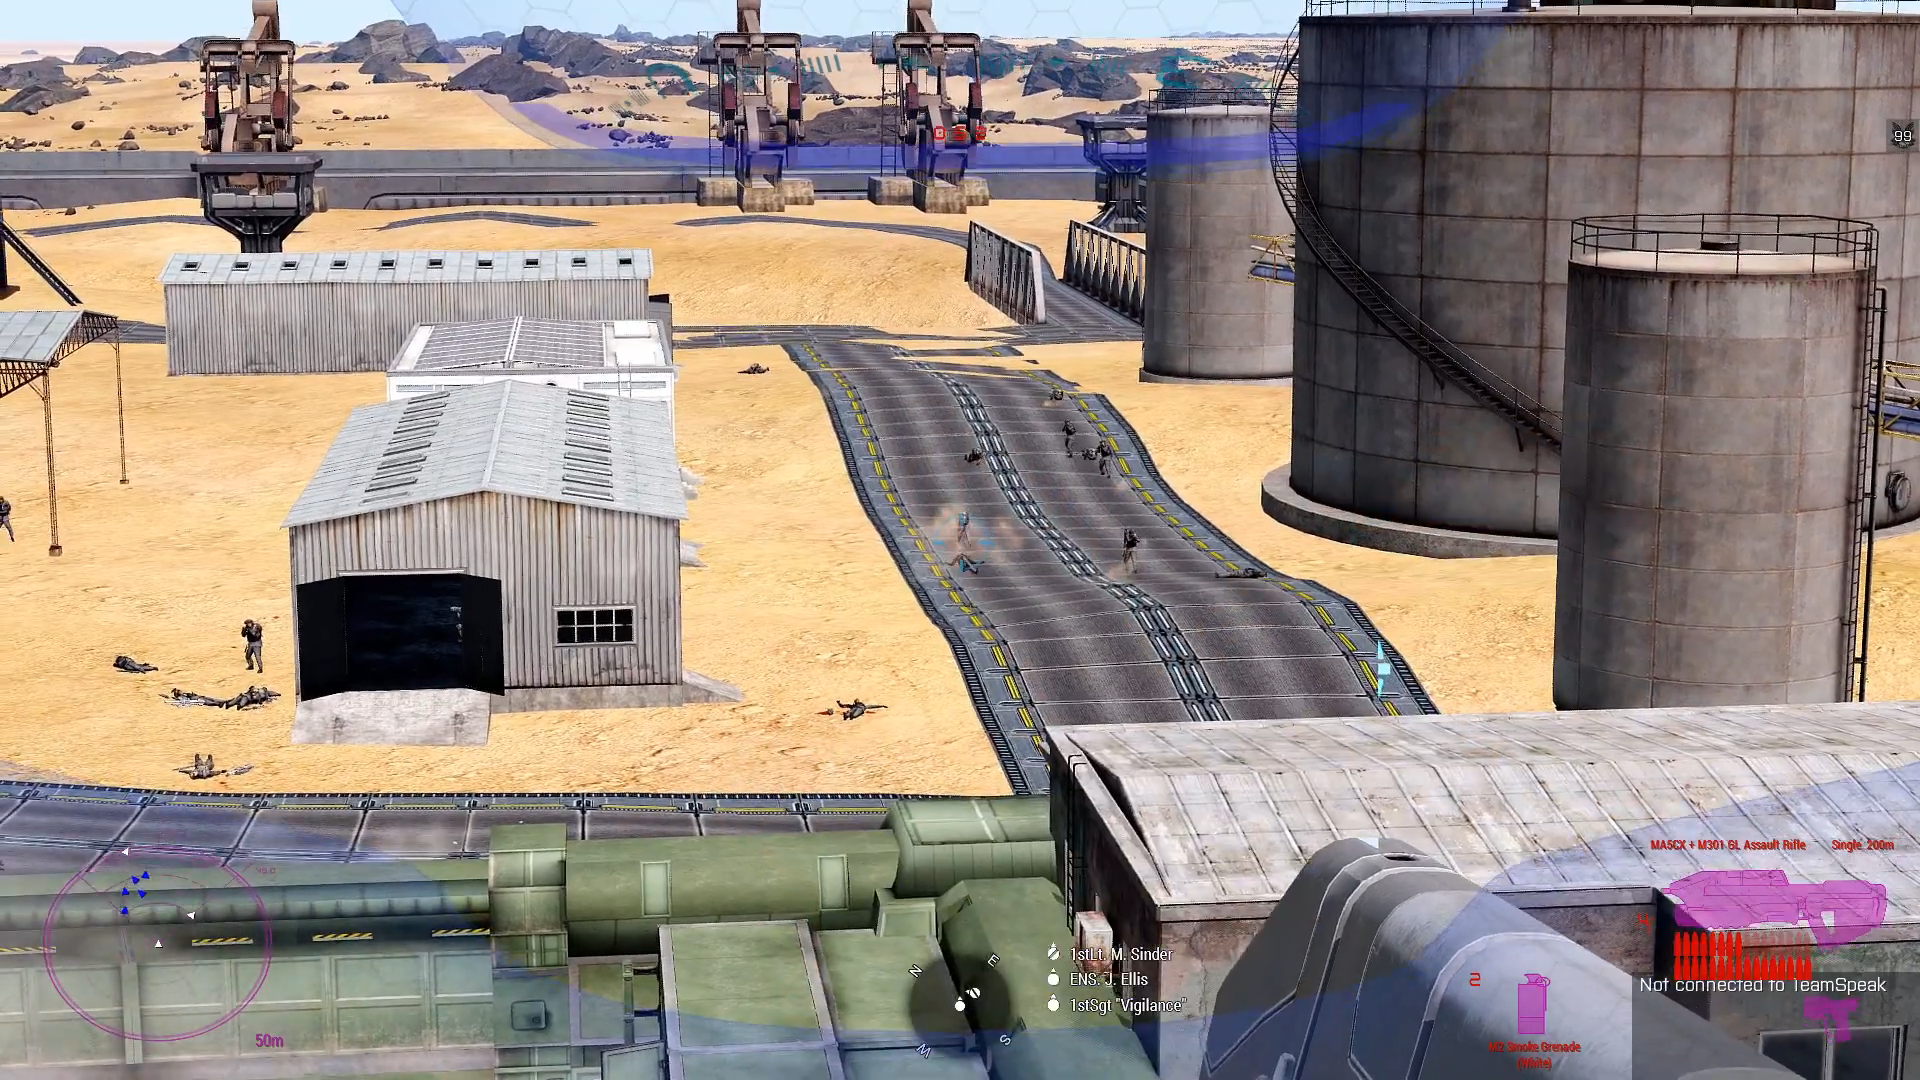
If attacking the dock, players had to fight to the central access ramp to the ship. While I can’t take credit for this ship and its layout, its placement in the scene is very deliberate. I wanted a large visual anchor for the compound that could act as a central gameplay opportunity, and help players orient themselves.
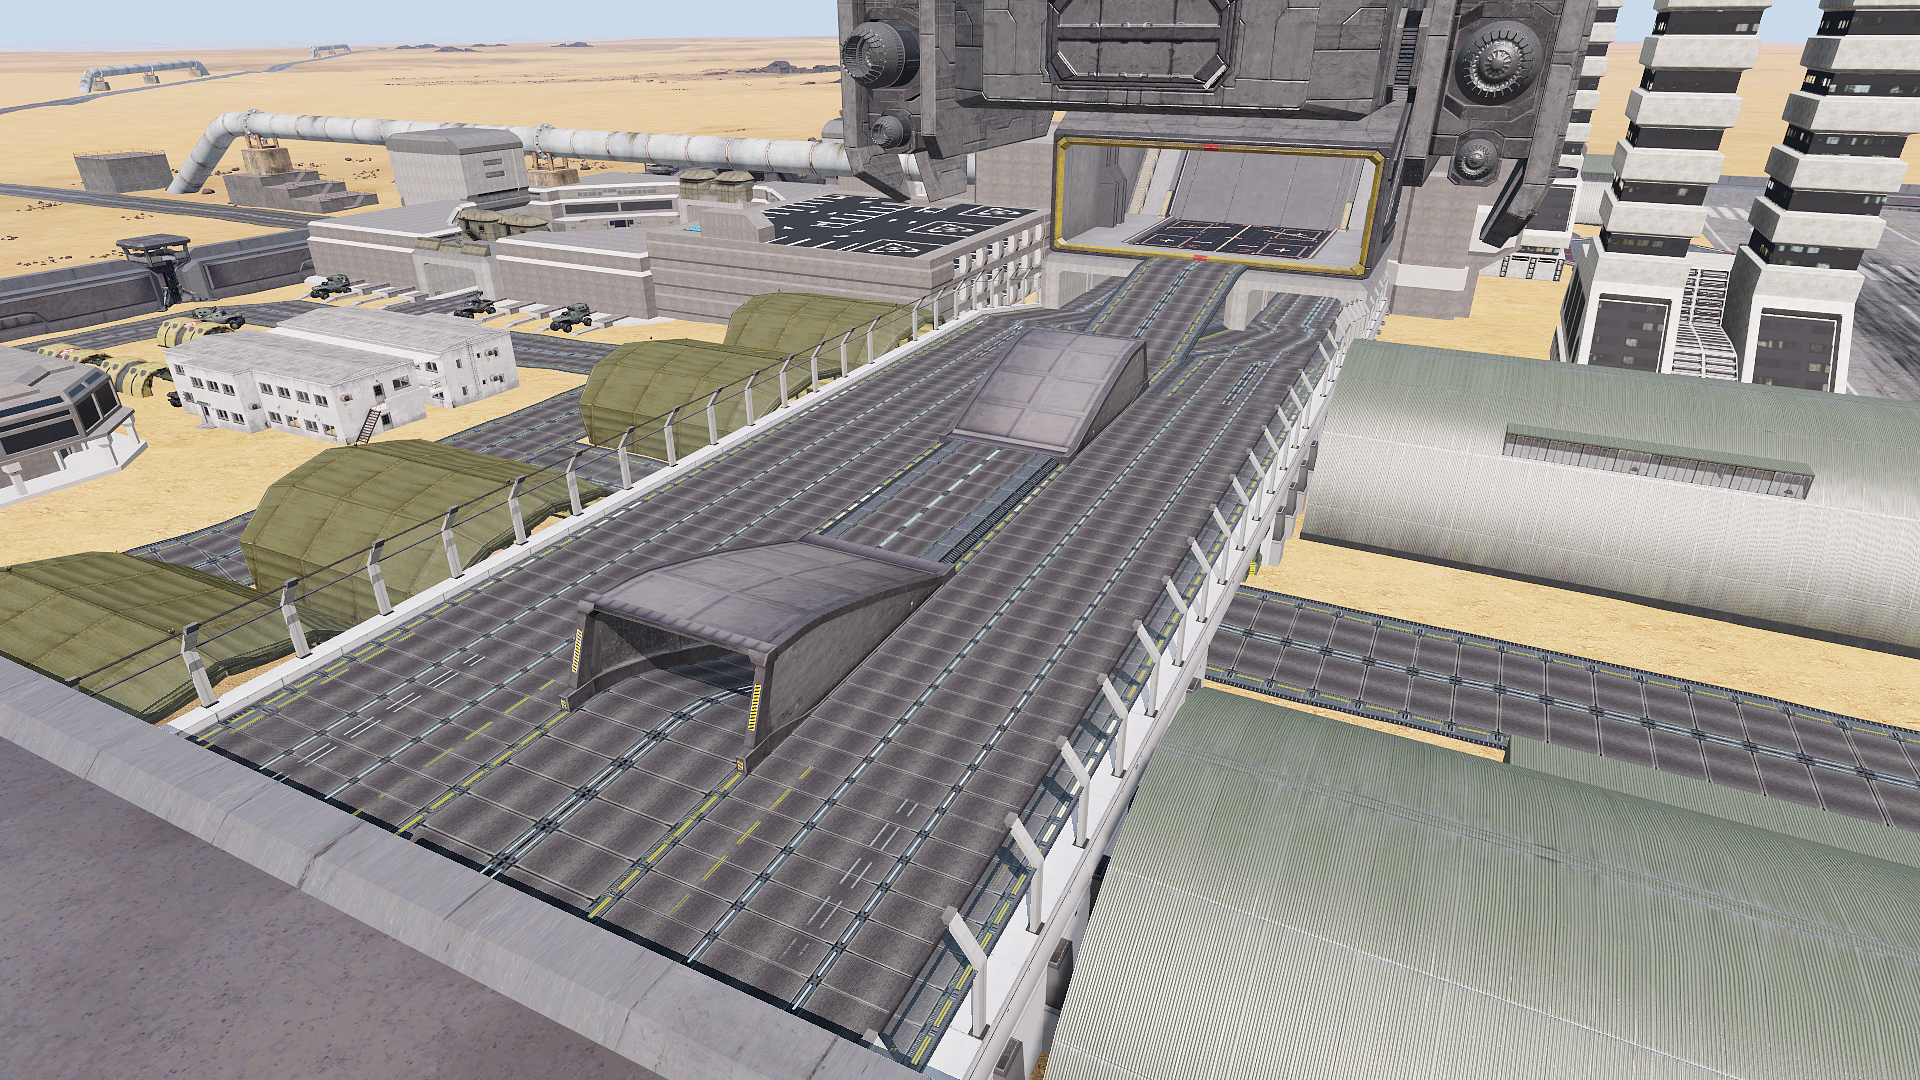
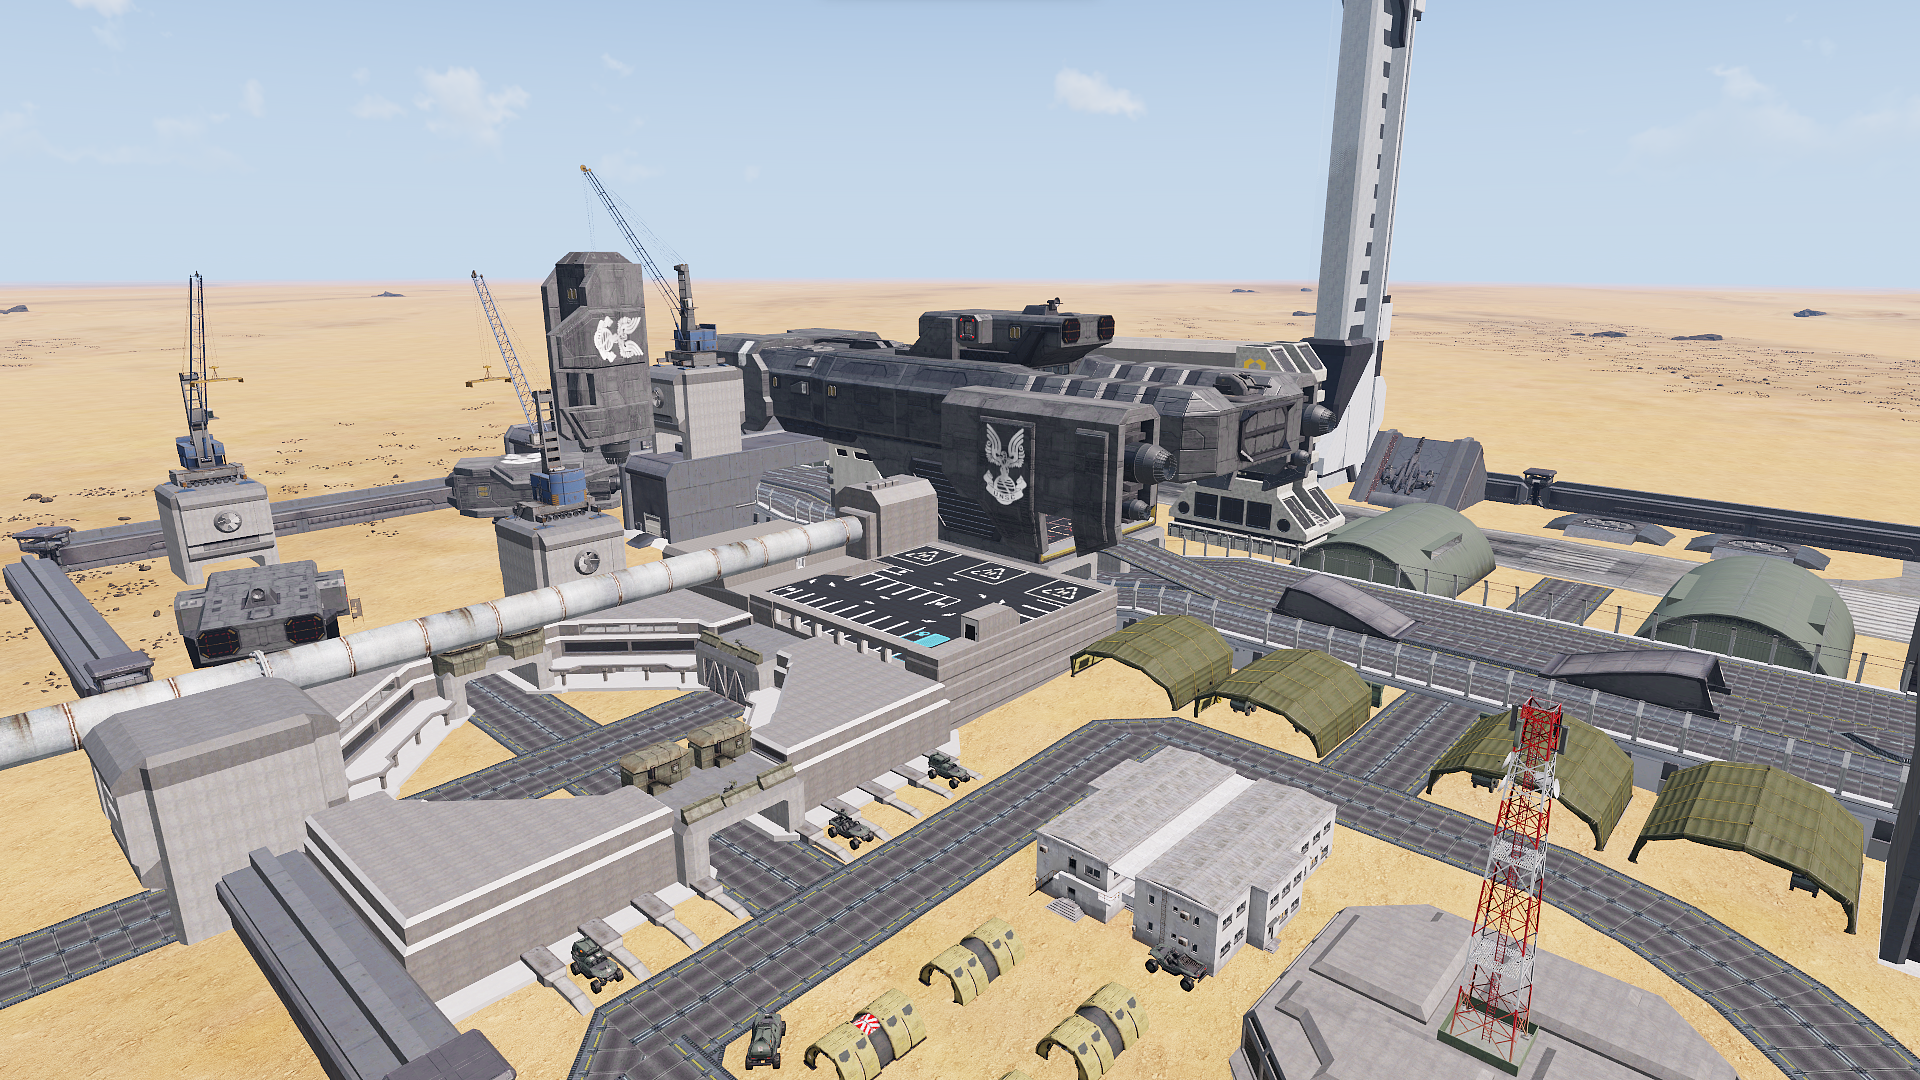
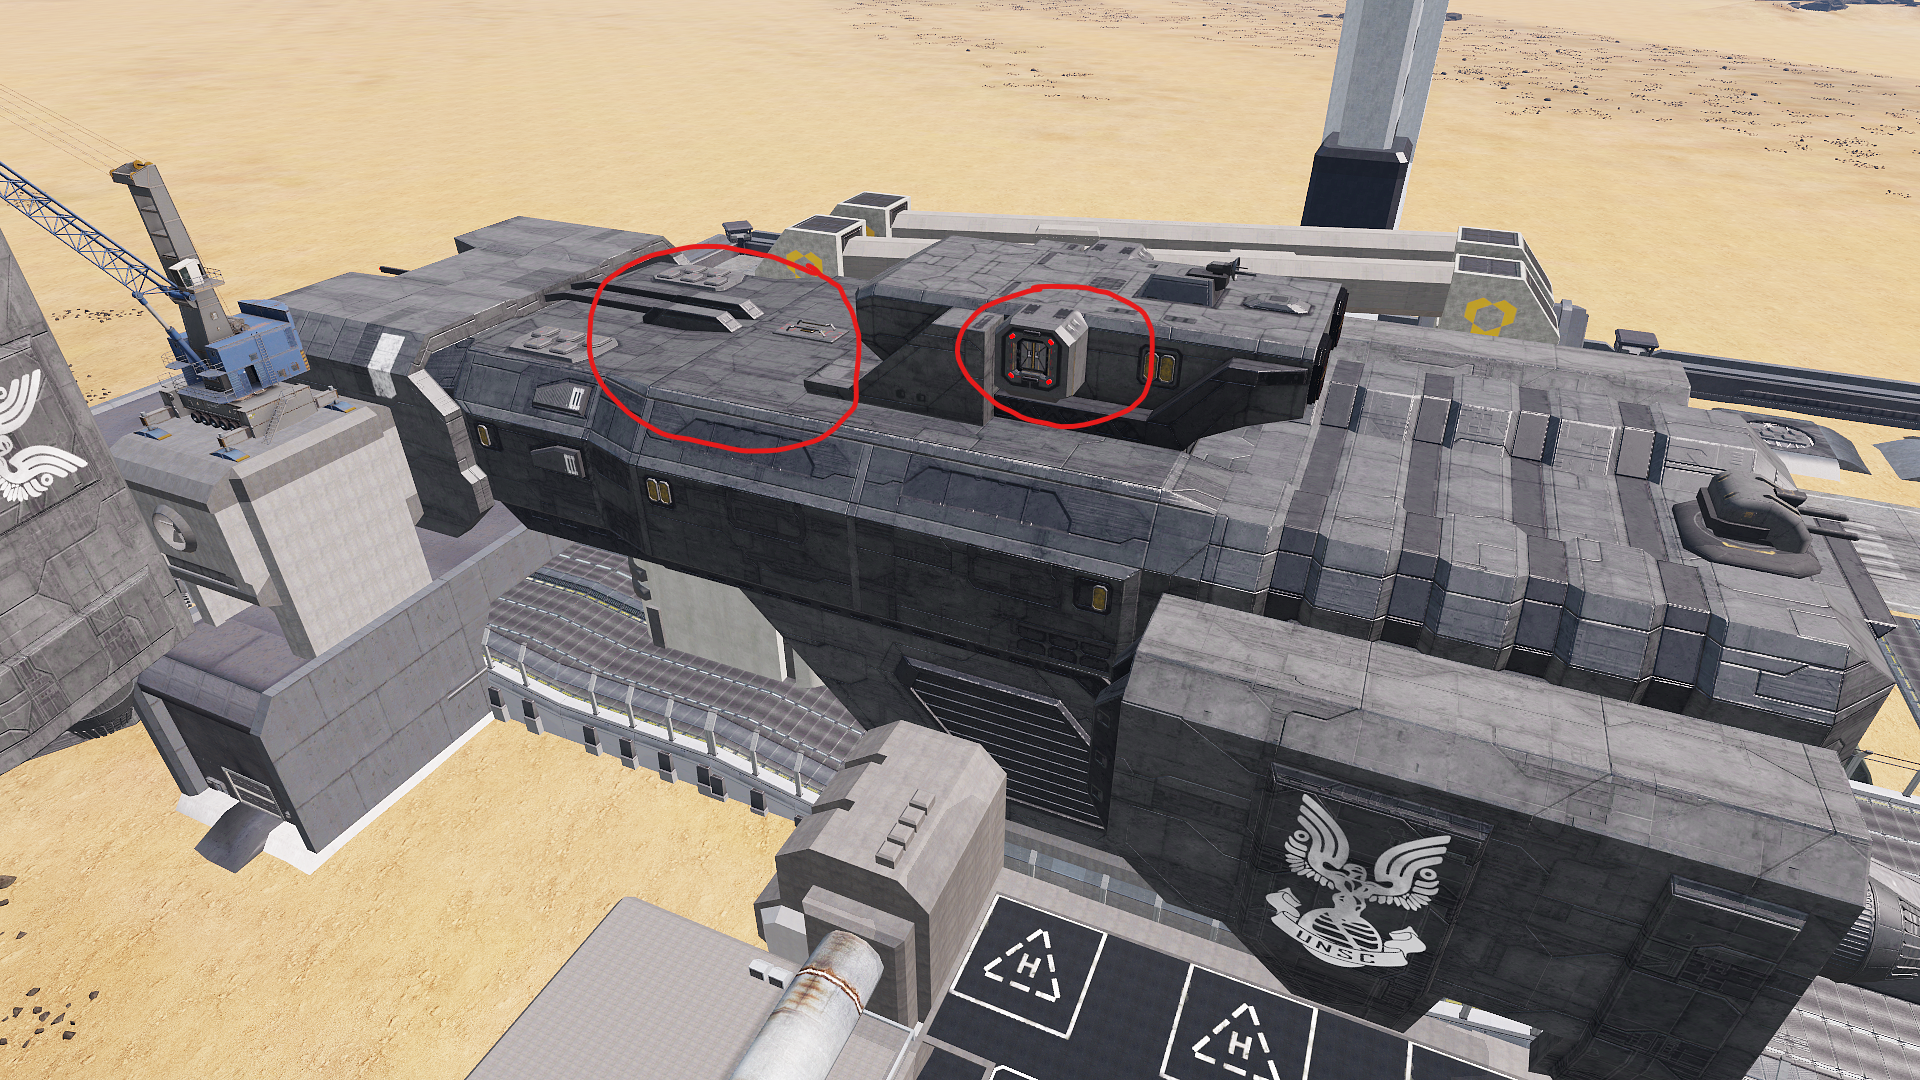
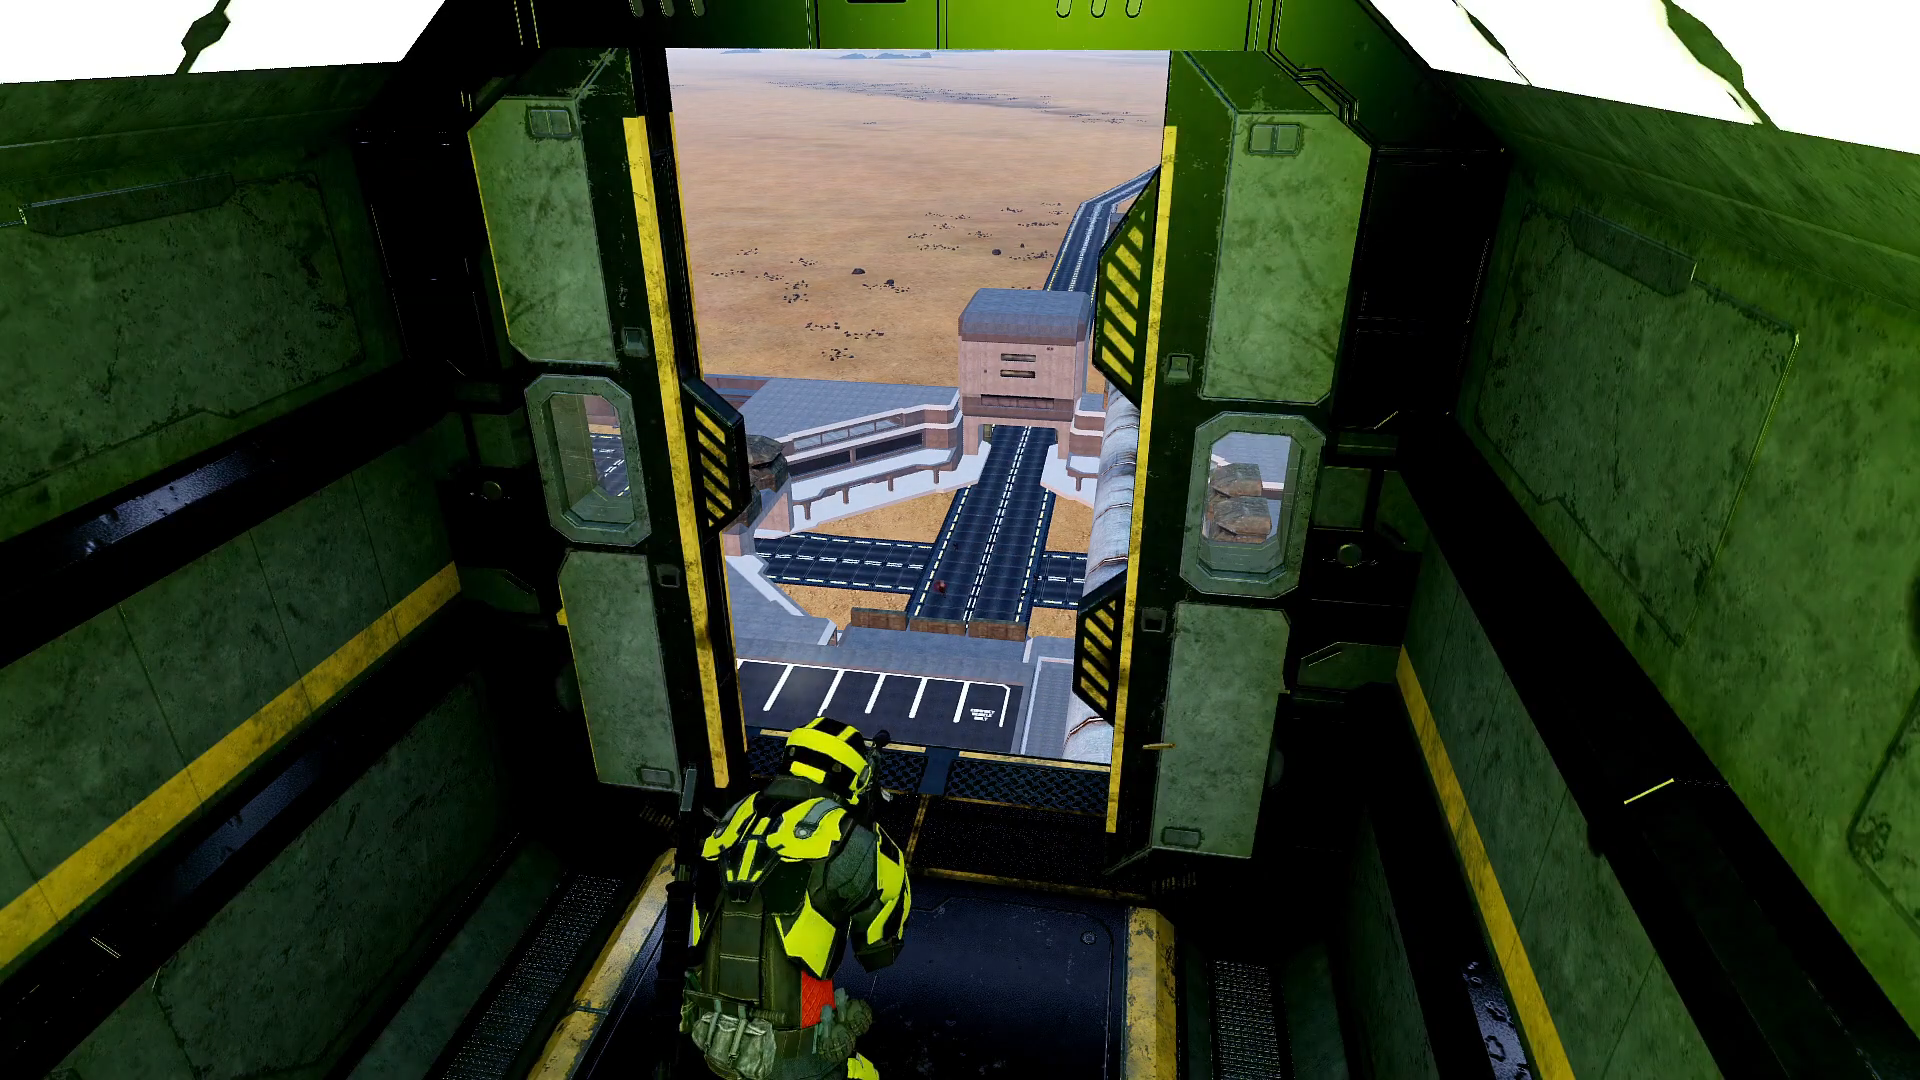
Once taken, the ship provided roof and airlock access, providing ideal overwatch positions for the more difficult half of the compound. I was careful not to make these points essential to take in terms of balance, although it certainly helped empower players who supported their allies. To avoid frustration, I provided an easy route down to ground level by placing a carpark under the airlock for players to rappel onto.
Crane-yard
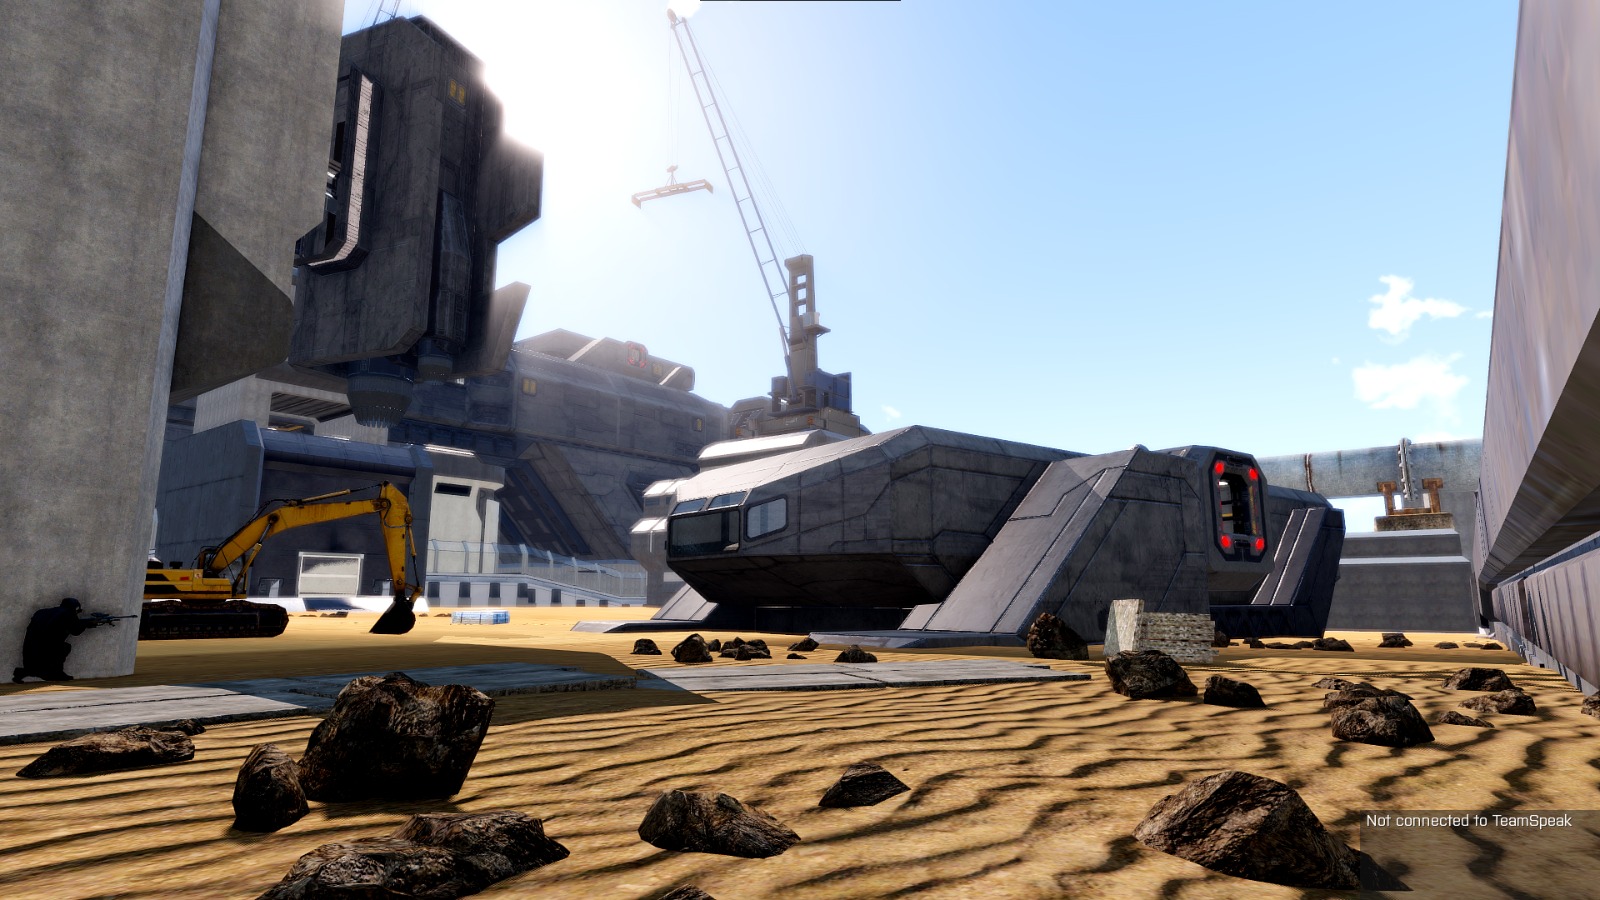
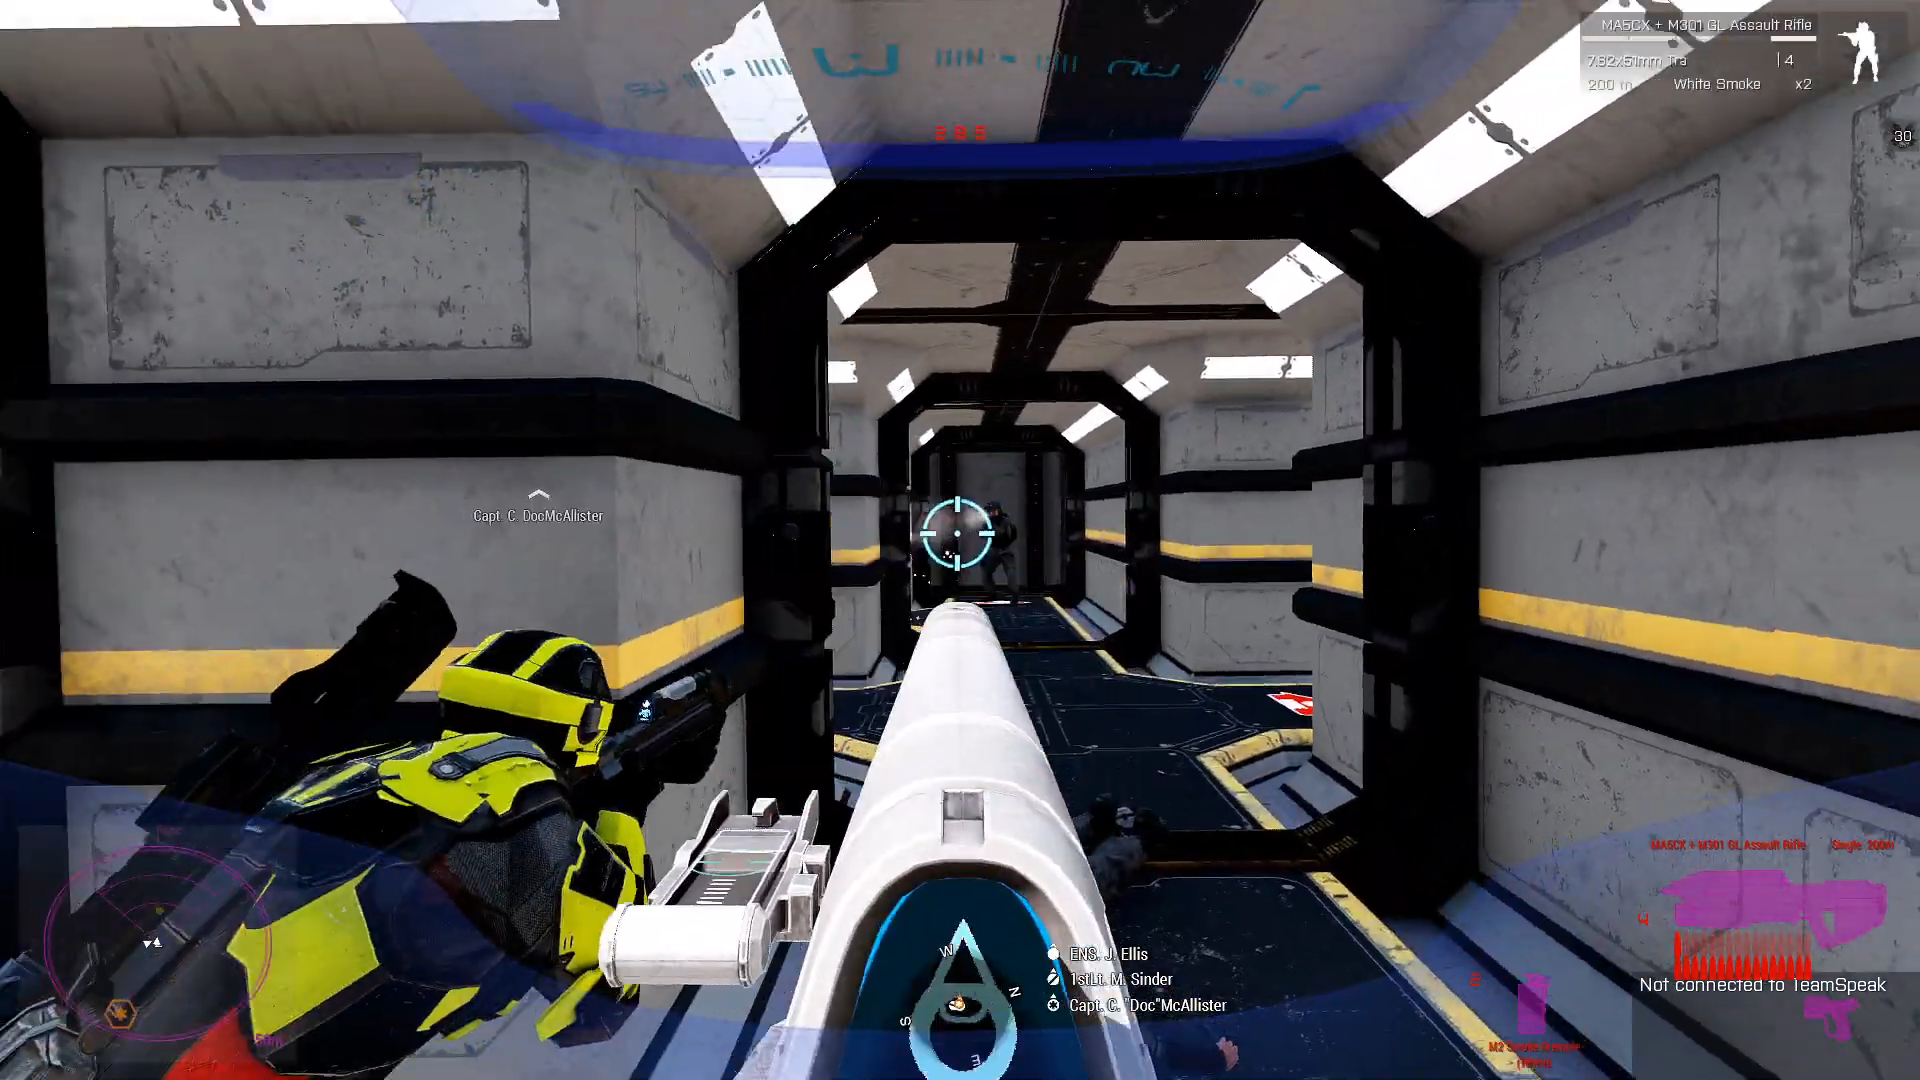
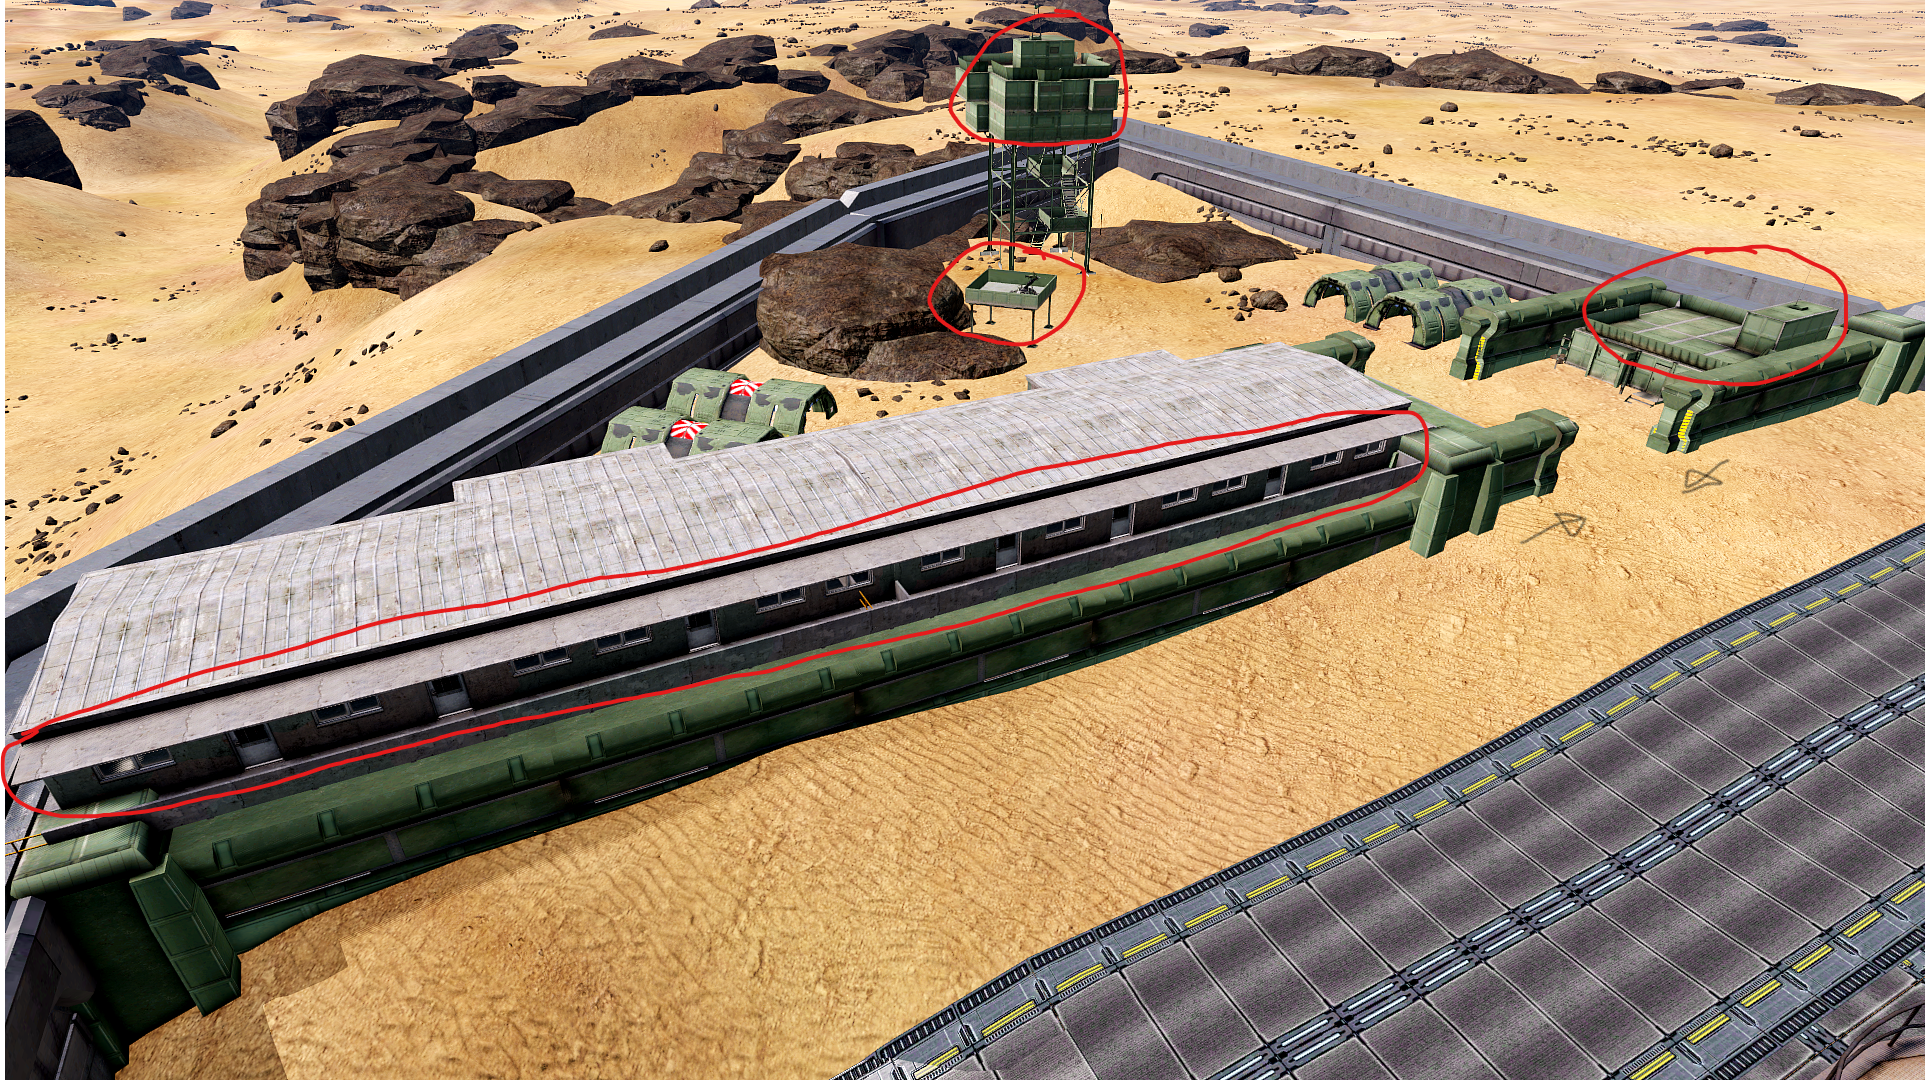
Due to limited access routes into the crane-yard, player counts were likely to be limited, so it instead serves a more thematic purpose. I wanted the shipyard to feel more believable, so had this “junk” area where old components had seemingly been removed from docked ships. To make clever use of these “discarded” ship pieces, I provided access to the bridge section, which had a full interior.
Barracks
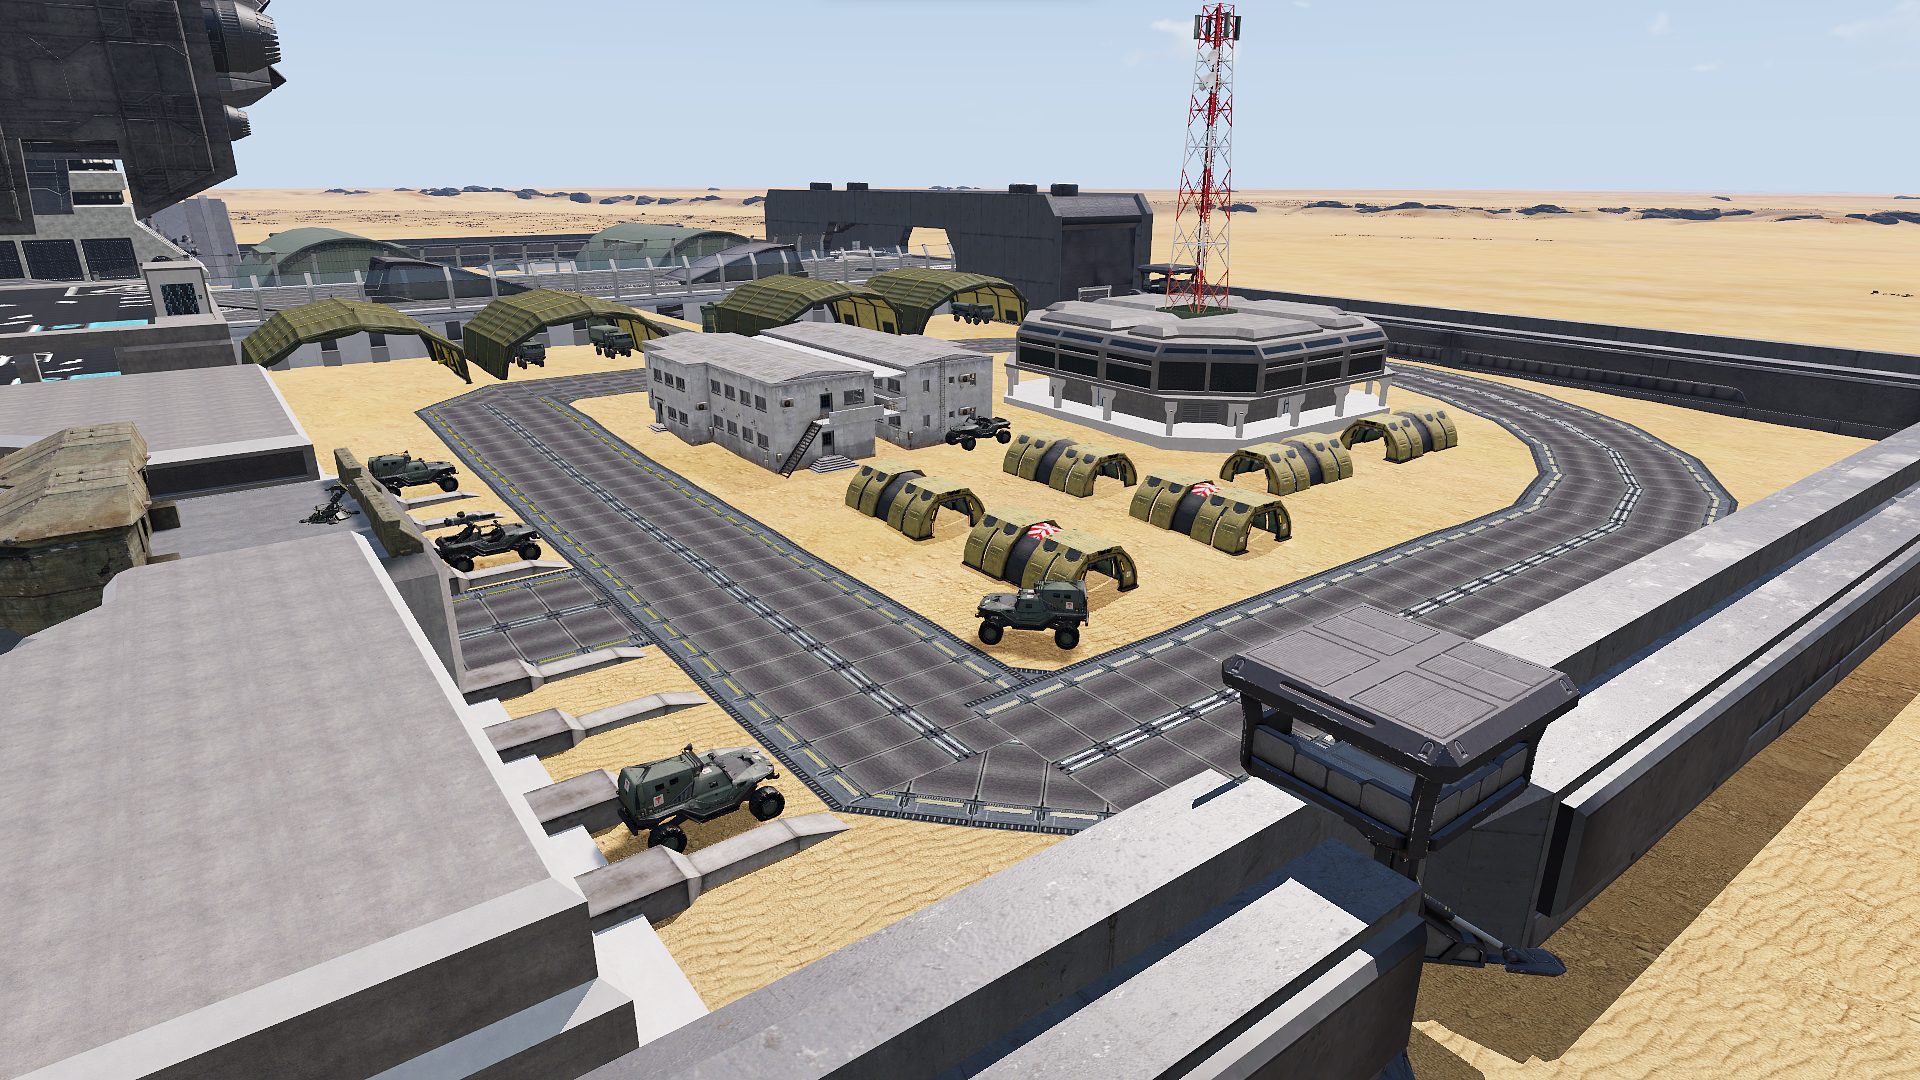
The barracks area was designed to be a challenge with multiple multi-floor buildings. It’s the most challenging of the three final sections for two reasons. Firstly, players are most likely to gravitate towards this area over the crane-yard due to the compound’s flow, and secondly, it houses the vehicles players need to progress to the next area. For both gameplay reasons and thematic congruence, it made sense for it to be heavily defended.
Exit courtyard
The exit courtyard was designed as the final convergence point of the entire space, which, while not packed with enemies, had turrets and infantry carefully placed to cover choke points. I wanted to encourage players coming from the various parts of the compound to collaborate in clearing the different emplacements, which was made easier if someone was making use of the aforementioned ship vantage points.
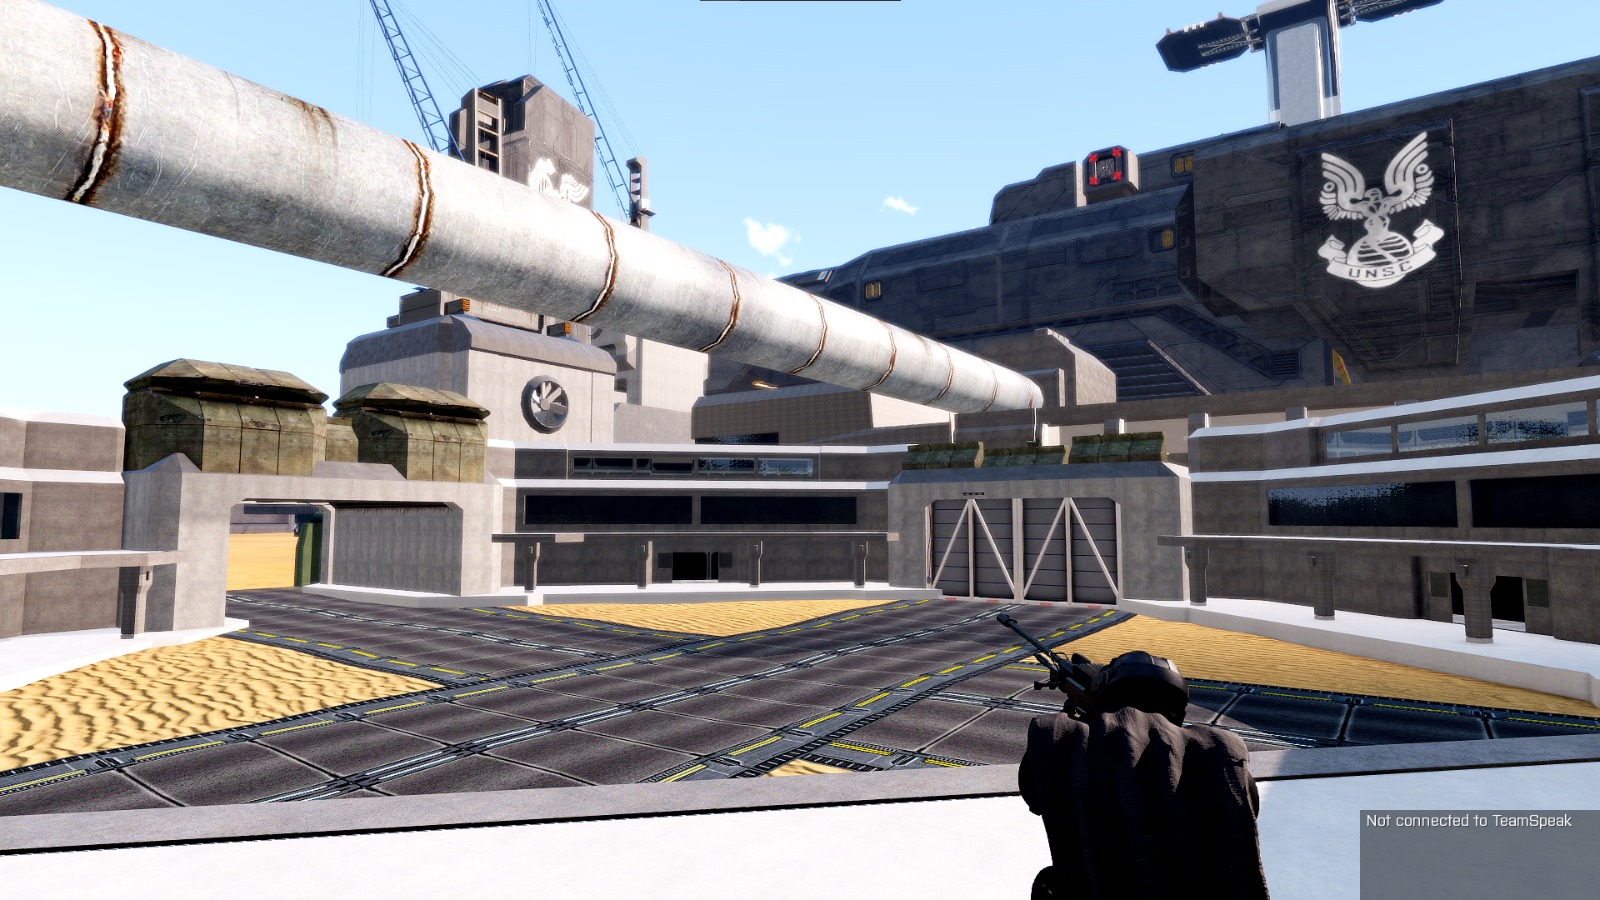
The desert pipeline
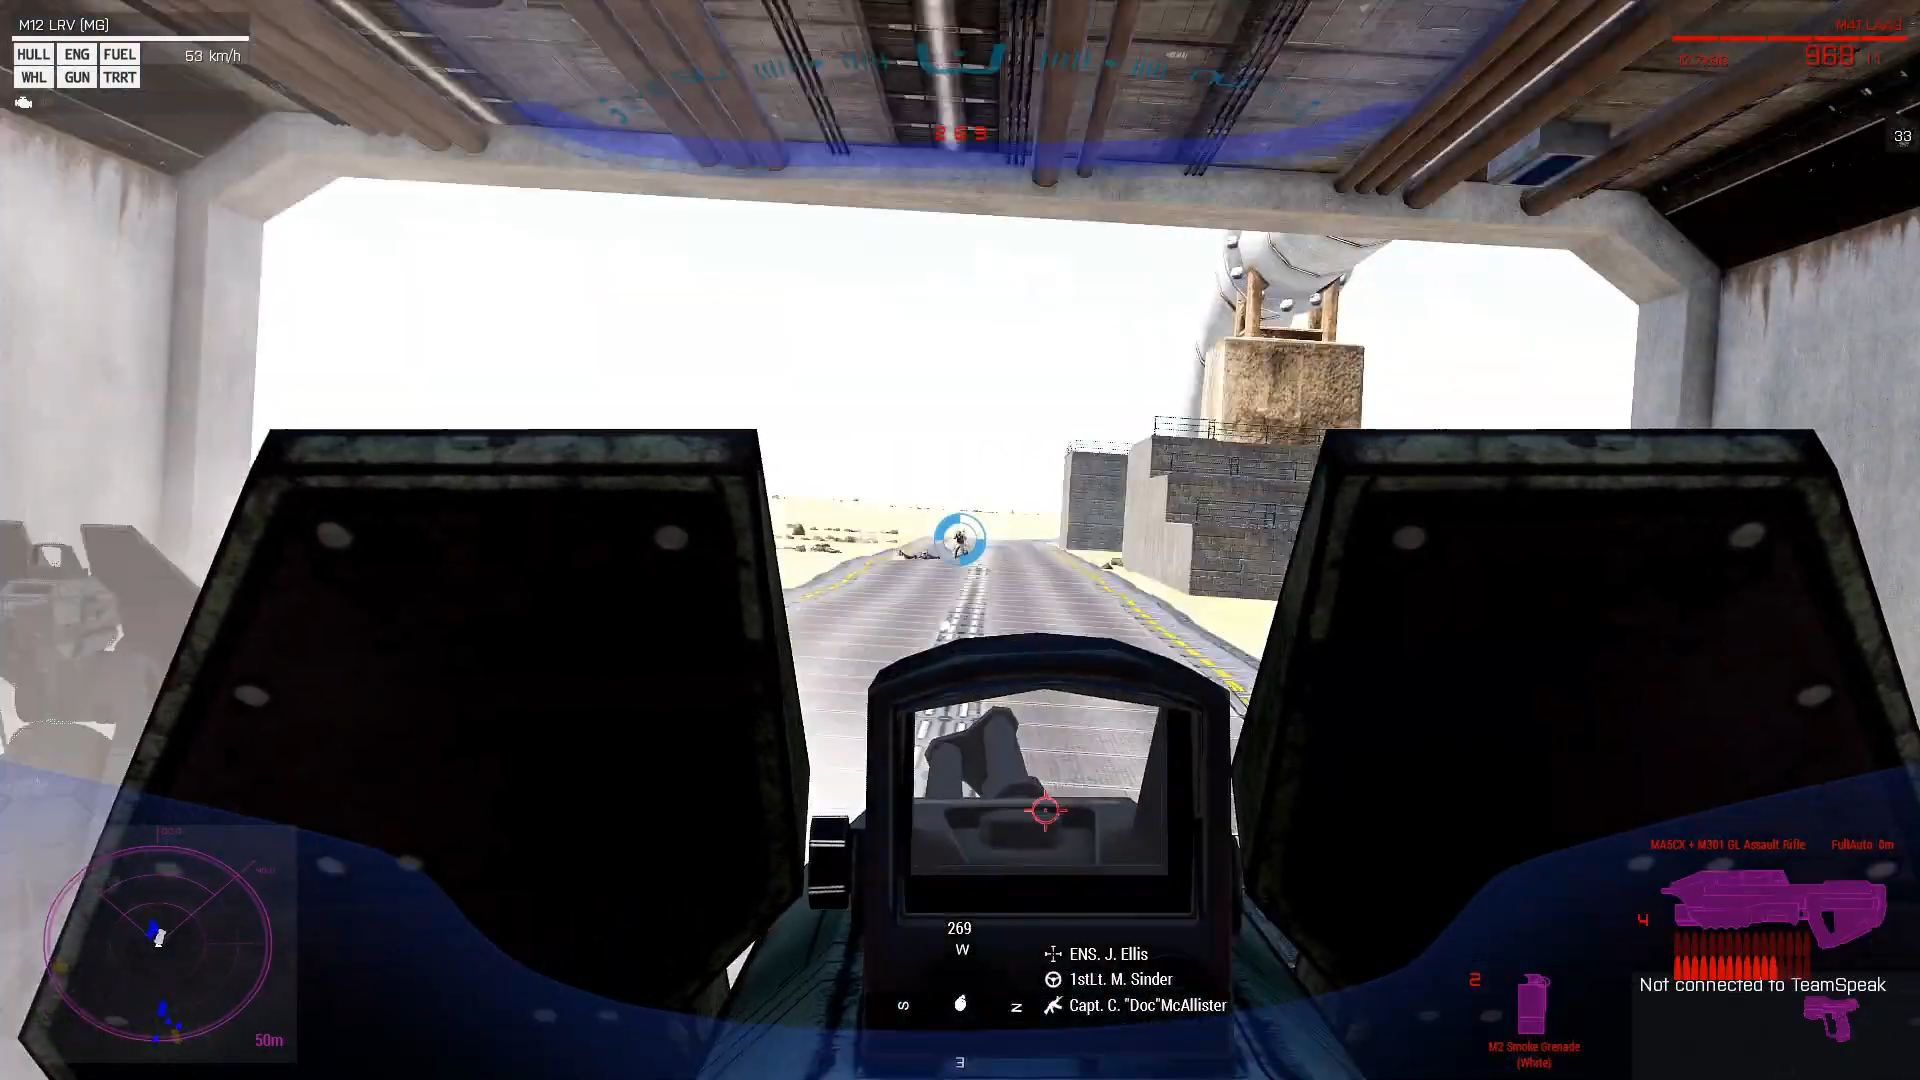
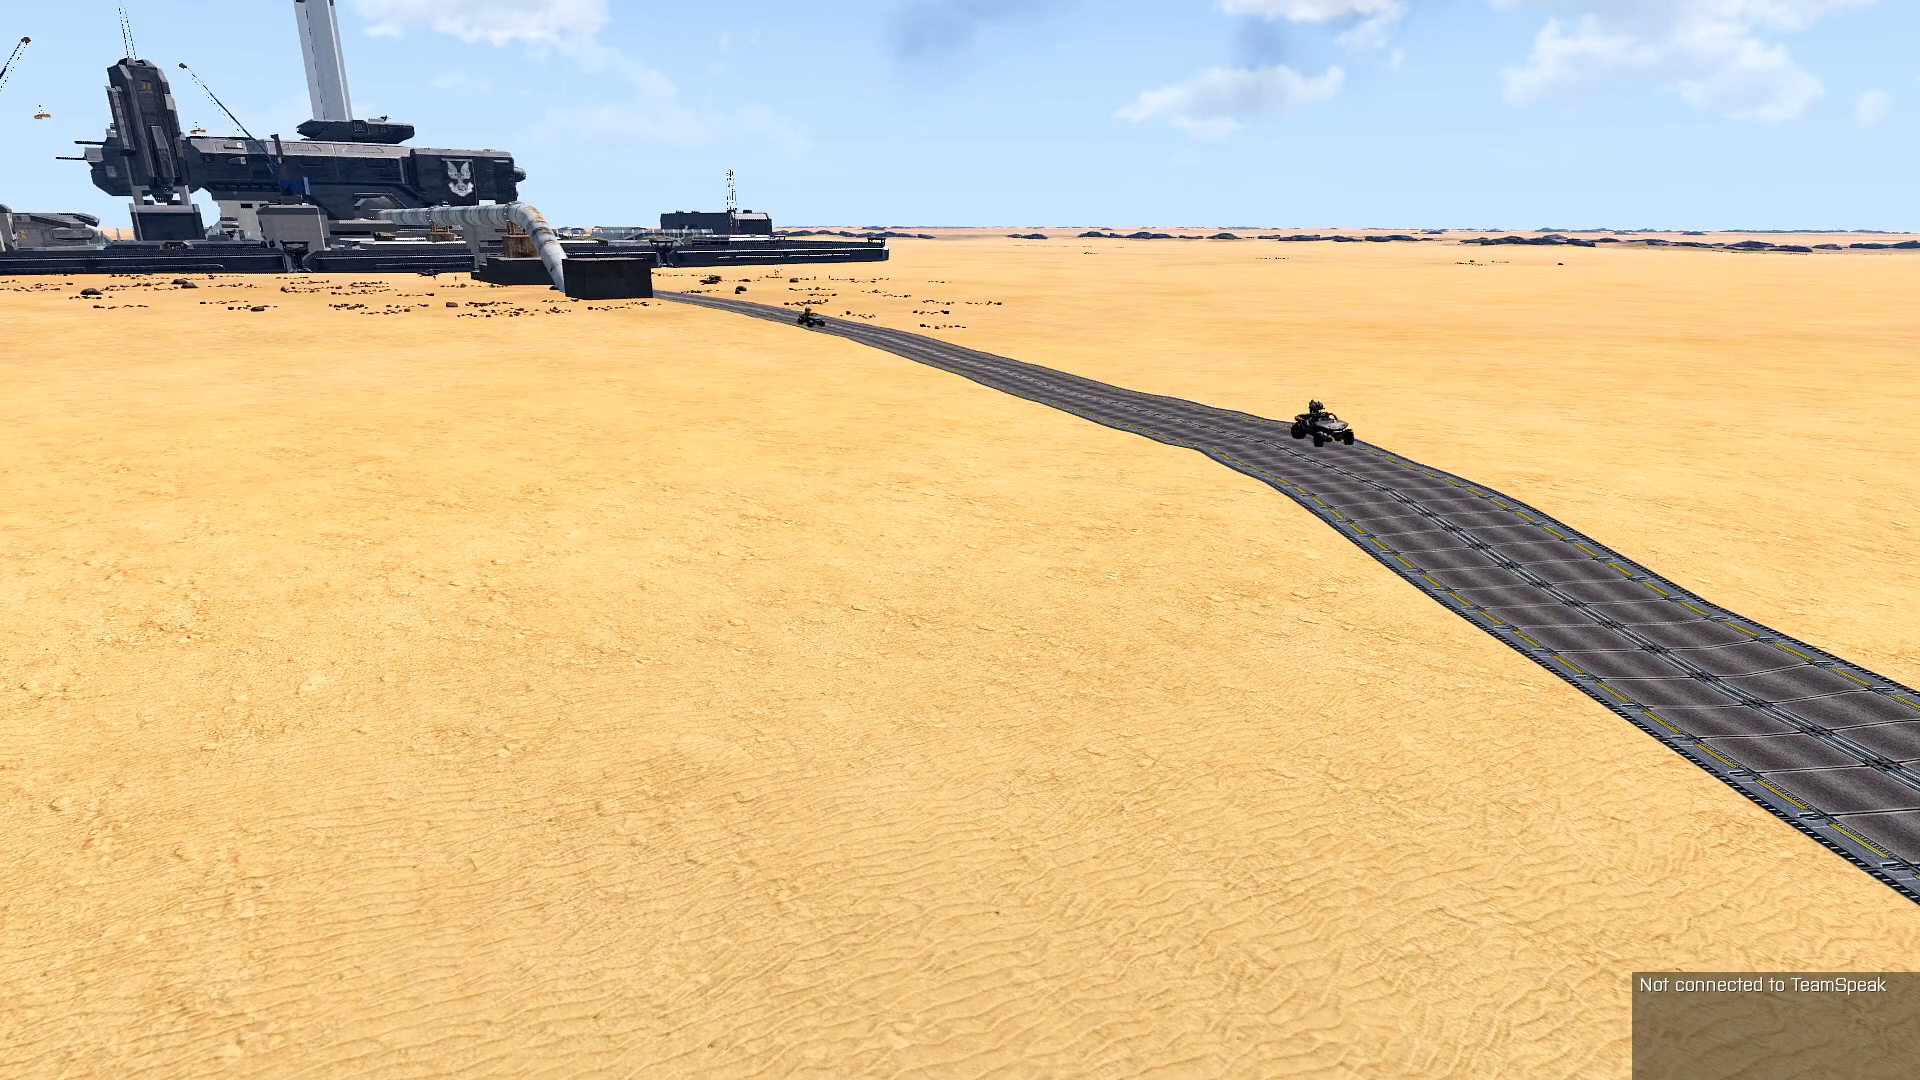
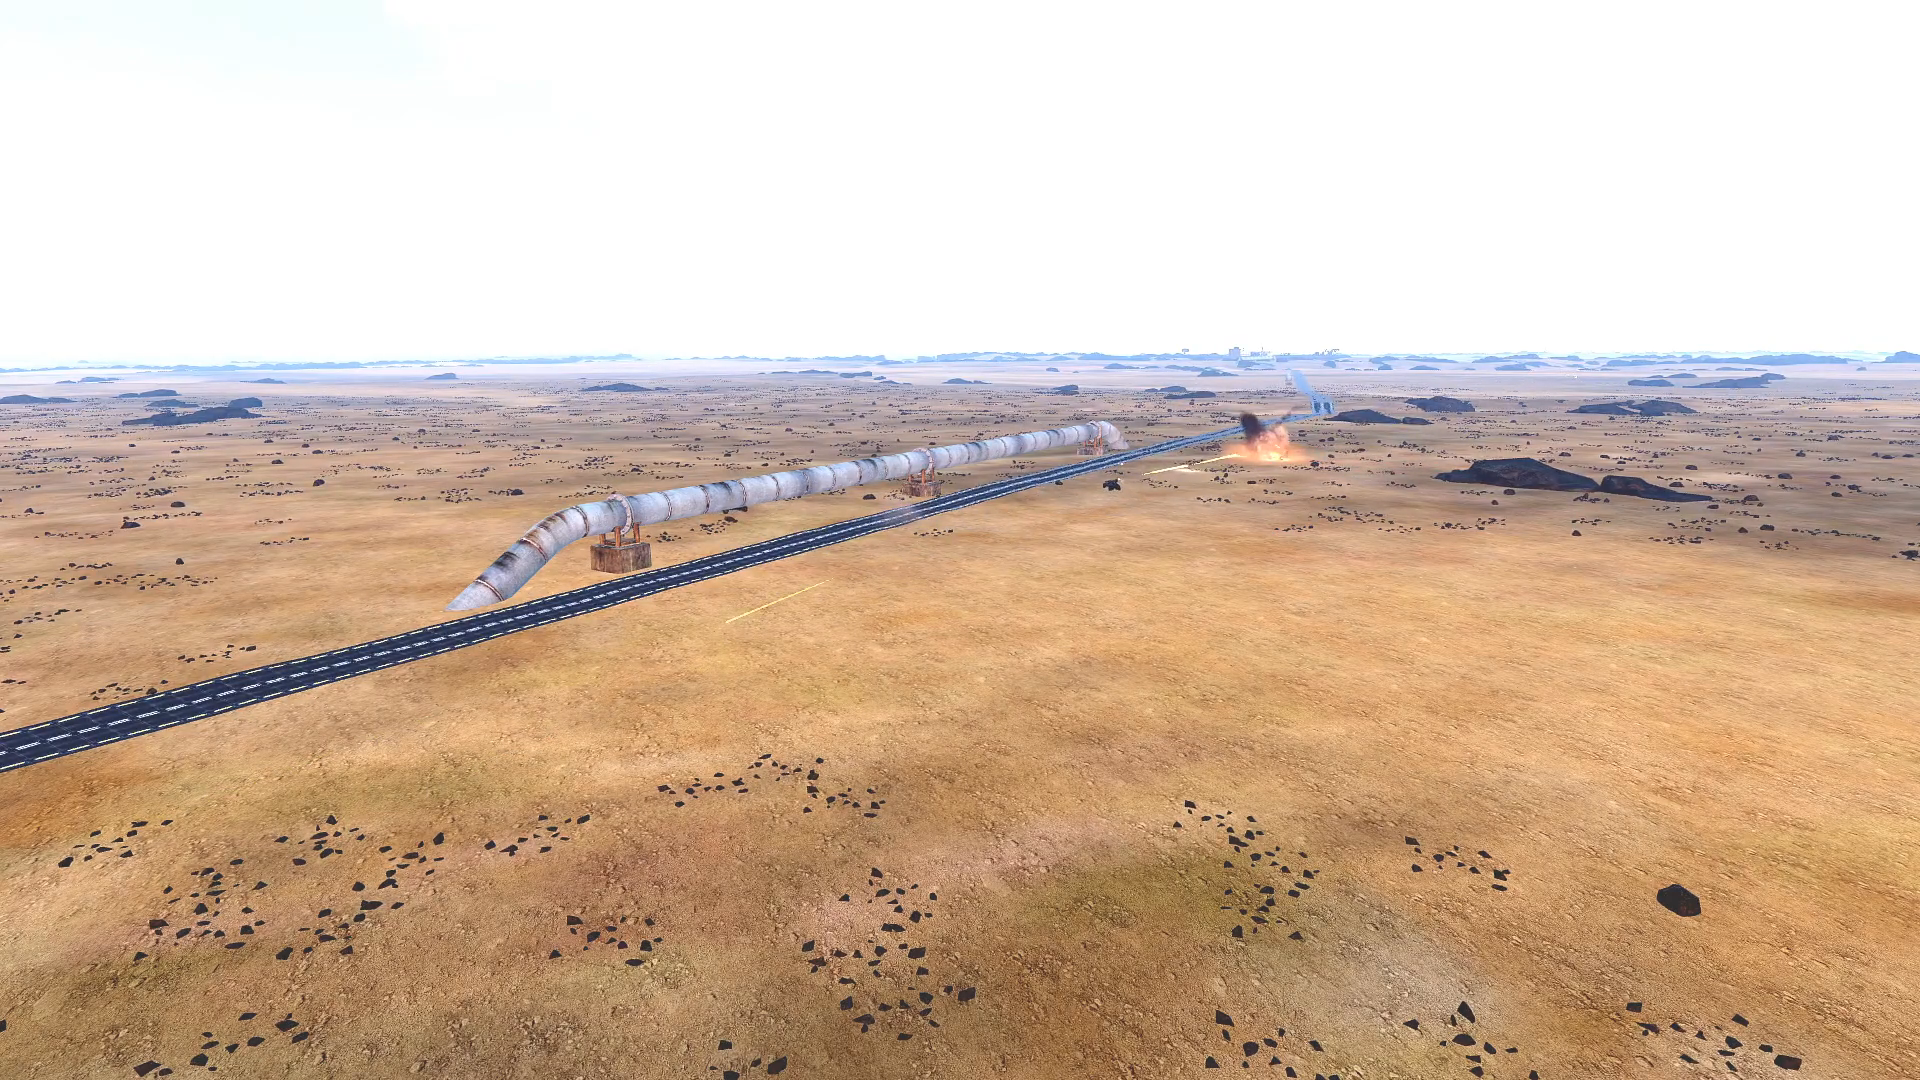
The road between the shipyard and the next objective (the oil facility) is simple, and offers players the chance to rip along the desert in gun-mounted cars. This was designed as a bit of fun to break up the otherwise difficult compounds.
It was here I added some pipes to act as a long-distance signpost as to where players were heading. It also helped visually reinforce the idea of the next area being an oil facility, while physically connecting it to the shipyard, and driving the need for players to take it back as part of the same mission.
The oil facility
For the final arena, players are racing against time to save marines held up within one part of the second objective. This had the intended effect of pushing the required sense of urgency in the previous car run, and forced players not to deliberate too long on the outside of the oil facility door.
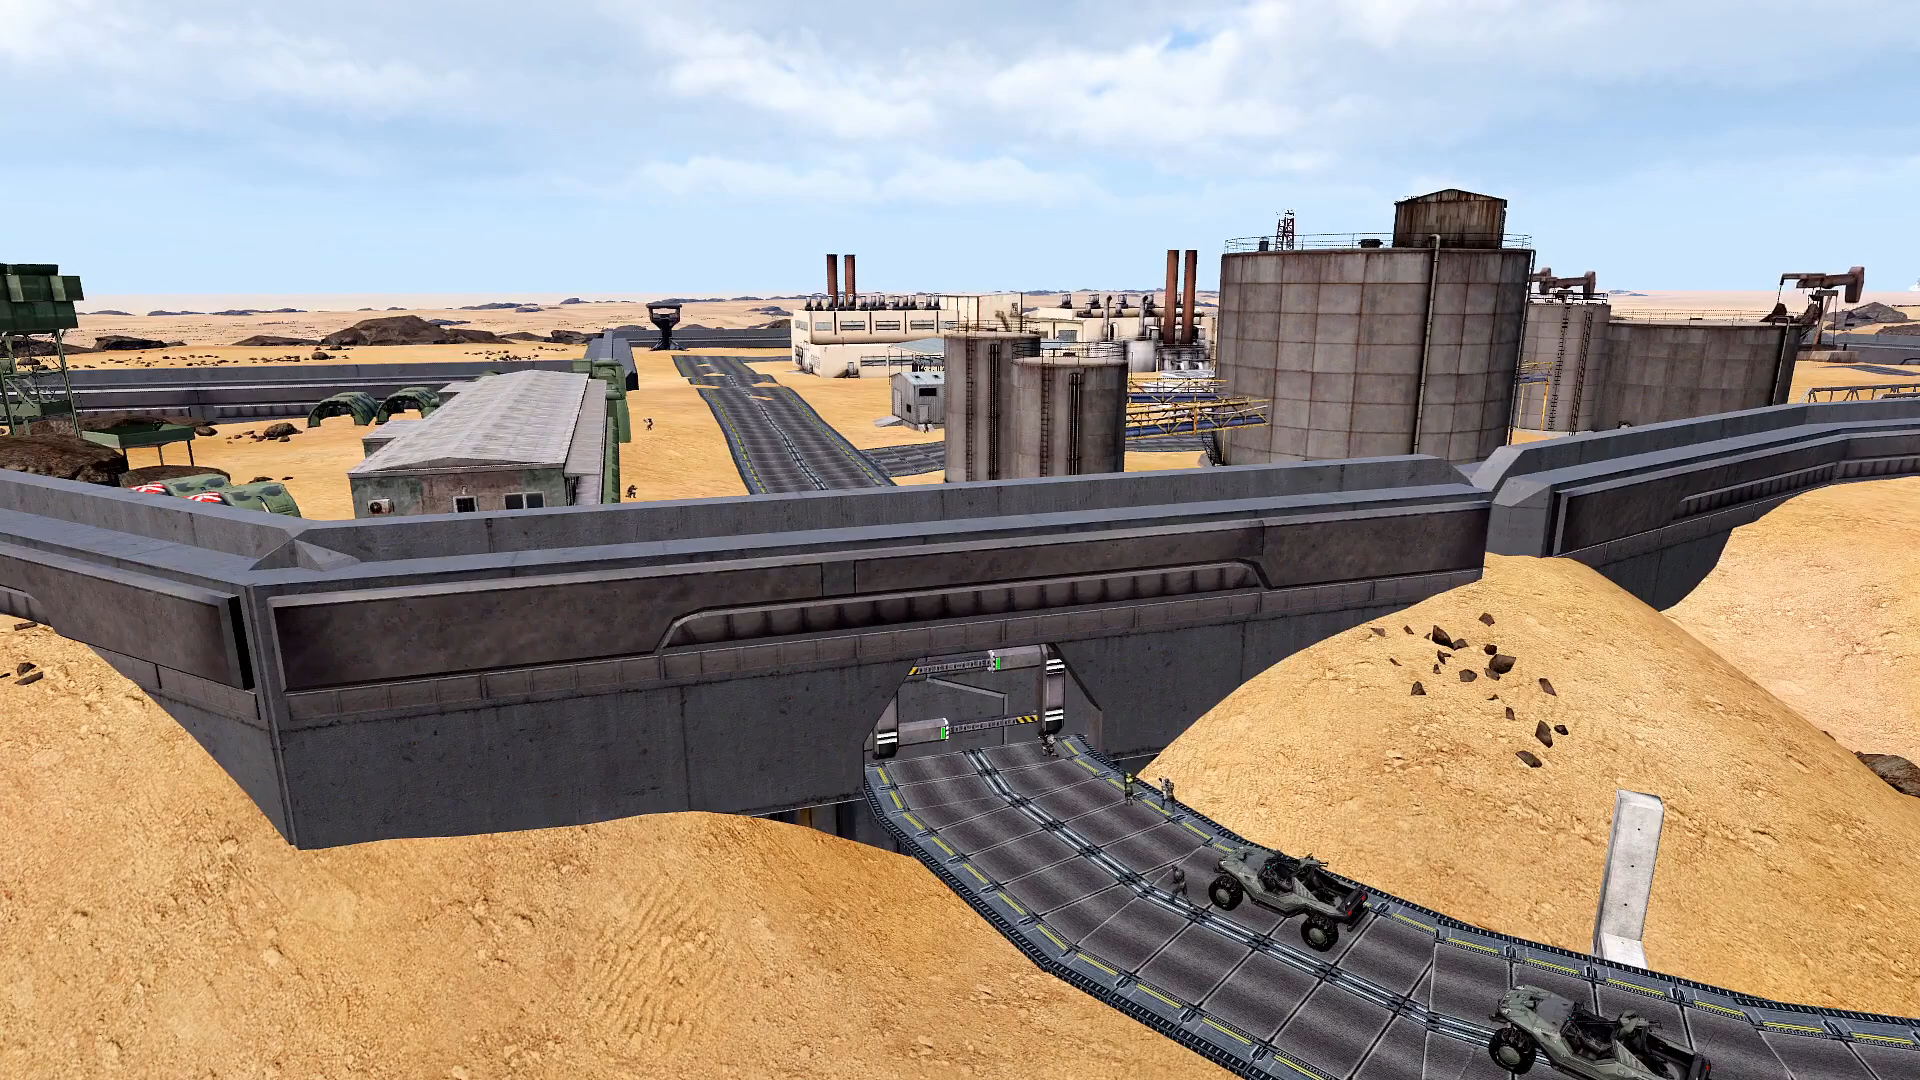
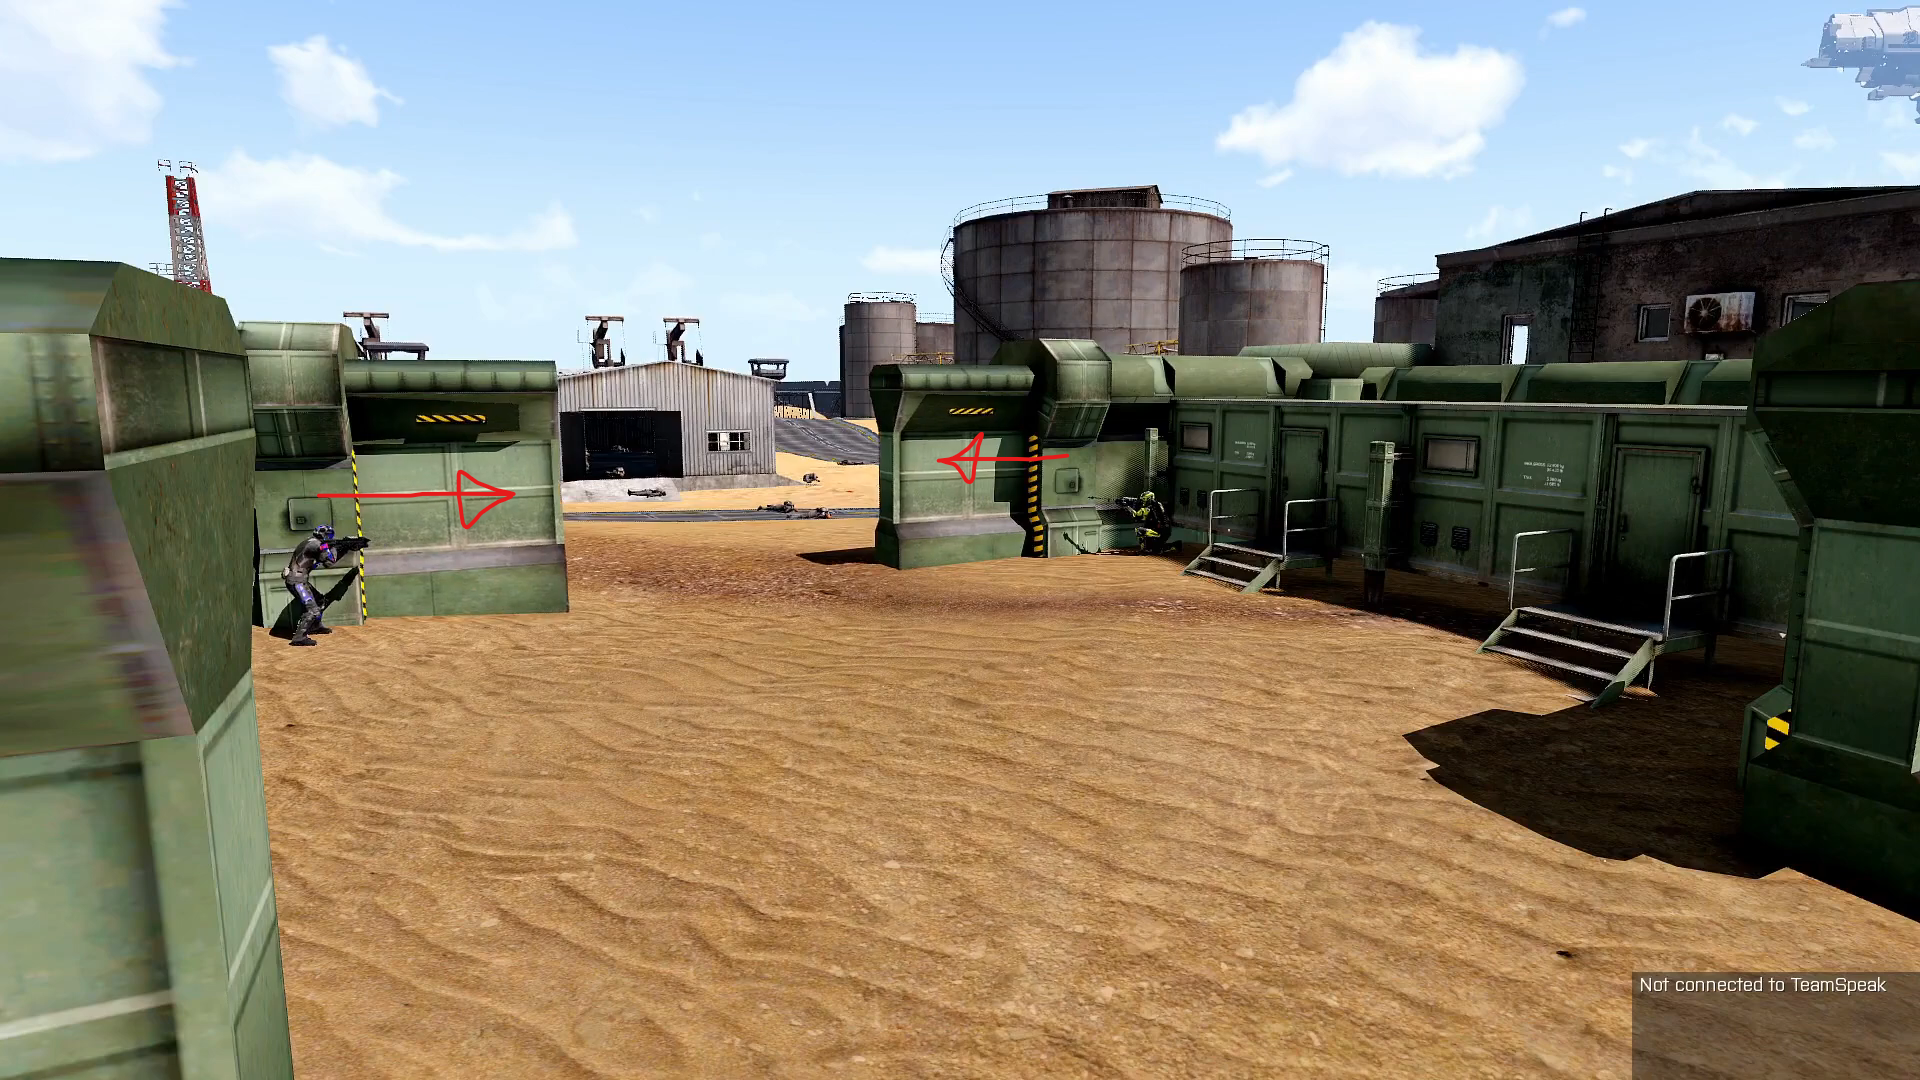
Players then had to fight their way to the defendable base, and subsequently protect it from the advancing enemy. They had multiple structures to choose from in doing this, both high and low. This section was a simple matter of survival, and once the tide had turned they could advance back out into the rest of the facility once more and clear it, finally neutralising the remaining threat.
A note on failure
One thing I like to introduce for my sessions is an actual failure state for the group as a whole. Sometimes this comes in the form of players having to retreat, coming back to an area the following week (with many updates to the space), or it could come in the form of a hard consequence.
For example, in a previous campaign players failed to secure an atom bomb, causing an entire city to fall into ruin. While a devastating change in the context of the story (which we adjust from week to week), players really enjoyed this outcome as it provided a real sense of consequence, and offered the opportunity for the following week’s map to feature a visually stunning post-disaster city.
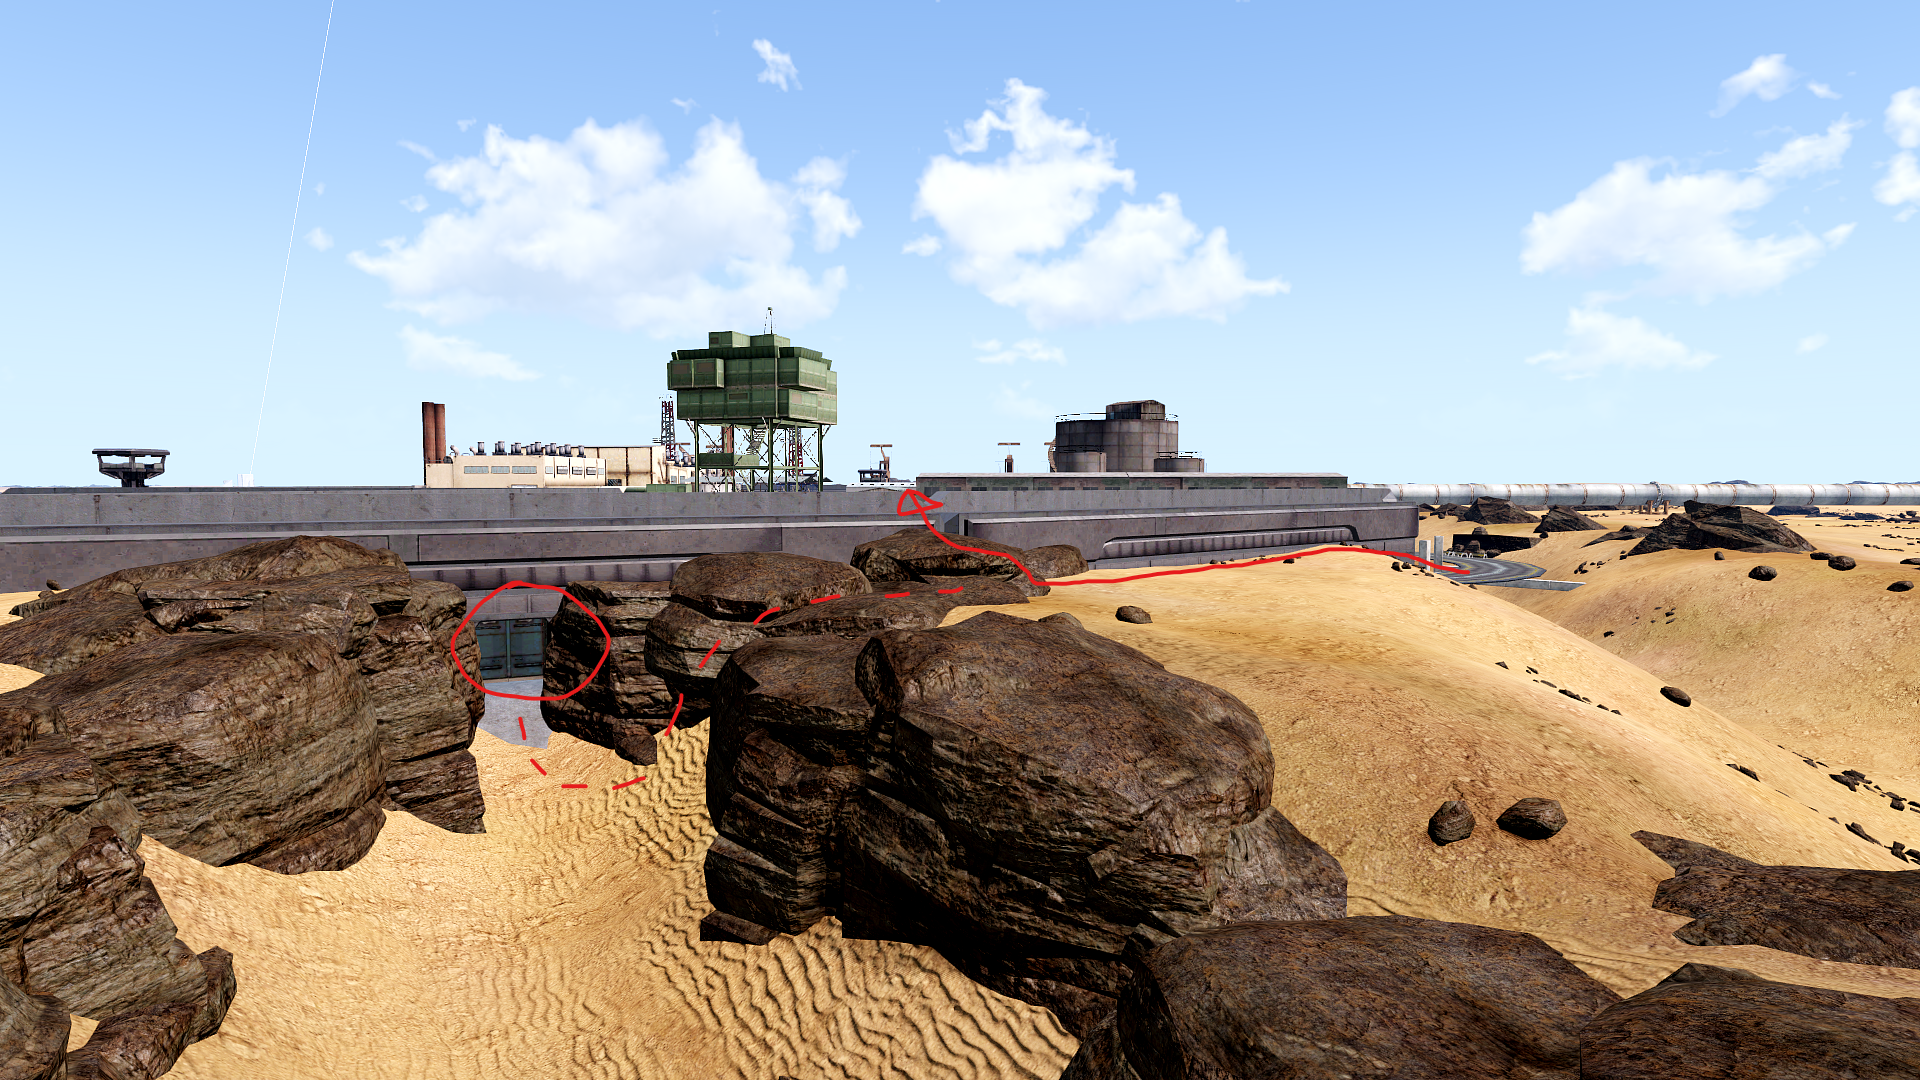
While not as dramatic, I did add an escape route for this mission should players fail to fend off the attackers. I also wanted it to serve as an alternative entrance should players explore beyond the main gate, but through testing they fell just short of discovering the door due to a wall that was just low enough to climb. A fault to be improved upon if I ever revisit this map.
Player feedback
How we collect feedback
Another member of the community gathers feedback prior to discussing it with me, so I can have an unbiased opinion on what we get back.
We often get pretty good satisfaction scores, especially now our improvement process has matured, but we still get the occasional bit of feedback that’s really helpful for making the experience better.
A good example from this mission is that we had a couple of severe de-sync events due to the amount of AI and players in a small cubic space. Typically the solution would be to better balance the AI quantity and distribute the placement, but up to this point our player count had been steadily growing, and Arma 3 is built on a relatively ancient engine. This was the final wake-up call for us to upgrade our server hardware so we could continue to deliver on these more ambitious and interconnected experiences.
Satisfaction scores
While the following scores are responding to similar questions, the subtle differences are important to us. Despite the aforementioned de-sync issues, the reception for this map was amazing, and players were overall very satisfied.
I often sit in the post-game lobby to get a general impression of player mood, as listening to them recount specific moments to each other reveals what surveys often don’t. It was very assuring listening to players discuss how cool the drop at the start was, and overall I was very proud of this level.